Photographing wildlife in the wild
Published
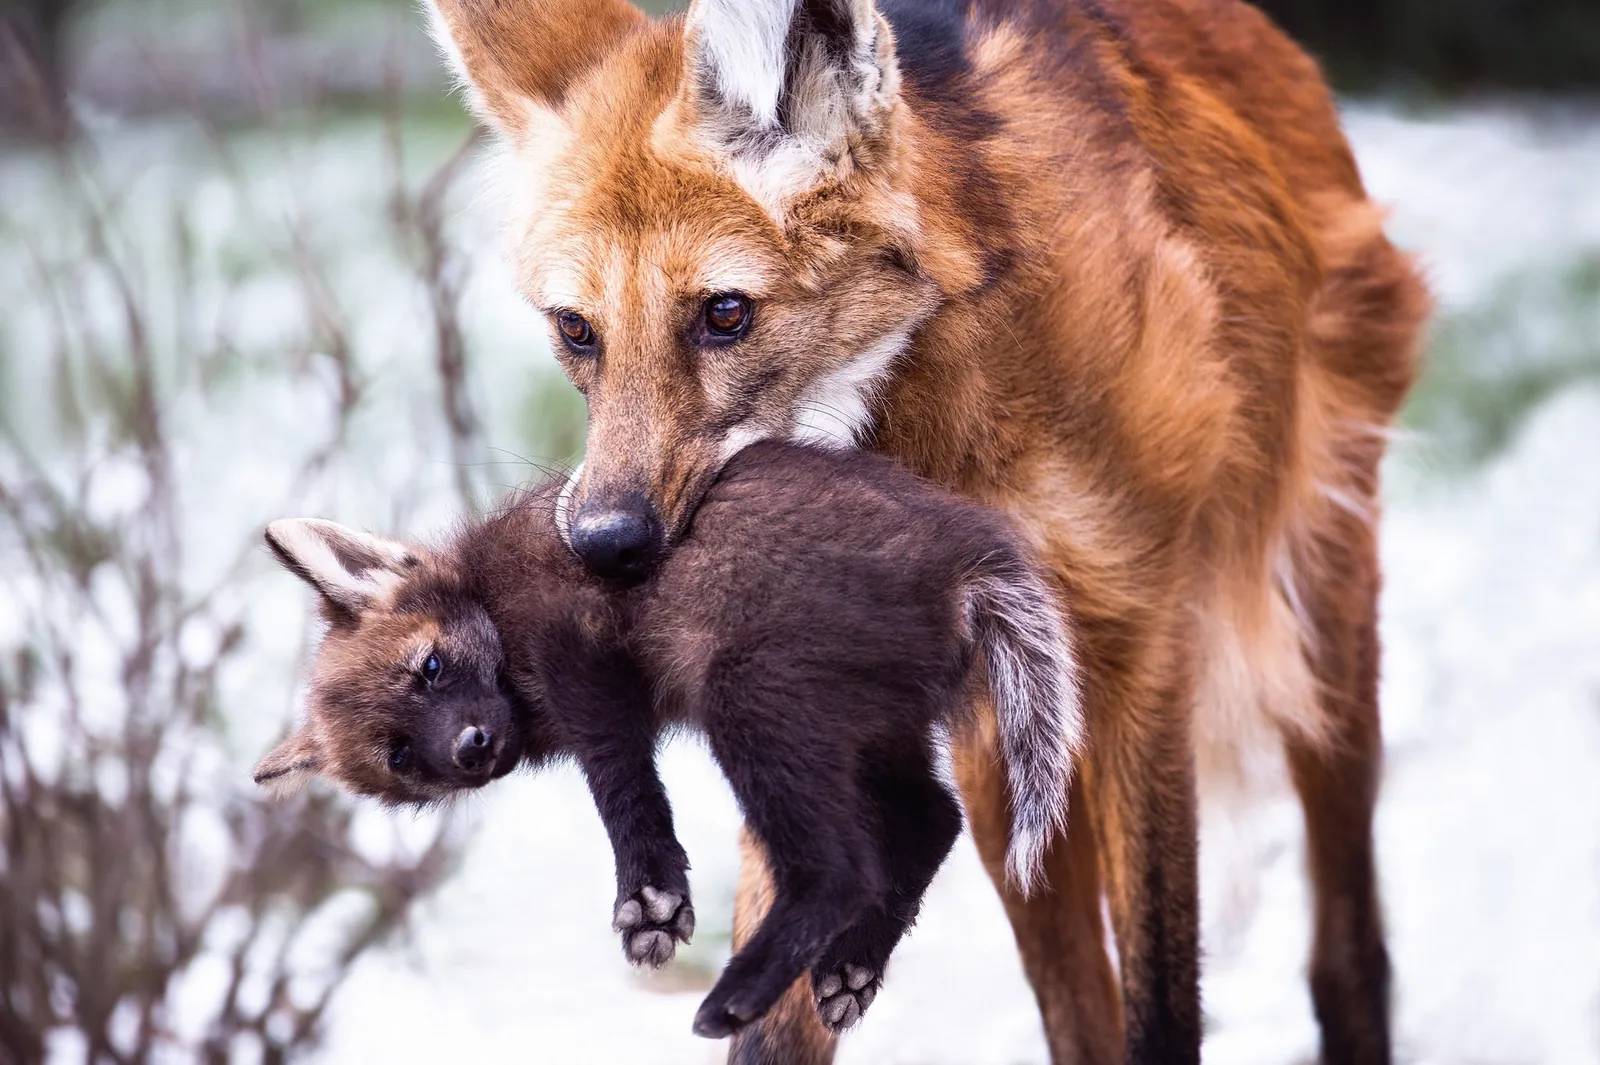
Animal photography is a very popular specialty, and for good reason. It offers you a good excuse to spend more time outdoors, keeps you fit and allows you to develop a real appreciation for nature. But it can also be a very challenging area, especially because your subject often runs away from you! Furthermore, wildlife is usually active in low light conditions at dusk or dawn. If you are a beginner who wants to take beautiful animal photos, you’ve come to the right place.
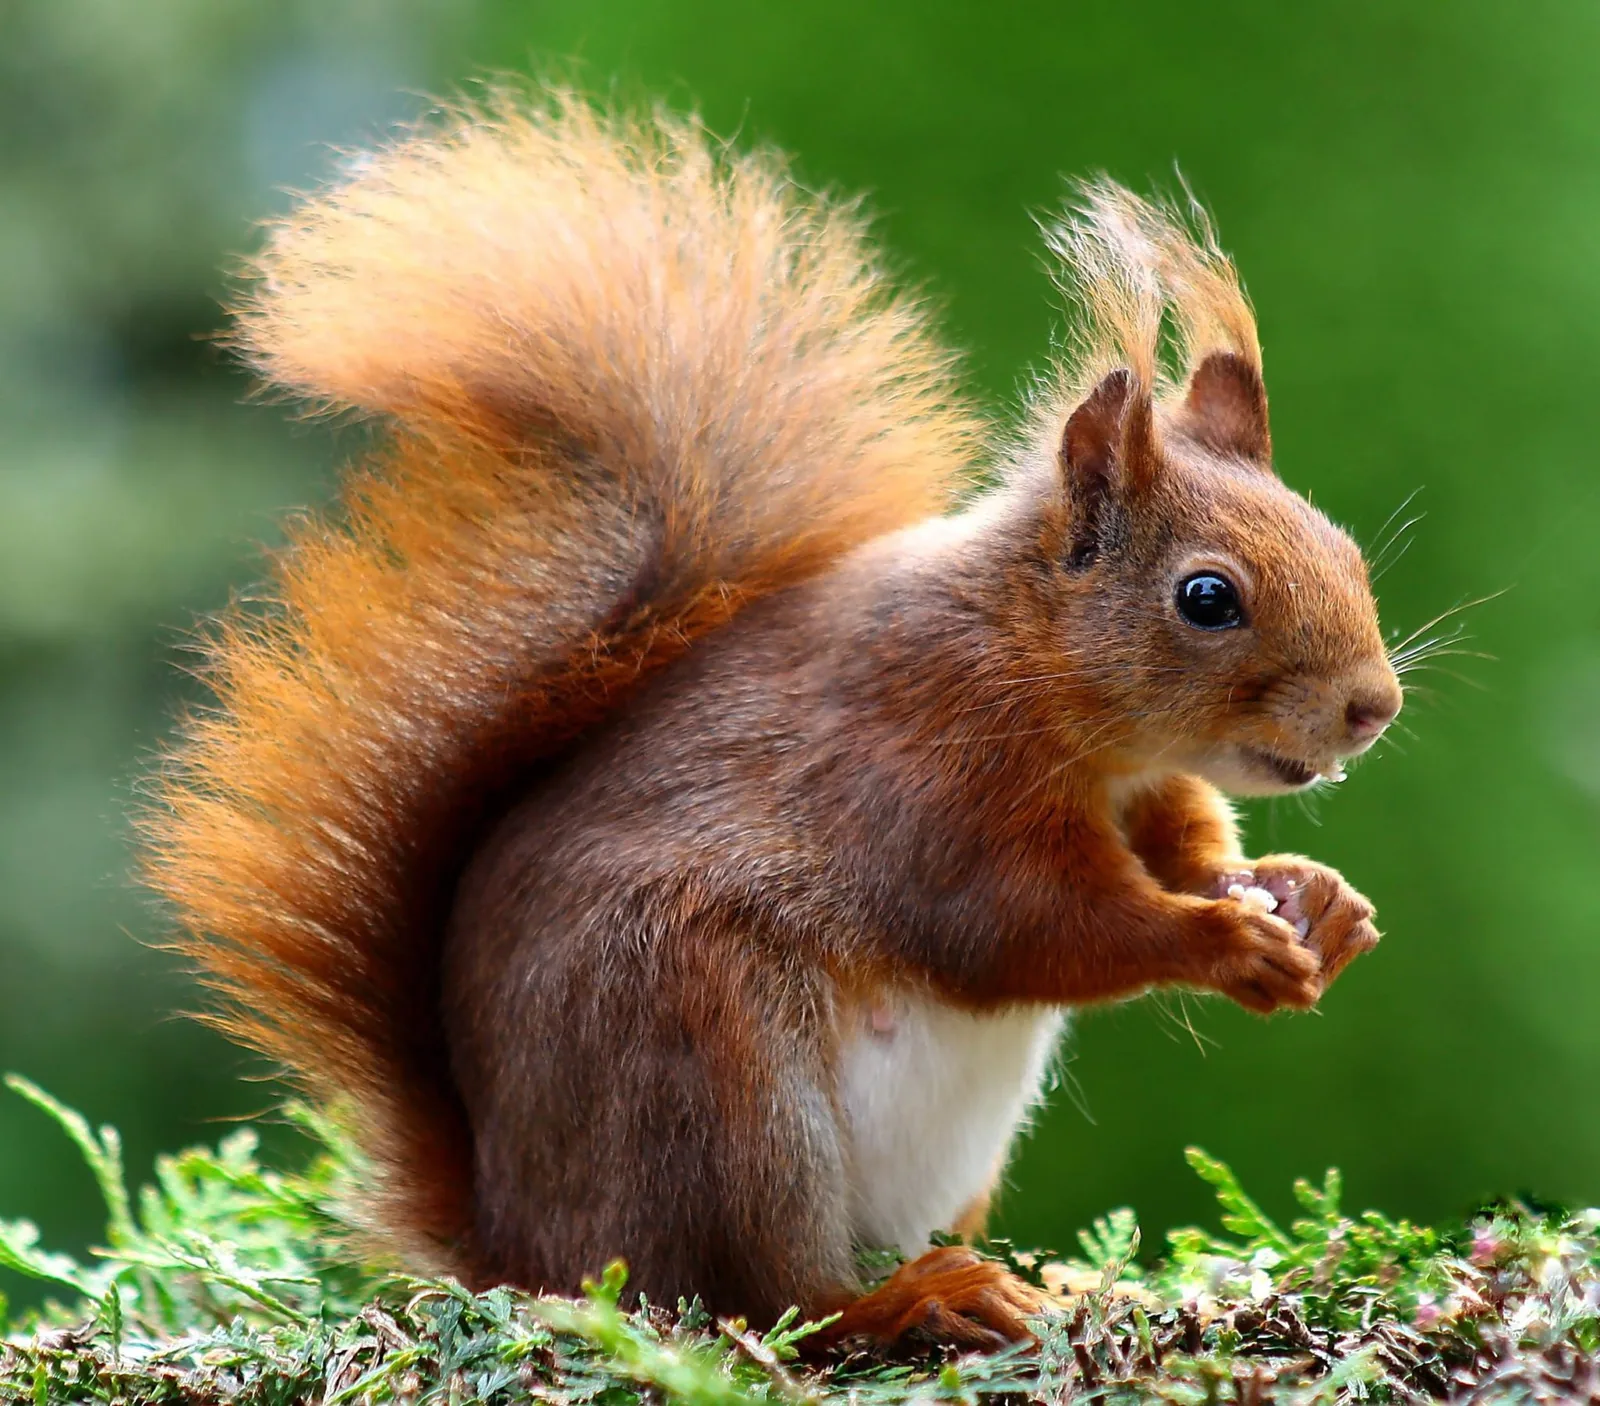
1. Photograph at Eye Level
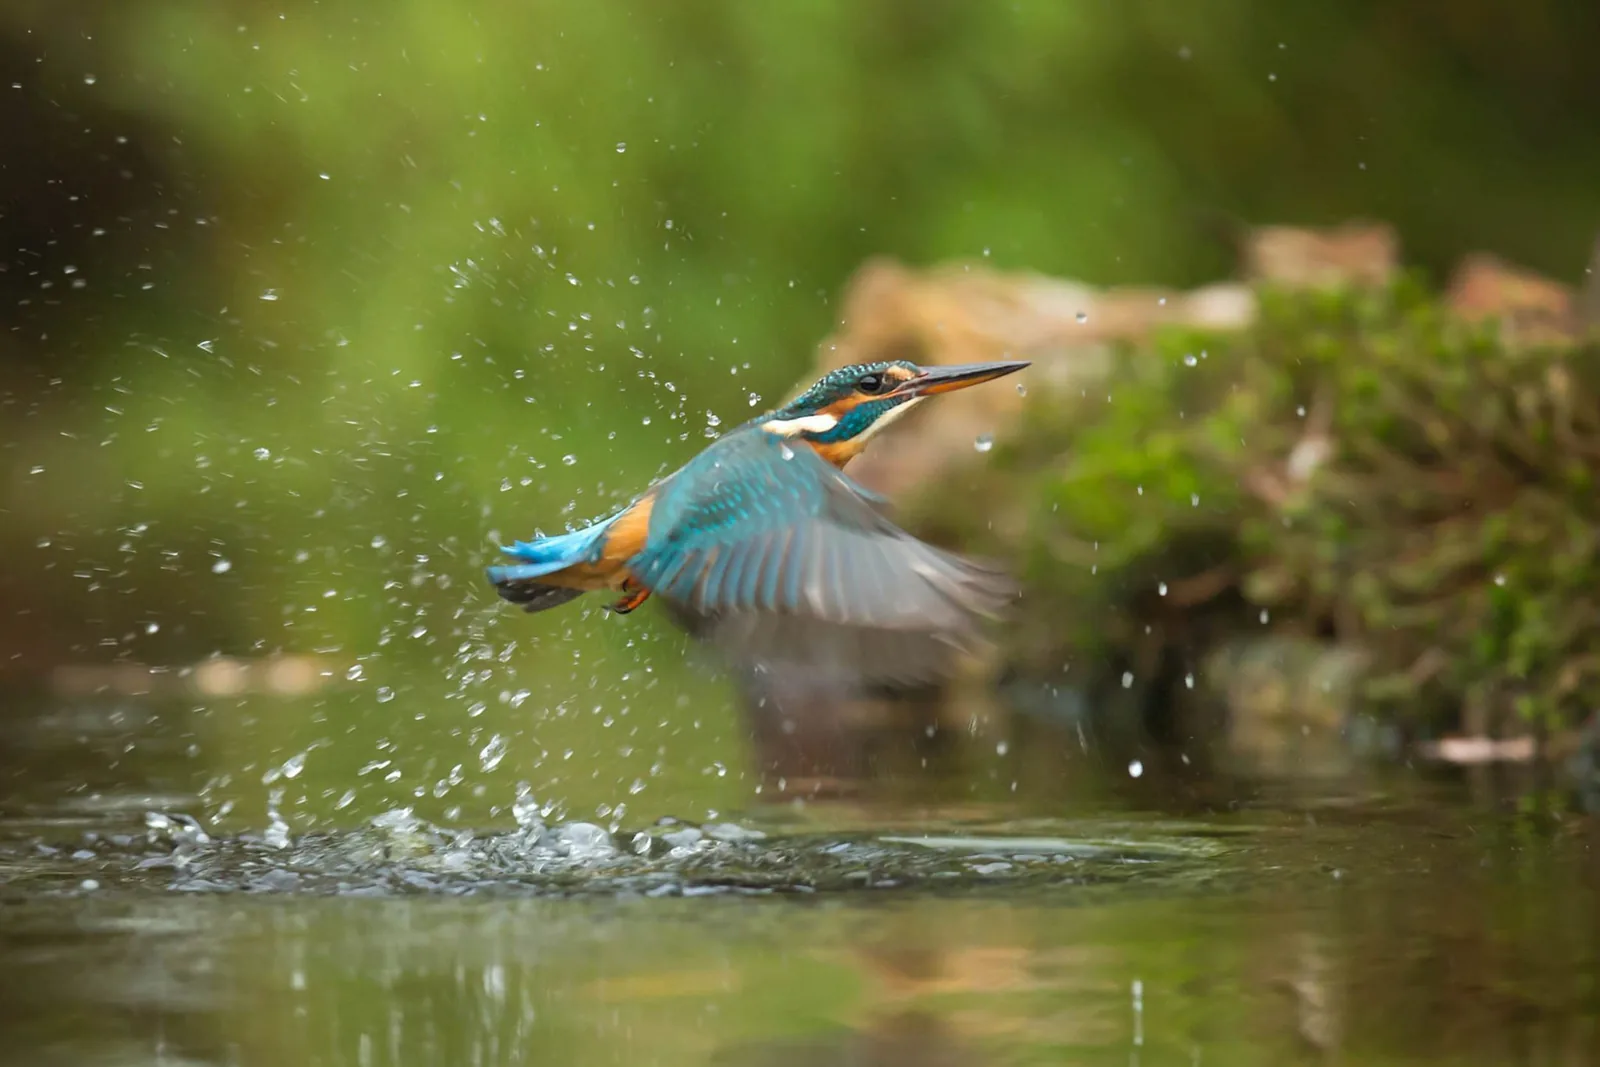
Always get down to eye level with low-profile animals. Shooting from above feels unnatural, whereas eye level creates an intimate perspective with smooth, creamy bokeh that isolates the subject.
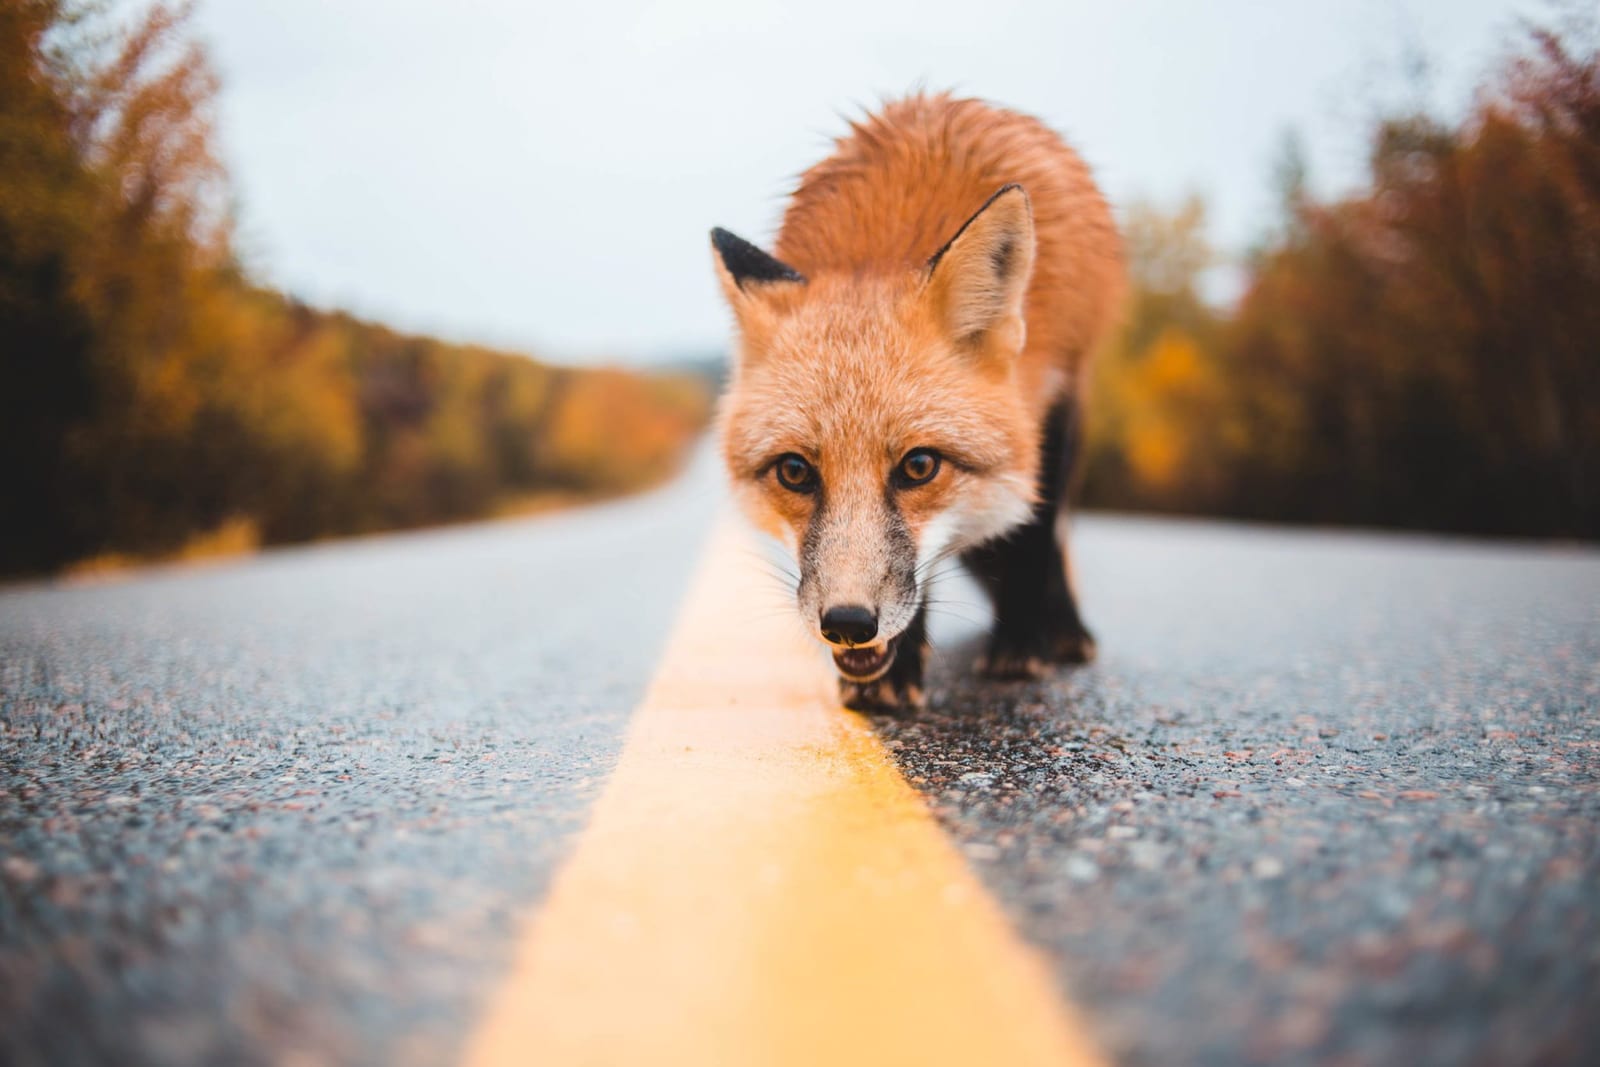
2. Study Wildlife Behavior
Anticipating behavior like territory battles or hunting patterns gives you a massive advantage. Researching animal habits allows you to react before the action even unfolds.
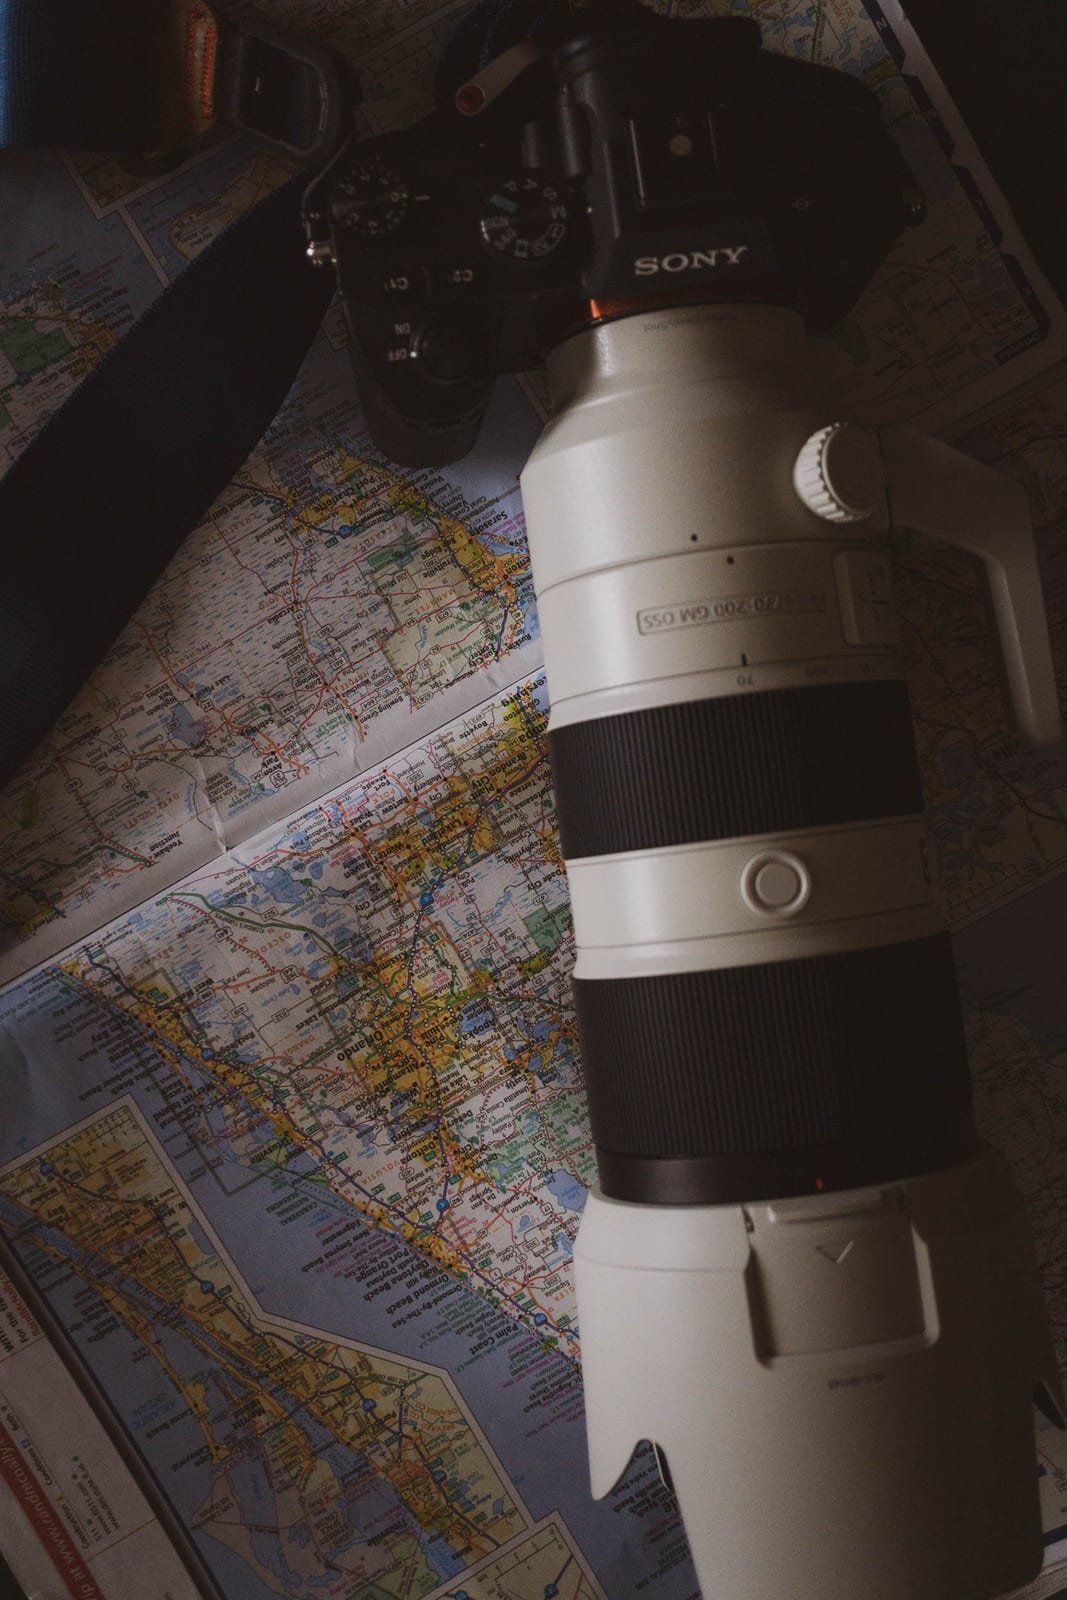
3. Use a Lens Hood
Lens hoods prevent unwanted flaring in low sun angles and enhance color contrast while offering essential physical protection for your front glass in the wild.
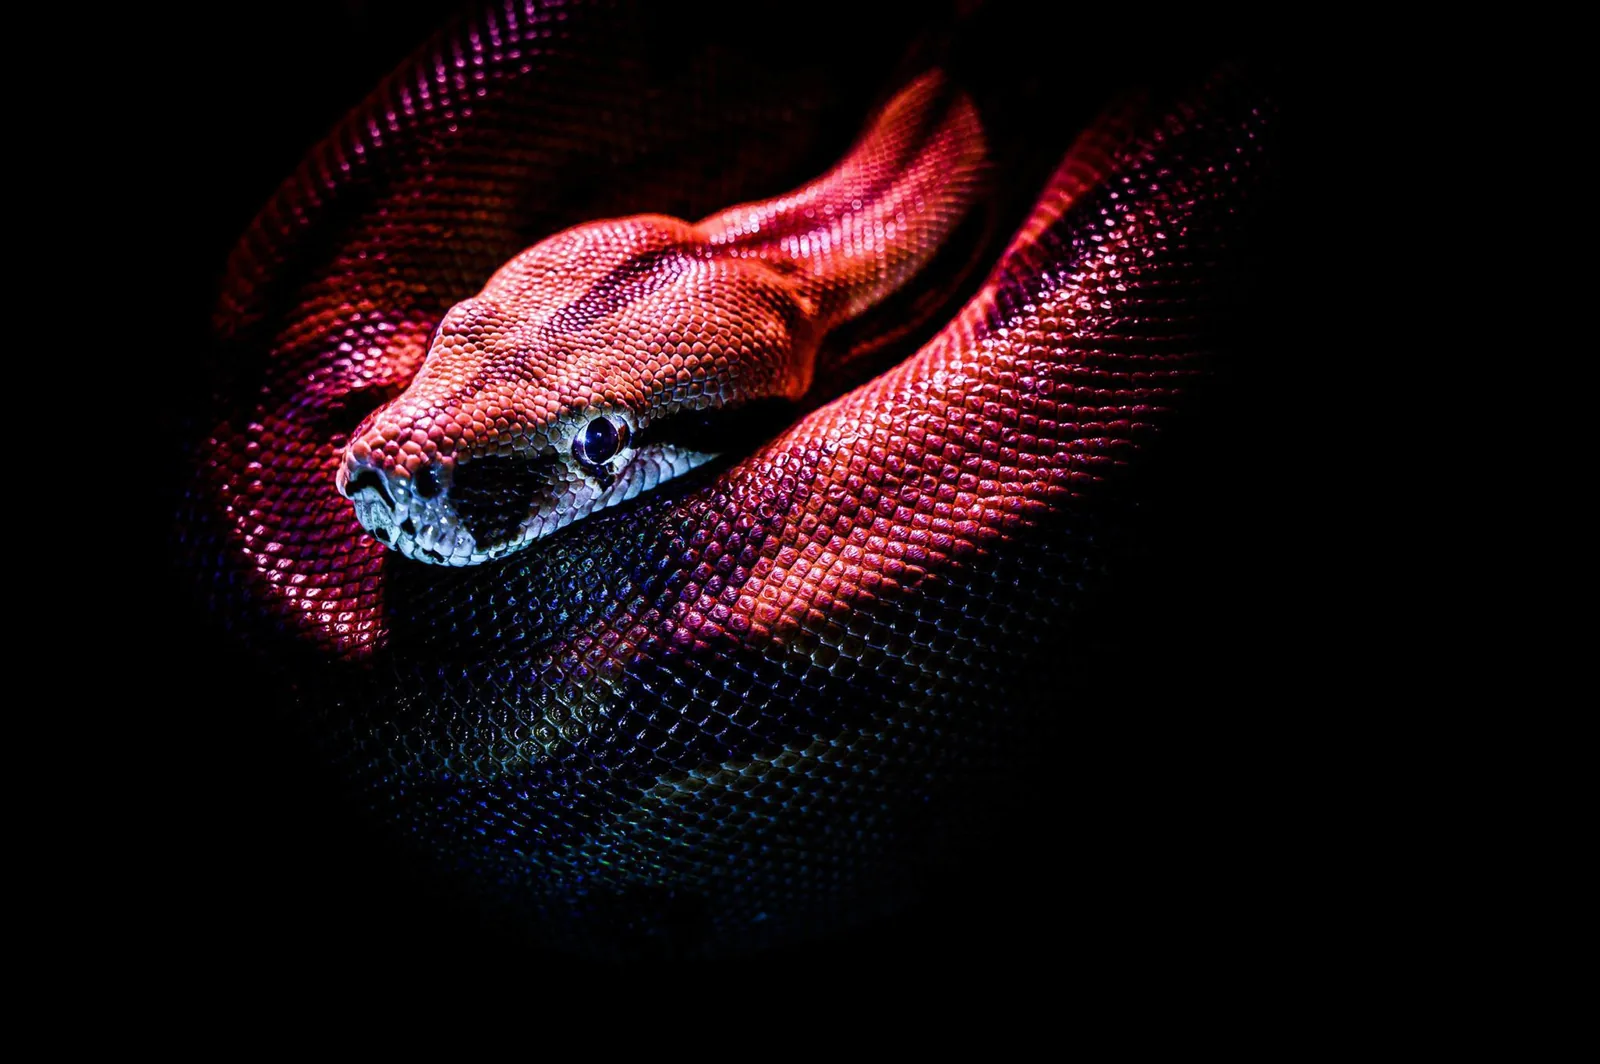
4. Experiment with Light
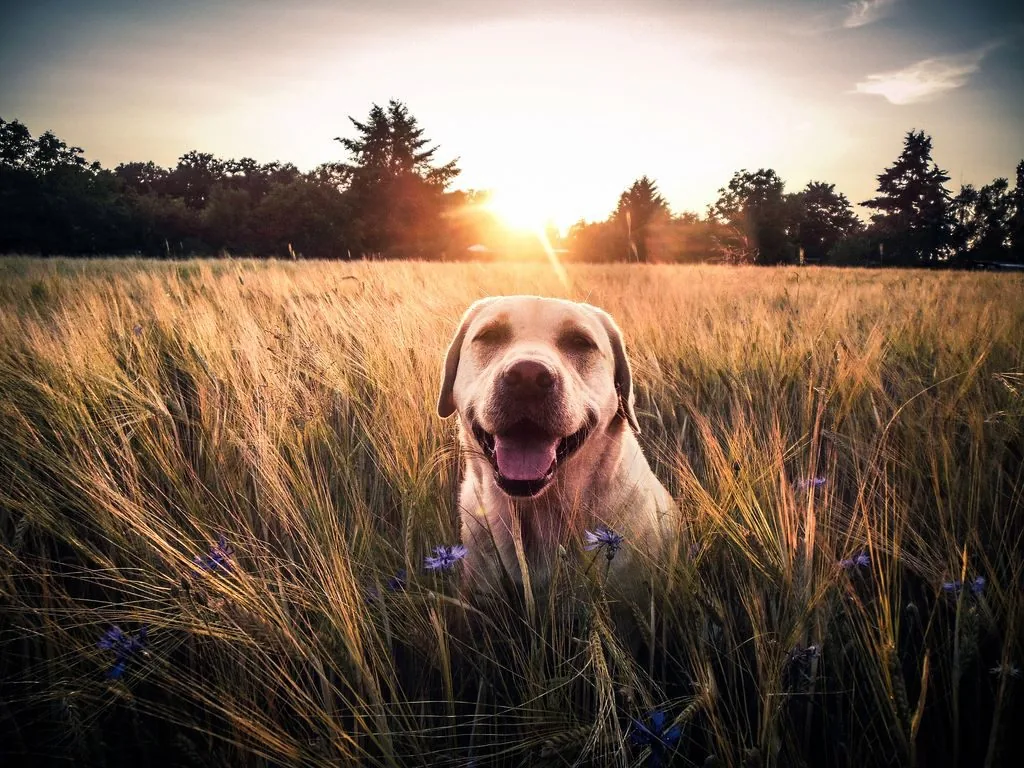
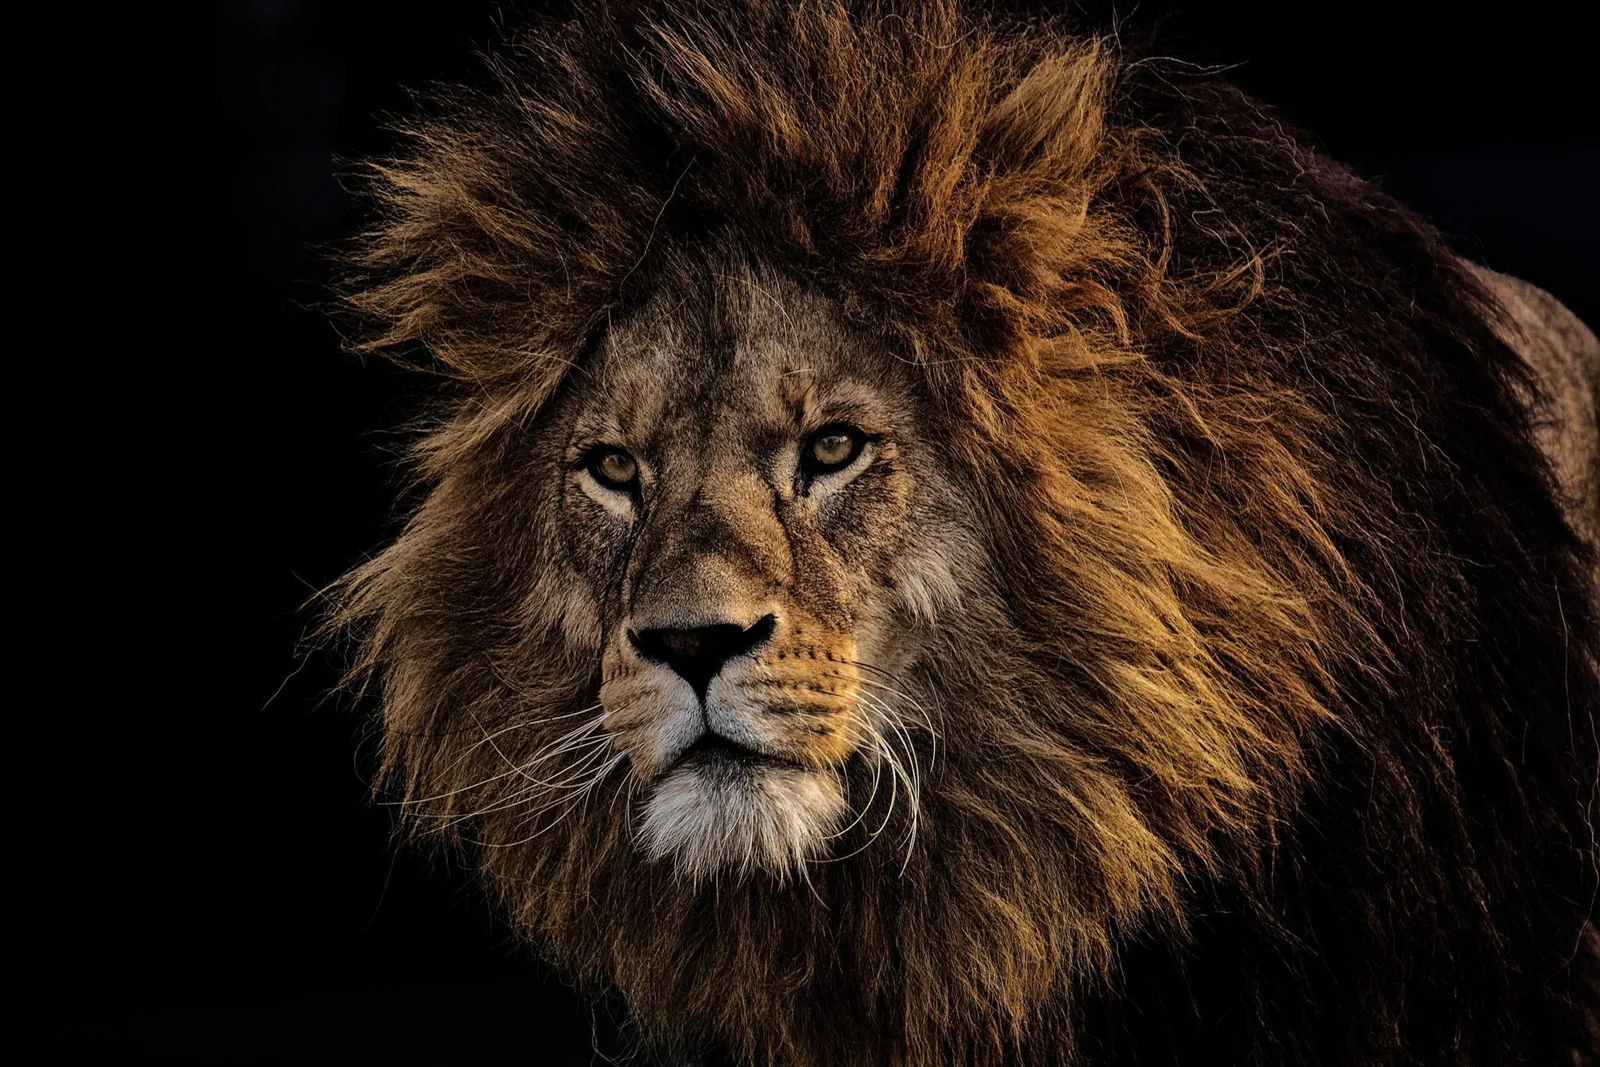
Backlighting creates an ethereal golden rim around fur and feathers in the golden hours, while side-lighting brings out deep tactile textures and drama.
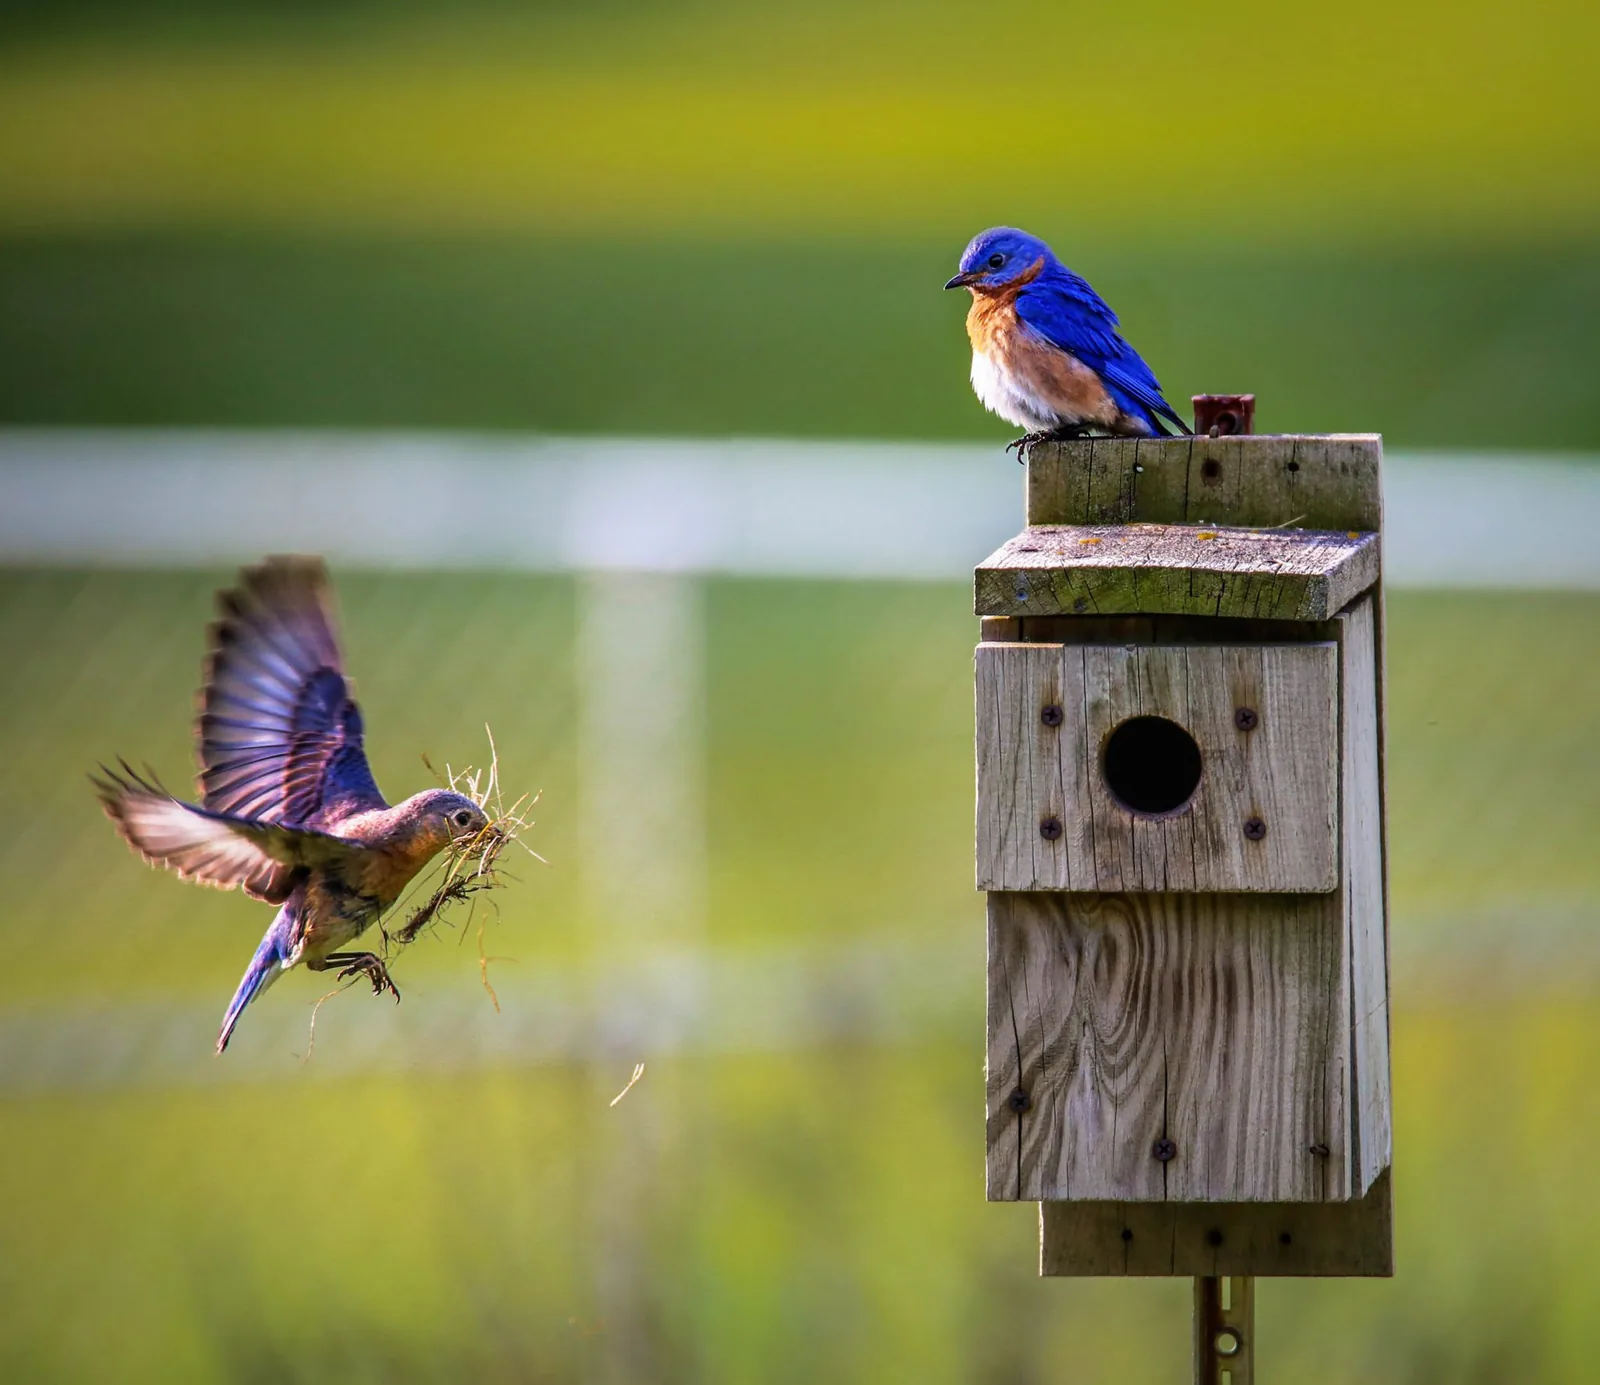
5. Play with Shutter Speed
Freezing motion isn’t always best. Slower shutter panning adds dynamic motion blur to running animals or beating wings for genuine artistic flair.
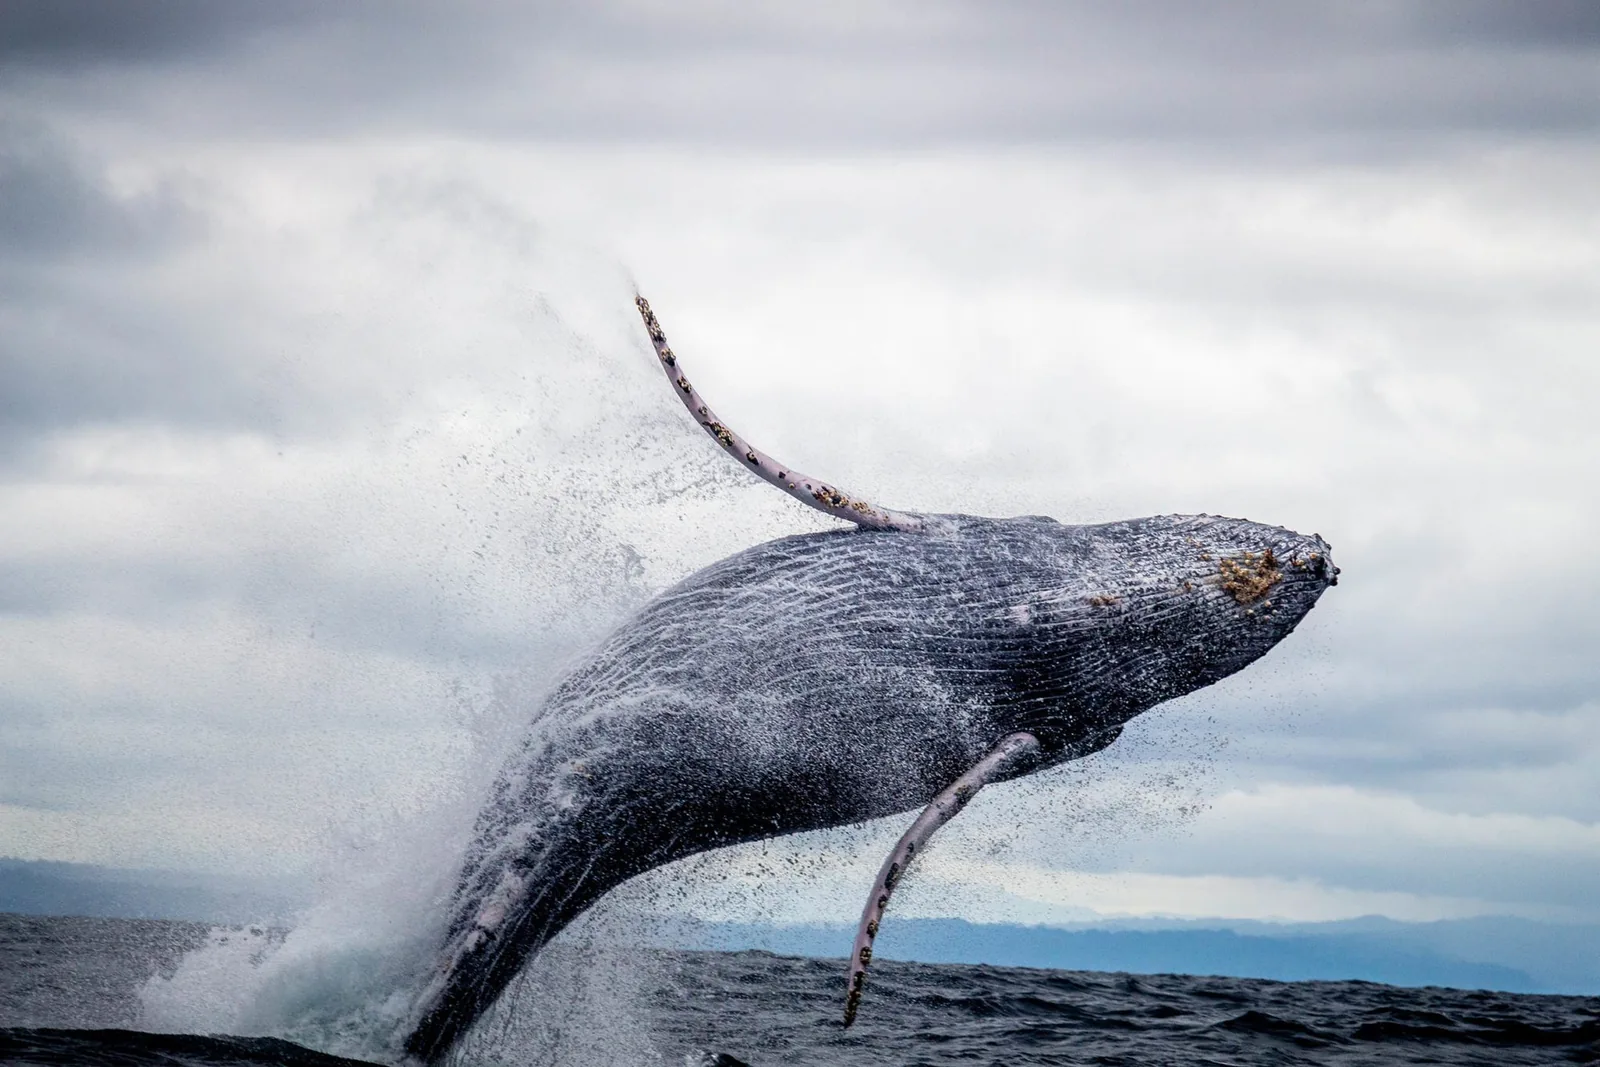
6. High-Speed Burst Mode
In split-second wildlife encounters, burst mode captures the decisive wing spread or direct glance that makes a portfolio-worthy photograph.
7. Embrace Higher ISO
A crisp image with slight noise is infinitely better than a blurry shot. Modern sensors and denoising tools handle elevated ISO values with ease.
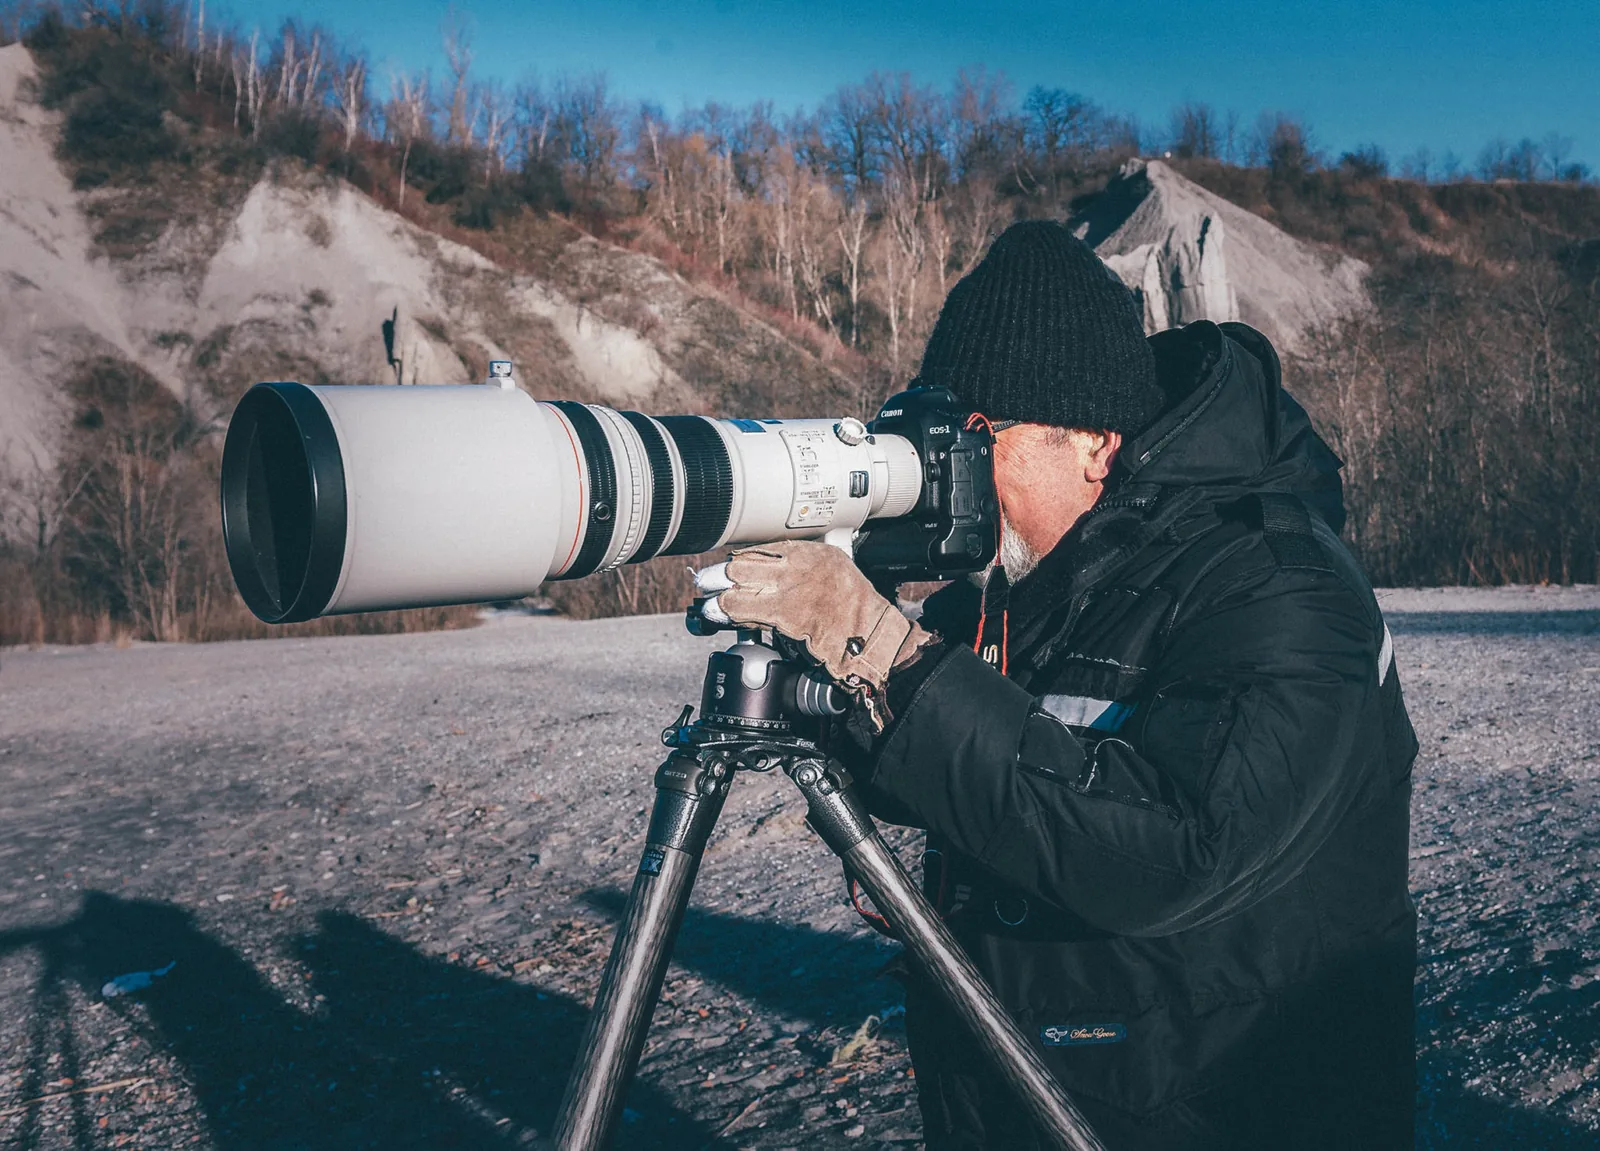
8. Tripods are Essential
Heavy telephoto lenses demand sturdy tripods or monopods equipped with fluid gimbal heads to eliminate camera shake in low light.

9. Manual White Balance
Auto White Balance often neutralizes rich golden tones in deep forests or sunsets. Setting WB manually locks in natural, warm hues.
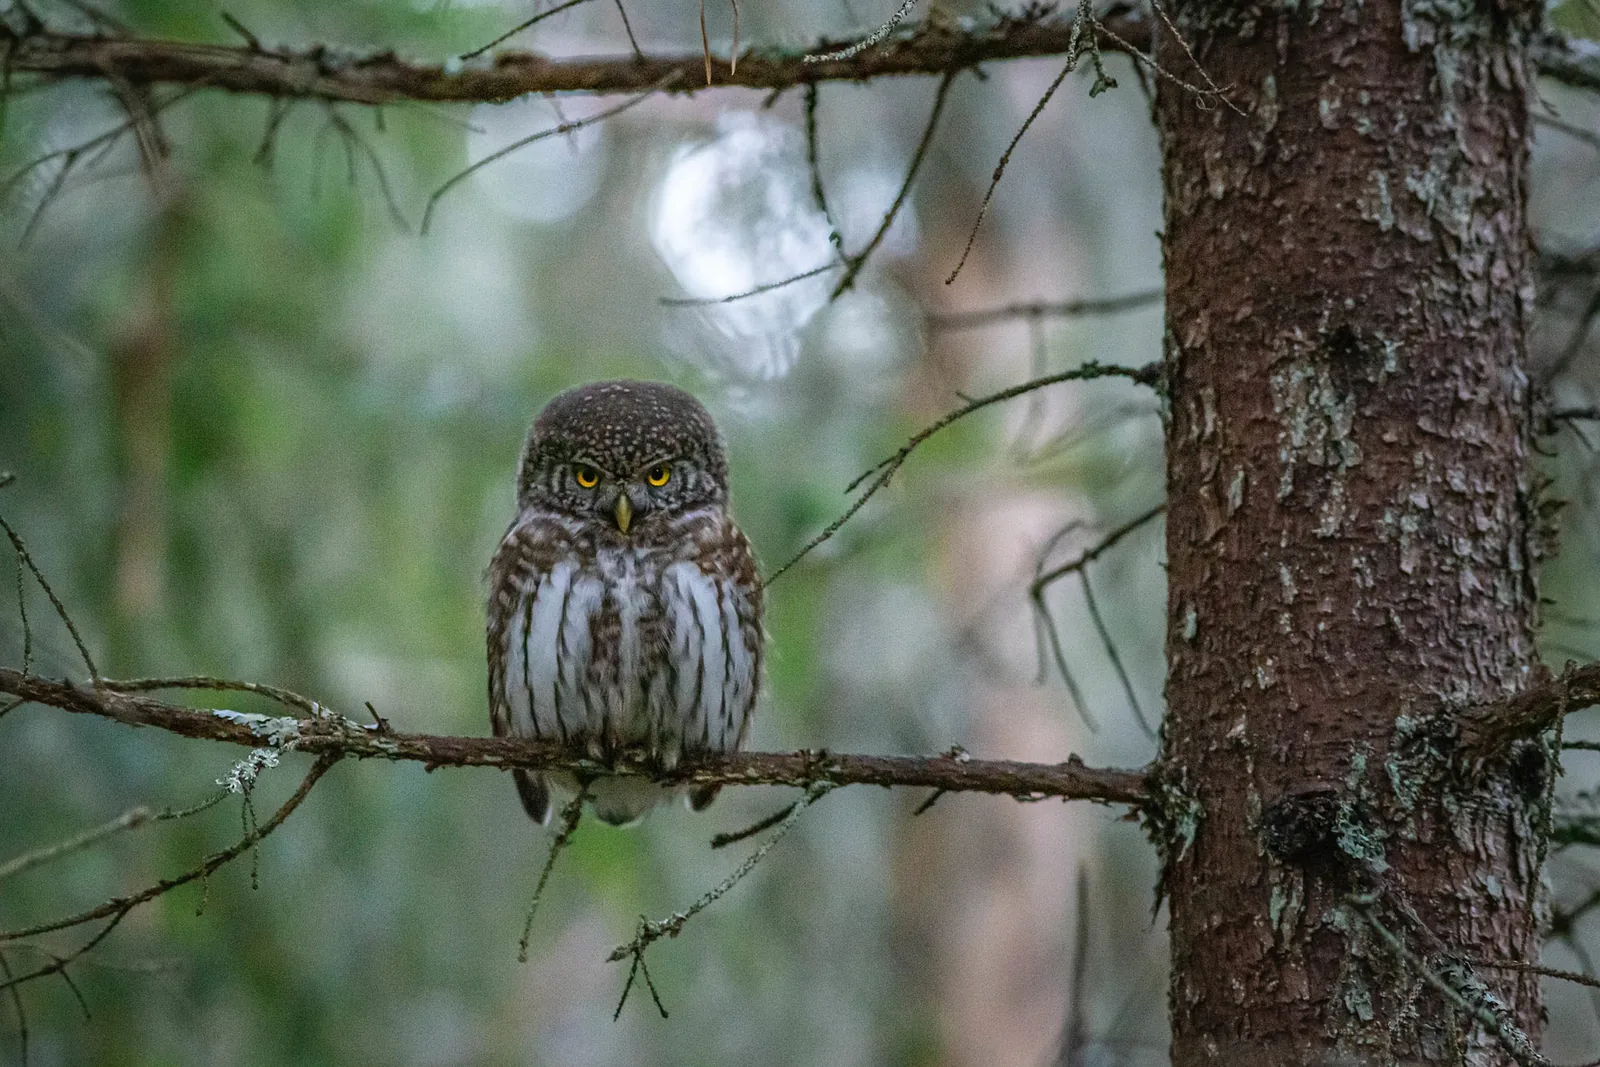
10. Clean Backgrounds
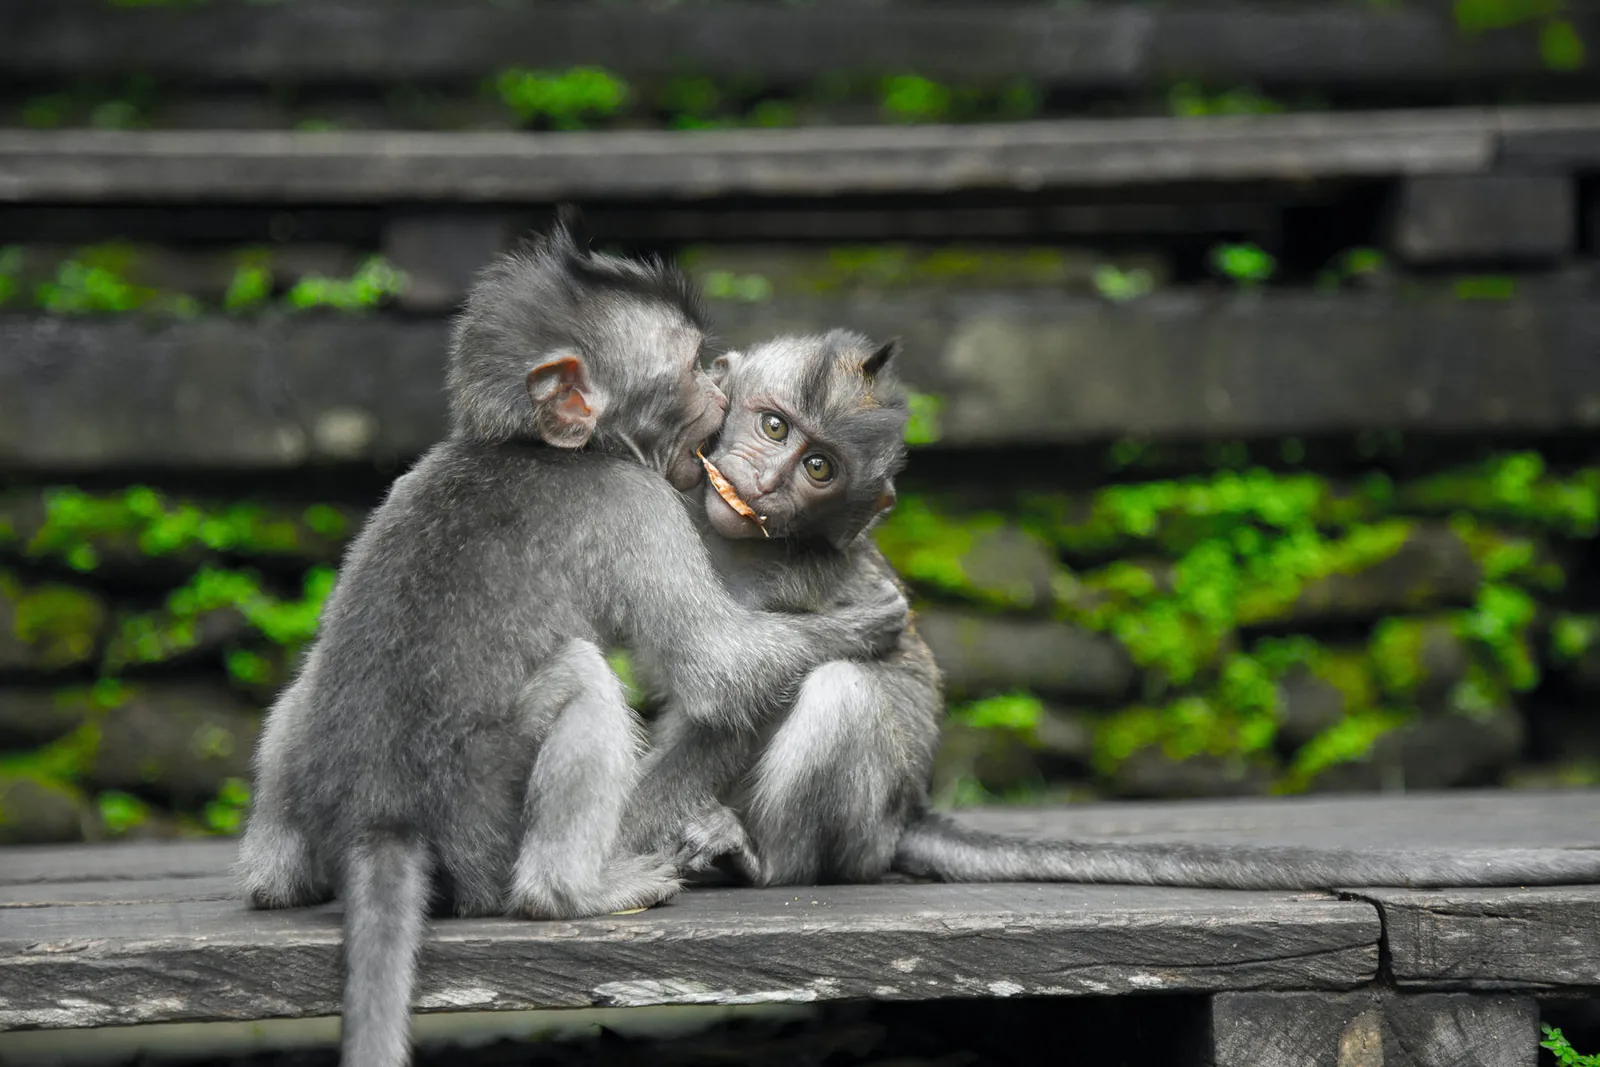
Avoid distracting branches behind your subject. A silky background or softly blurred companions adds stunning three-dimensional depth.
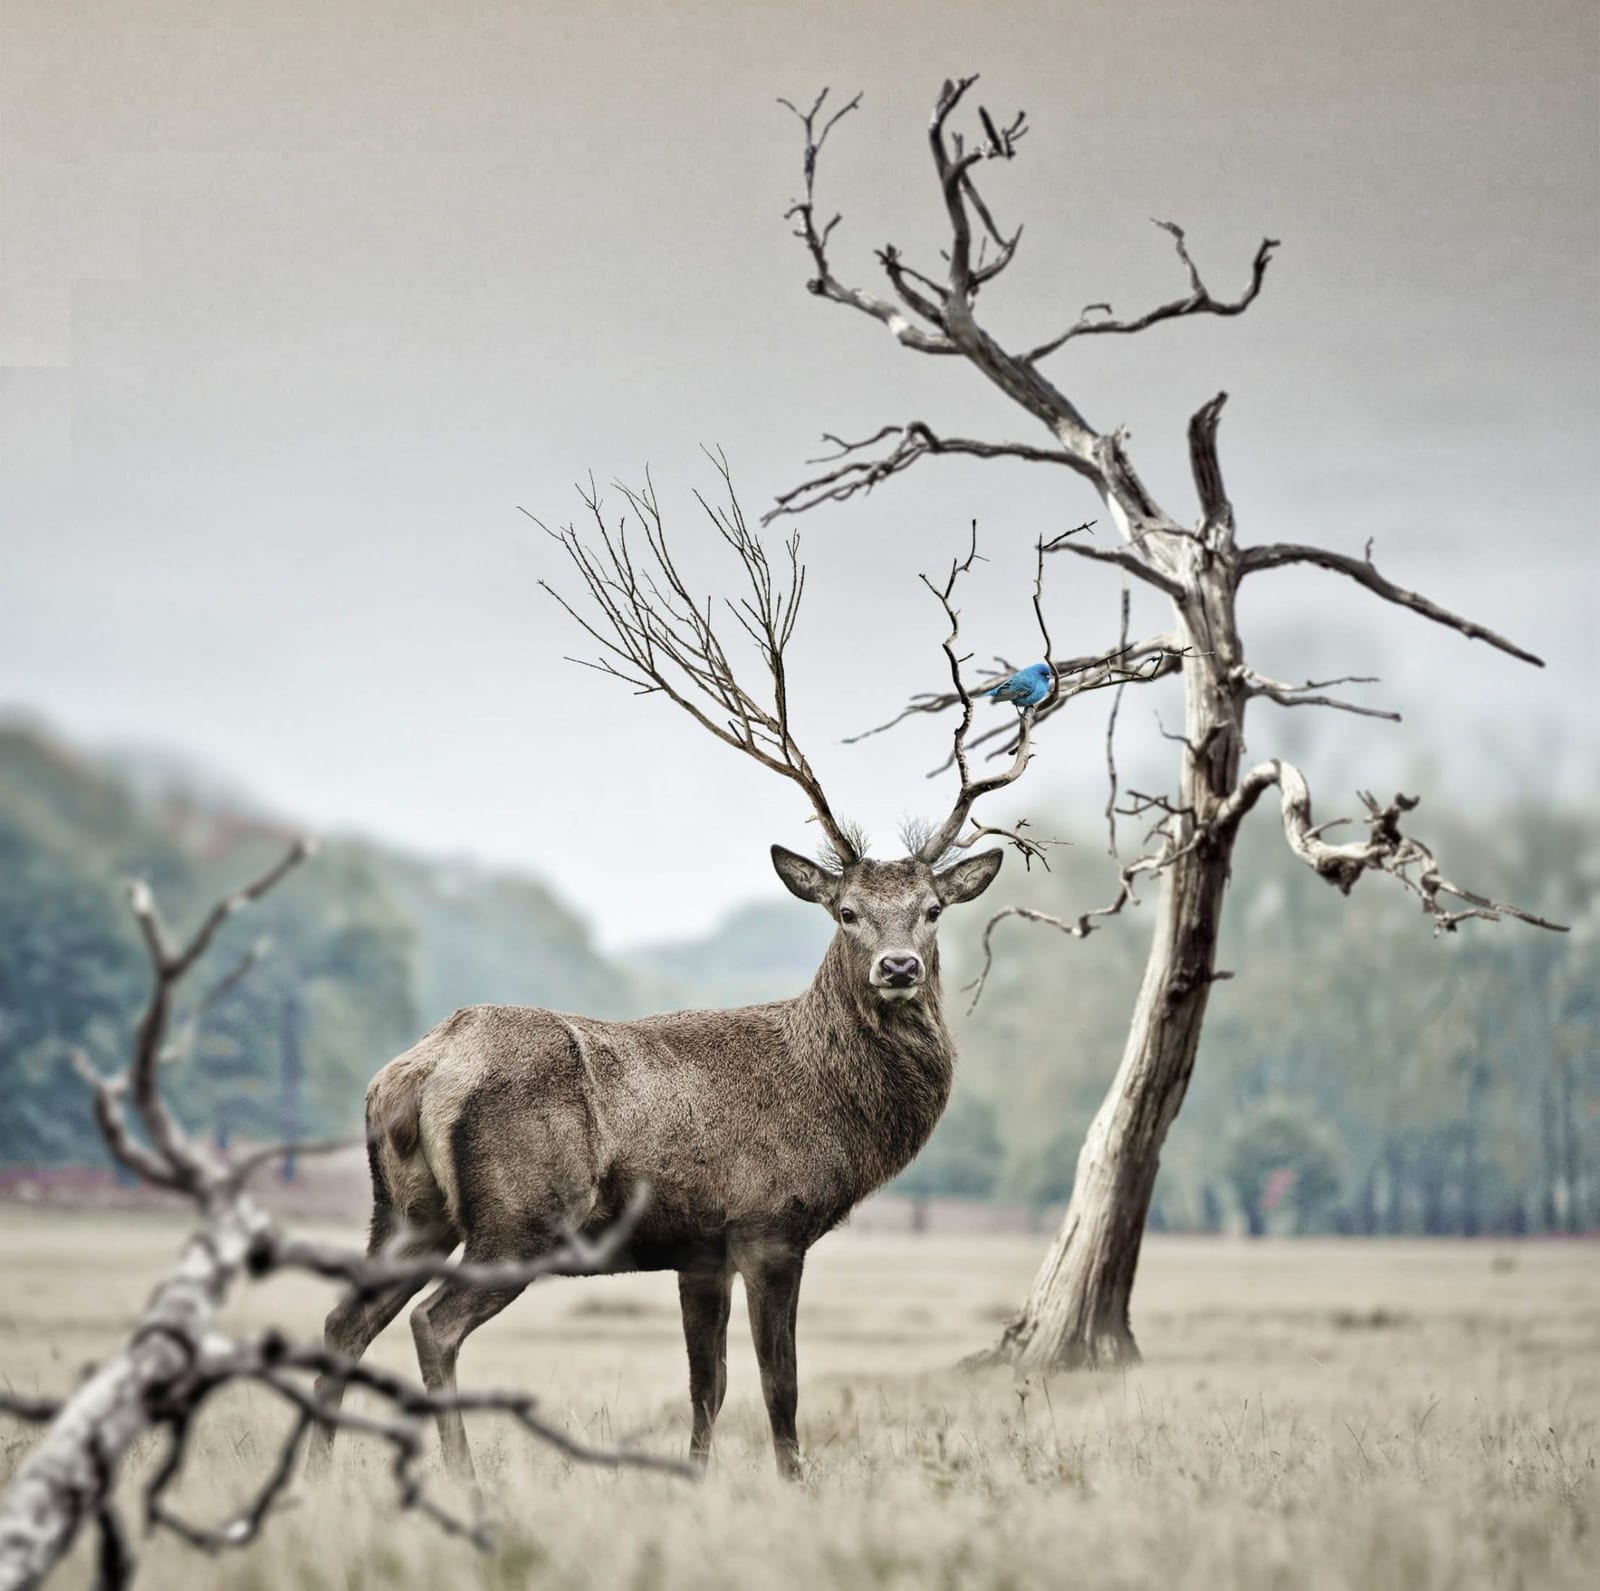
11. Frame with Foreground
Shooting through soft leaves or tall grasses creates an environmental frame that delivers an authentic, natural aesthetic.
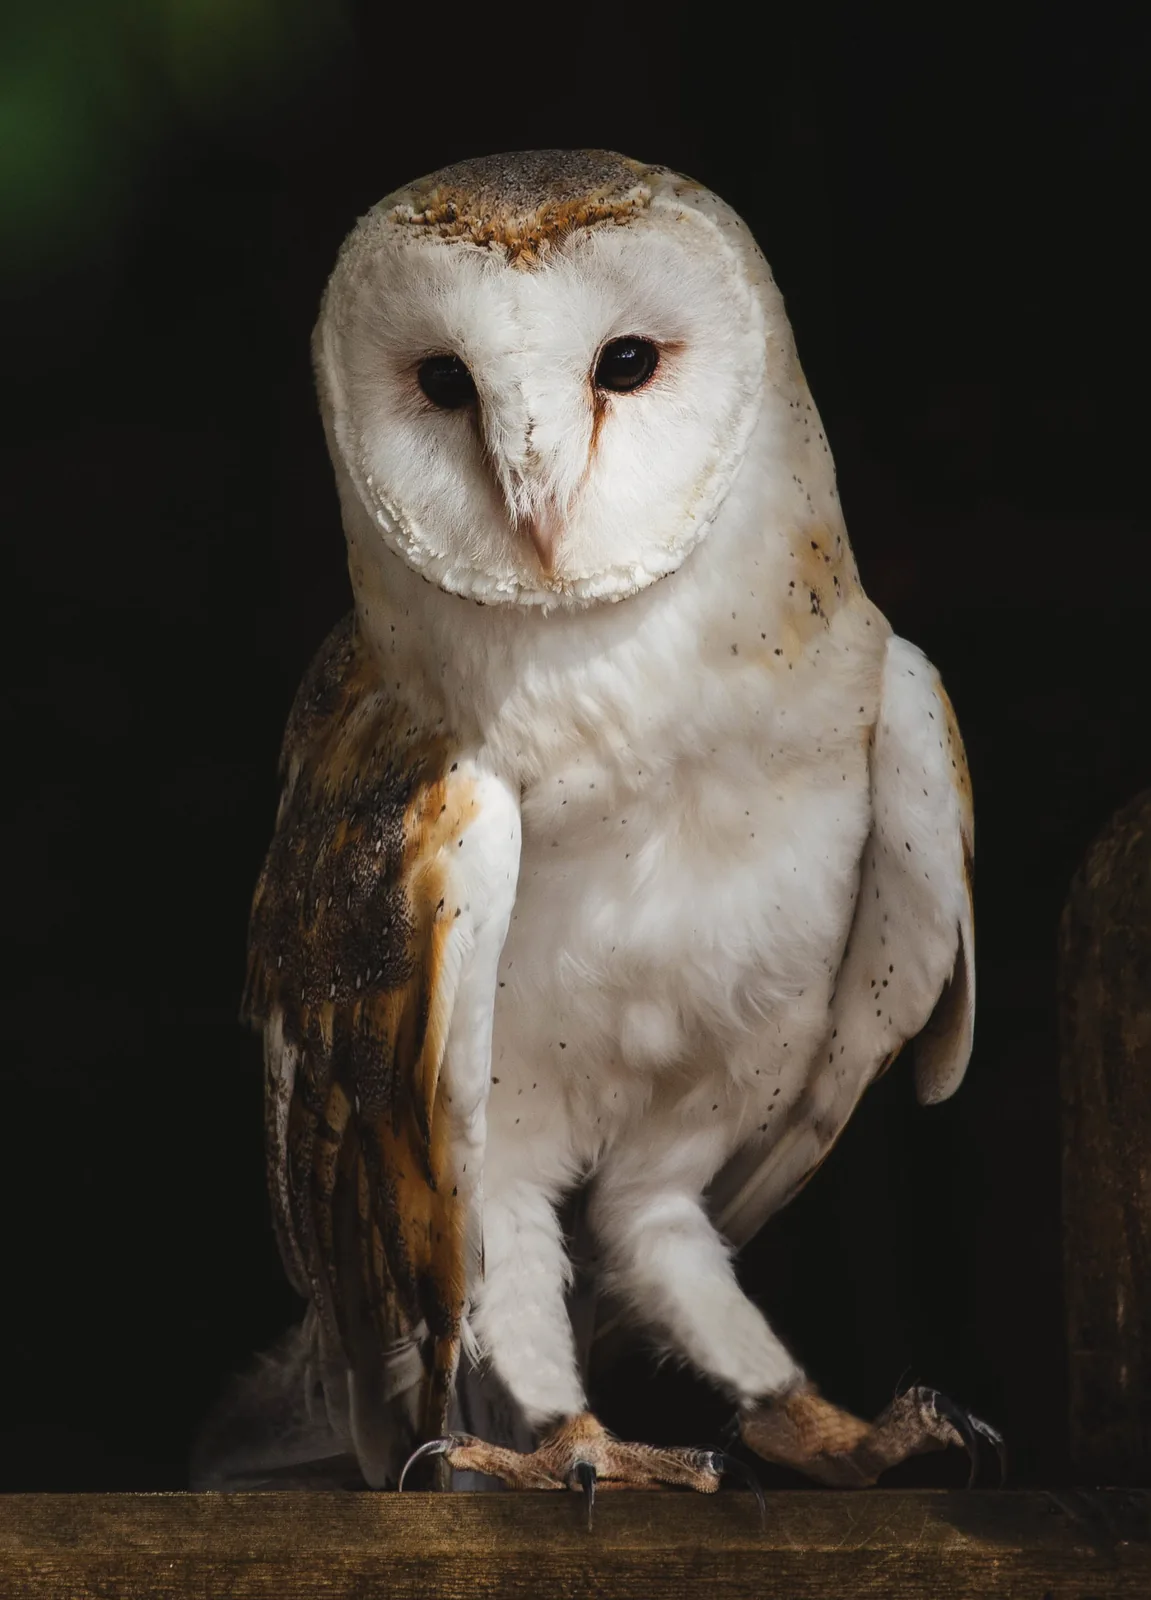
12. Direct Eye Contact
Eye contact locks the viewer’s attention instantly. Subtle natural sounds can prompt animals to turn their gaze toward your lens.

13. Master the Art of Patience
True wildlife photography demands quiet dedication in blinds. Giving animals time to accept your presence yields organic, unhurried behavior.
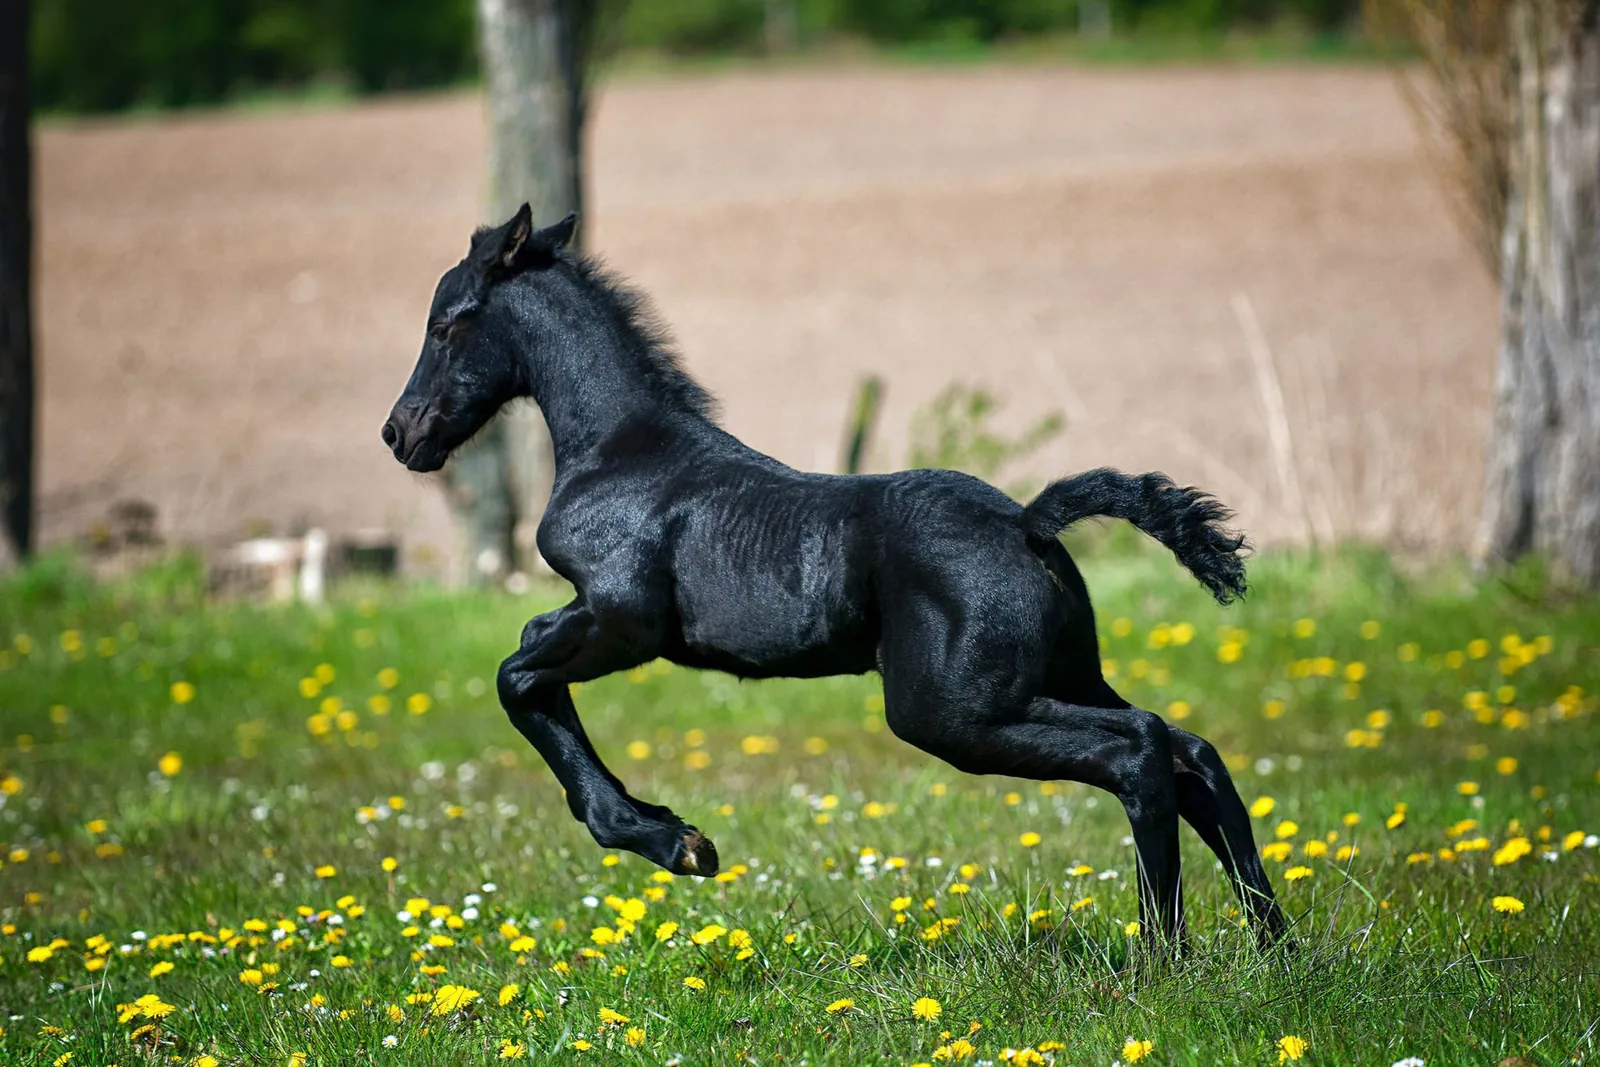
14. Avoid Harsh Midday Light
Midday sun creates harsh shadows and forces animals into resting spots. Early mornings and late afternoons provide superior light and activity.
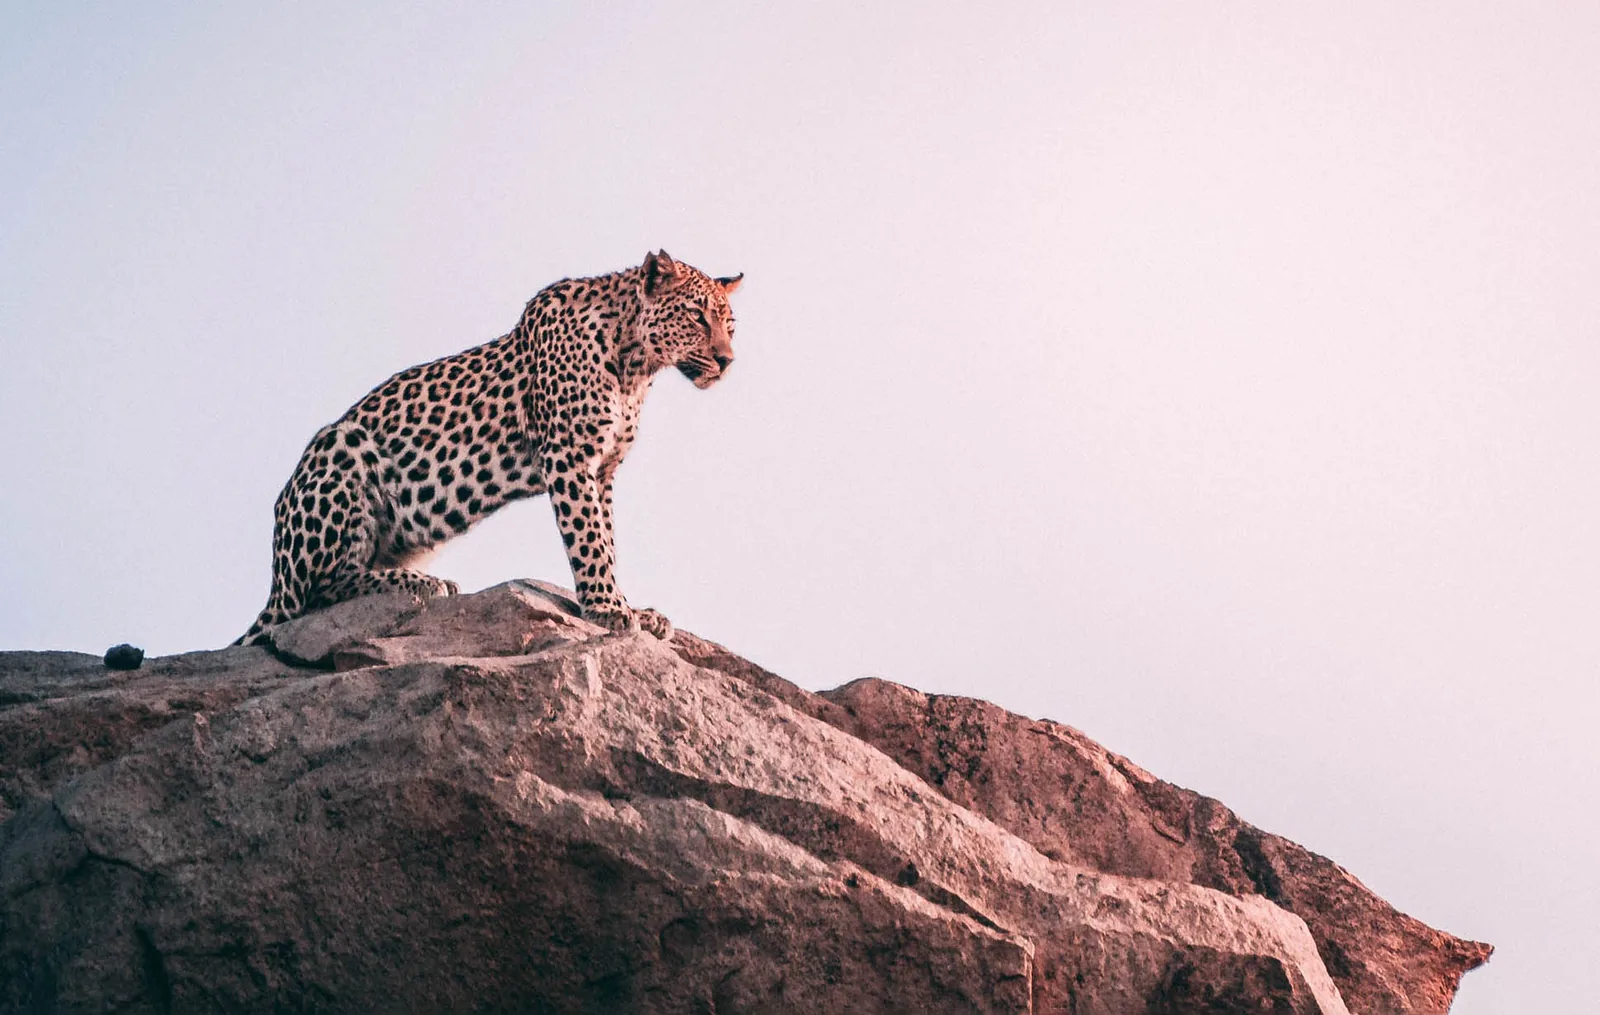
15. Maintain Safe Distance
Never risk safety for a photo. Long telephoto primes allow intimate, frame-filling portraits without stressing the animal or putting yourself in harm’s way.
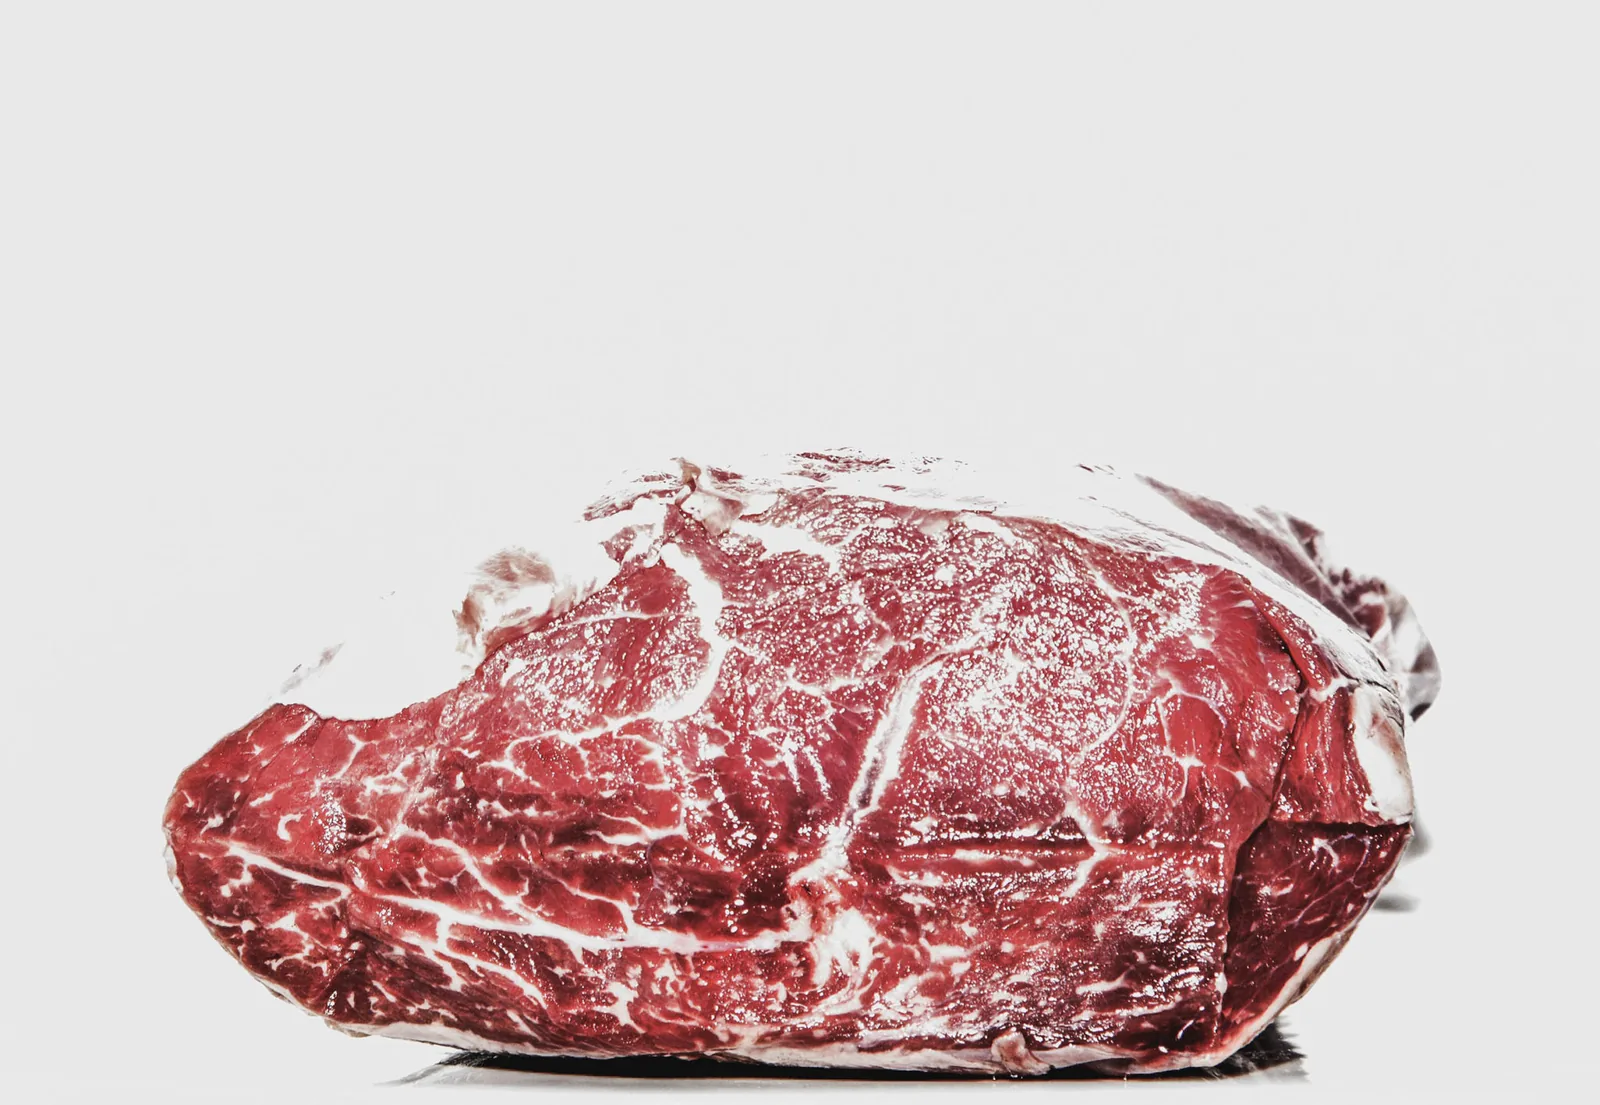
16. Respect Nature — Never Bait
Baiting harms natural feeding habits and is banned in serious photography competitions. Ethical respect for wildlife always comes first.
Want to take better photographs yourself?
Scope and price are fixed before anything is photographed or filmed. The inquiry commits you to nothing.