Portrait photography basics that every photographer should know
Published
In portrait photography, the background is just as important as the model. A busy or overly distracting background draws attention away from the main element of your image.
Therefore, you should make sure that you always have a neutral, uncluttered background that does not distract the viewer from your model or the subject being photographed.
However, you don’t have to choose a completely simple background. For example, an interesting wall or fence can create a wonderful effect with an appealing color or texture. However, it must harmonize with the context of the image.
Another technique is to place another object in the background to create an additional focal point. For instance, an artist in front of her easel, a fisherman in front of a boat, or a musician in front of his instrument. When applying this technique, background elements are often kept softly blurred without taking focus away from the main subject. This allows all objects and context in the shot to harmonize and effectively capture the viewer’s attention.
1. Prepare your model for the shoot
Even the best and most expensive camera equipment will yield poor results if your model is not ready, relaxed, and comfortable.
Being photographed is a rather unnatural and therefore usually stressful experience, so your job as a photographer is to make the shoot as easy, relaxed, and stress-free as possible.
Even models you have already worked with can freeze up sometimes. Break the ice with small talk and explain the vision for the shoot.
In portrait photography with children, get down to their eye level, communicate gently, patiently, and playfully.
Guide your model on suitable clothing. Neutral and darker colors are generally more advantageous for portrait photography.
2. Make sure the balance between light and shadow is right

Natural daylight is generally the most attractive light source for portrait photography – especially if you do not have dedicated studio lighting.
Direct sunlight is usually undesirable as it creates harsh shadows. Under such conditions, find a shaded spot or shoot backlit with fill light.
Indoors, place the model near a window turned slightly toward the light. Shadows on the opposite side add depth and a touch of drama.
If shadows are too dark, bounce window light back onto shaded areas using reflectors for a balanced, flattering portrait look.
3. Use a flattering focal length
Focal length has a massive impact on your images. Depending on the focal length used, a certain degree of distortion will occur.
Find out what focal lengths your lens offers. Prime lenses offer a fixed focal length, while zoom lenses cover a range.
A 50 mm focal length provides a very true-to-life depiction of your subject without facial distortion.
Focal lengths under 50 mm cause facial feature exaggeration, while focal lengths over 50 mm (like 80 mm or 100 mm) flatter facial structures.
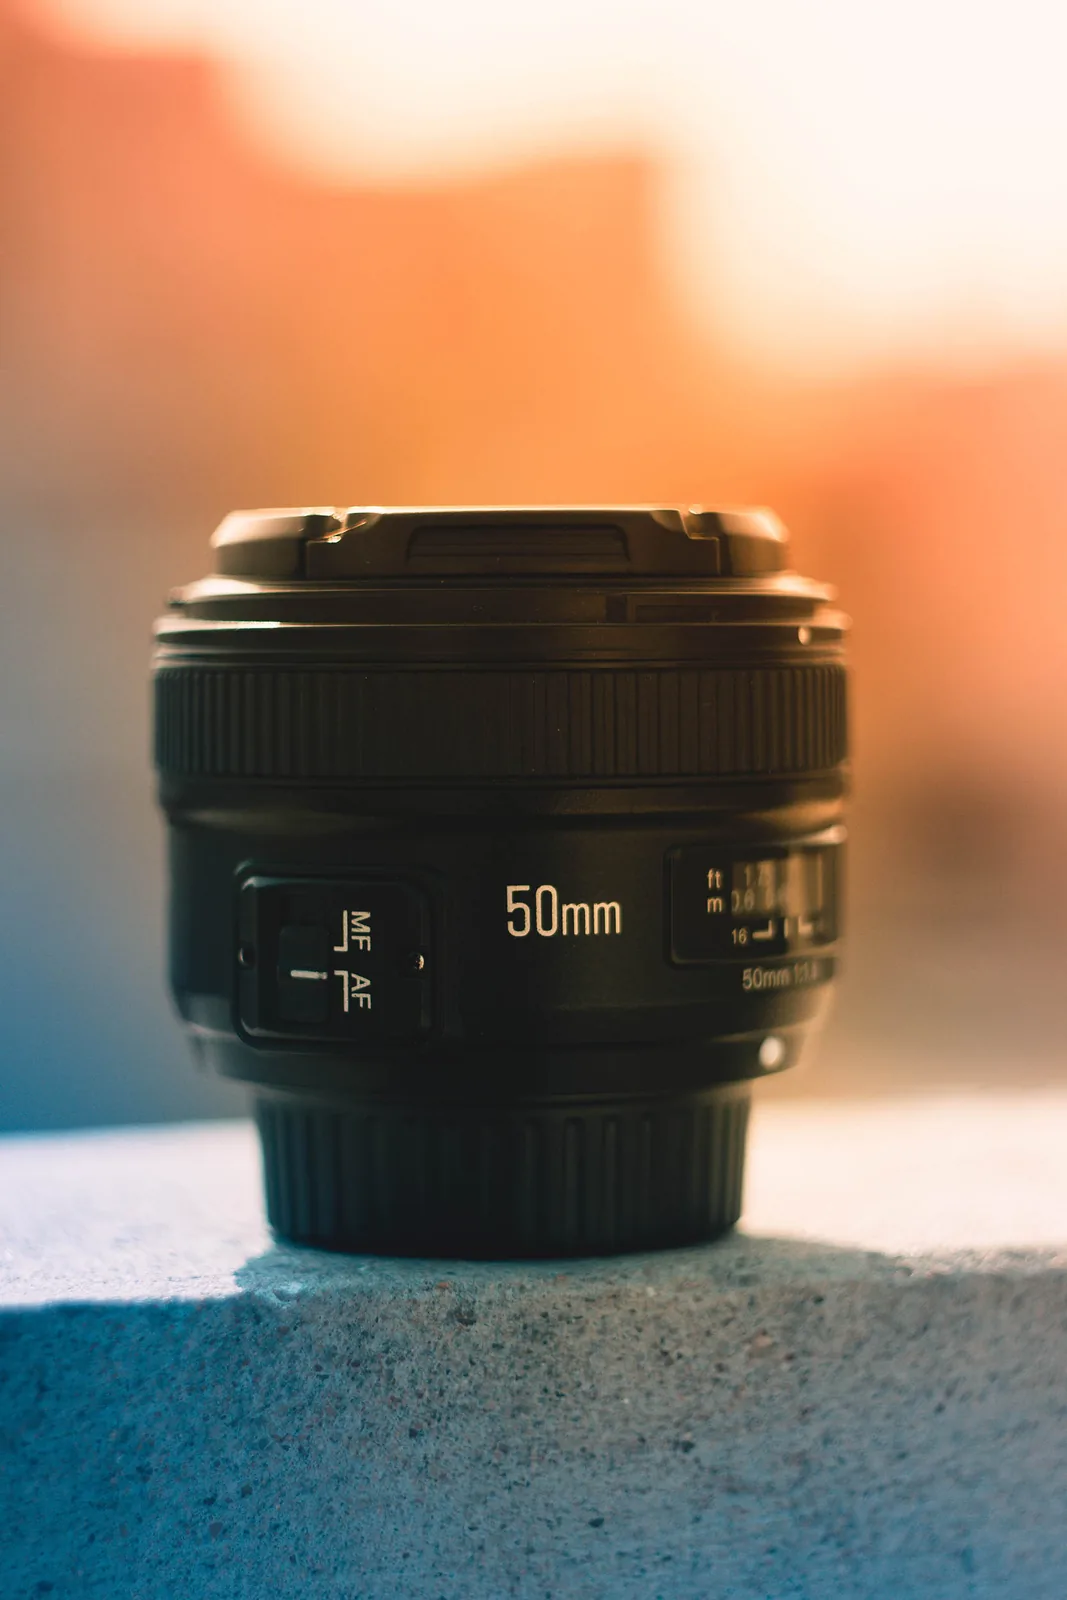
4. Blur the background using aperture priority mode
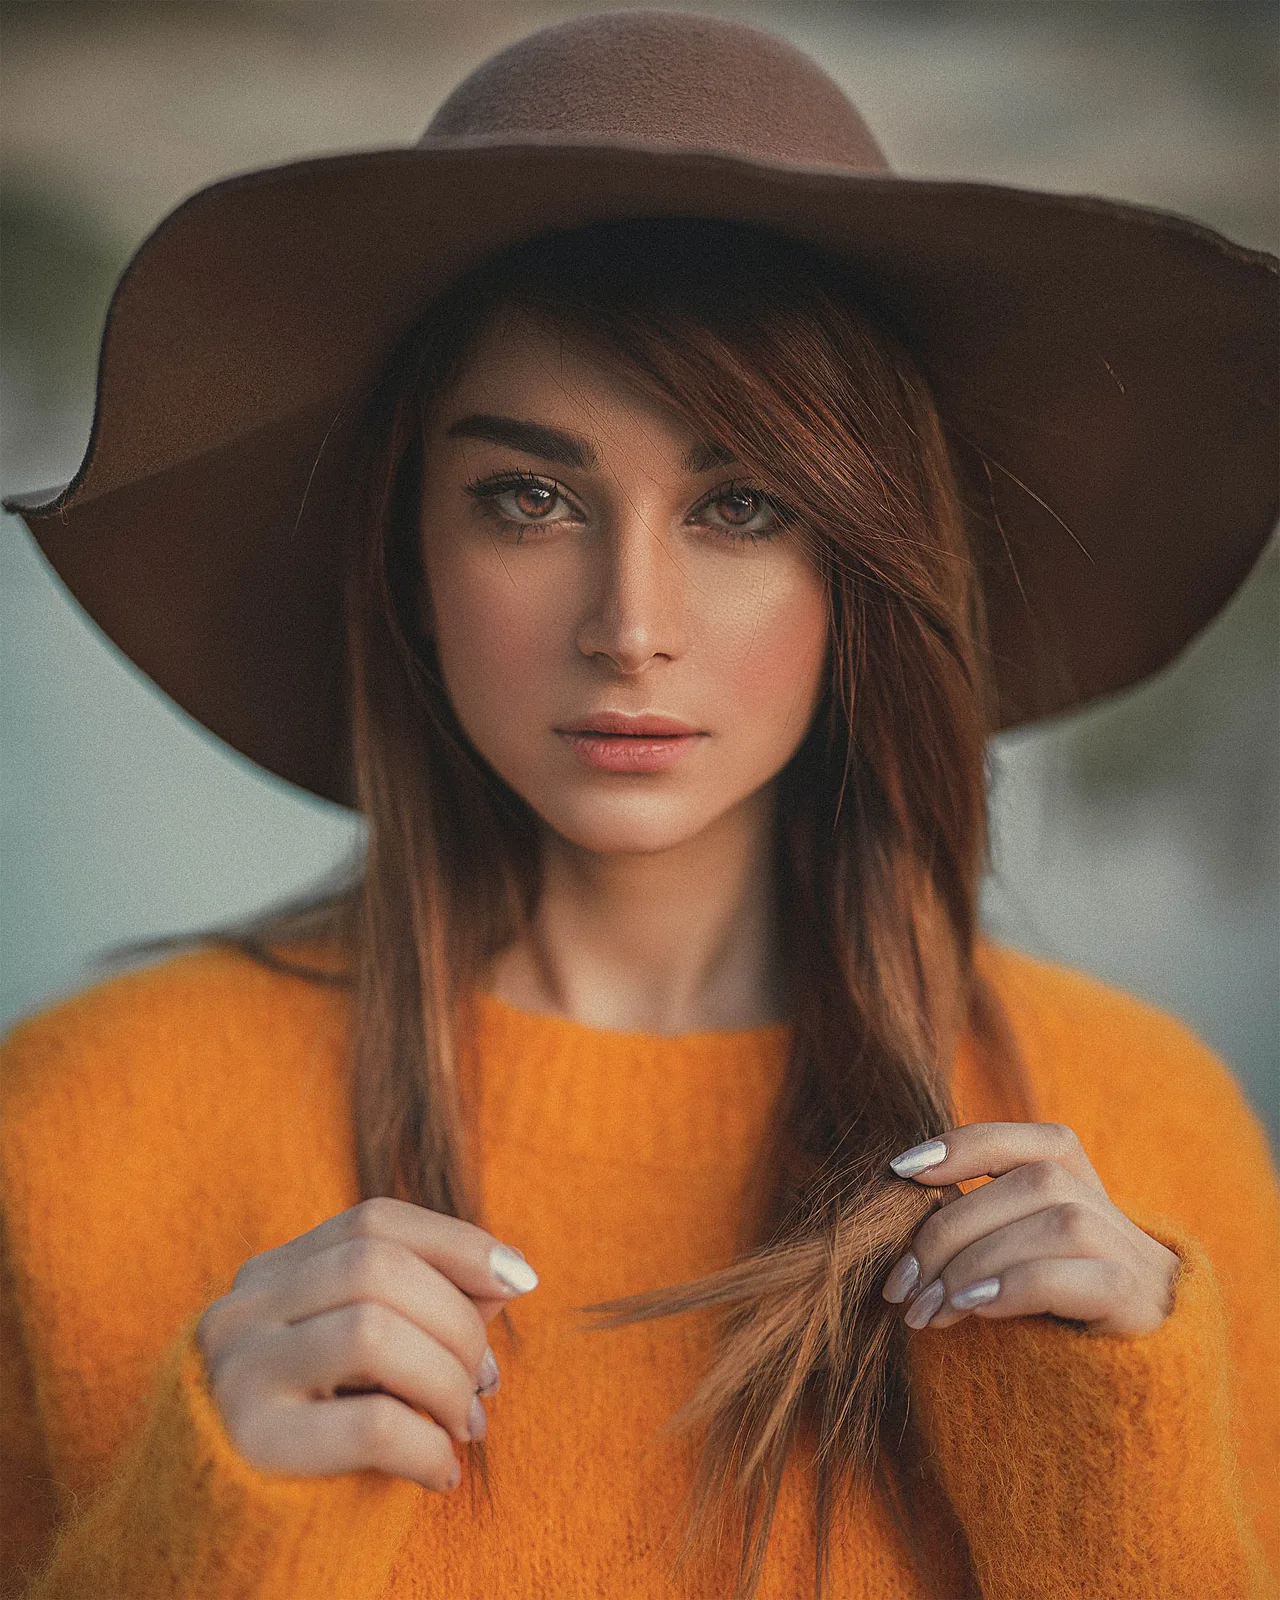
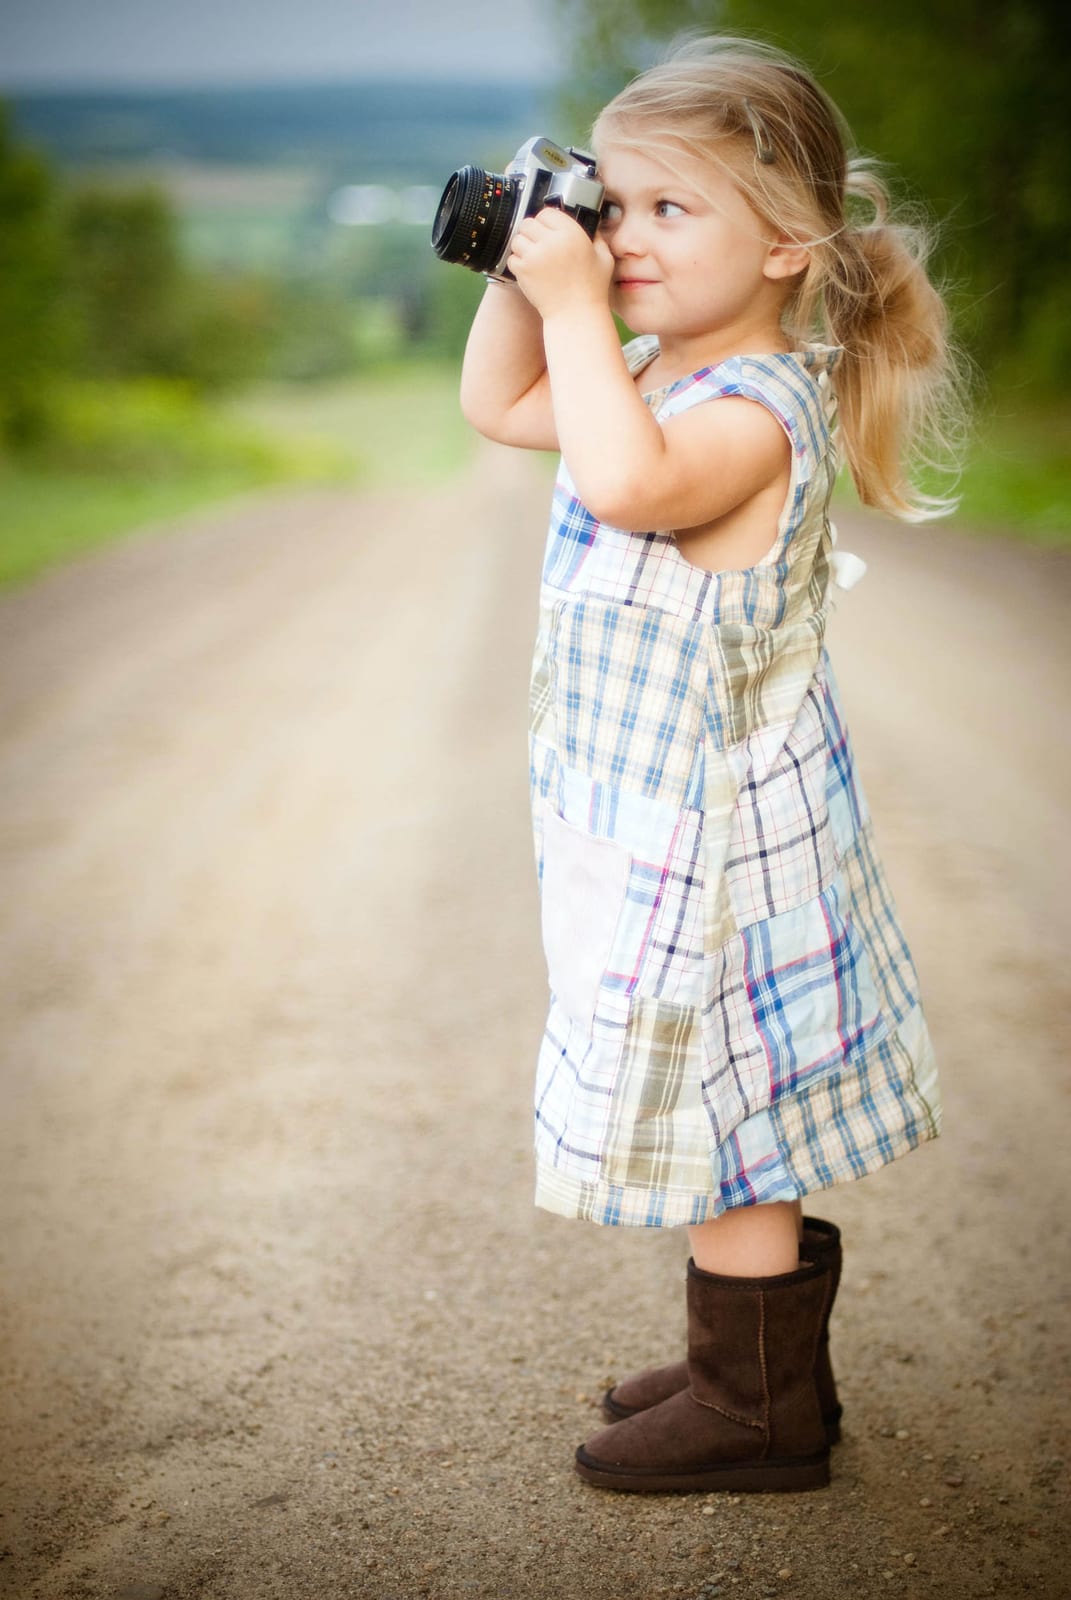
A good method for improving portraits is to photograph with a shallow depth of field. This allows you to keep your subject in sharp focus while the background appears blurred, making your subject stand out.
You can control depth of field by adjusting aperture (measured in f-stops). The larger the aperture (smaller f-number), the more blurred your background will be.
In general, you will want to choose the widest aperture your lens offers. An aperture of f/4 is ideal for portraits, providing enough depth of field to render your subject sharp while softly blurring the background.
To change the aperture, set your shooting mode to Aperture Priority or AV mode. Then use the main control dial or menu settings to adjust the f-stop value (e.g. on a Canon 5D Mk IV using the main dial behind the shutter button).
5. Focus on the eyes
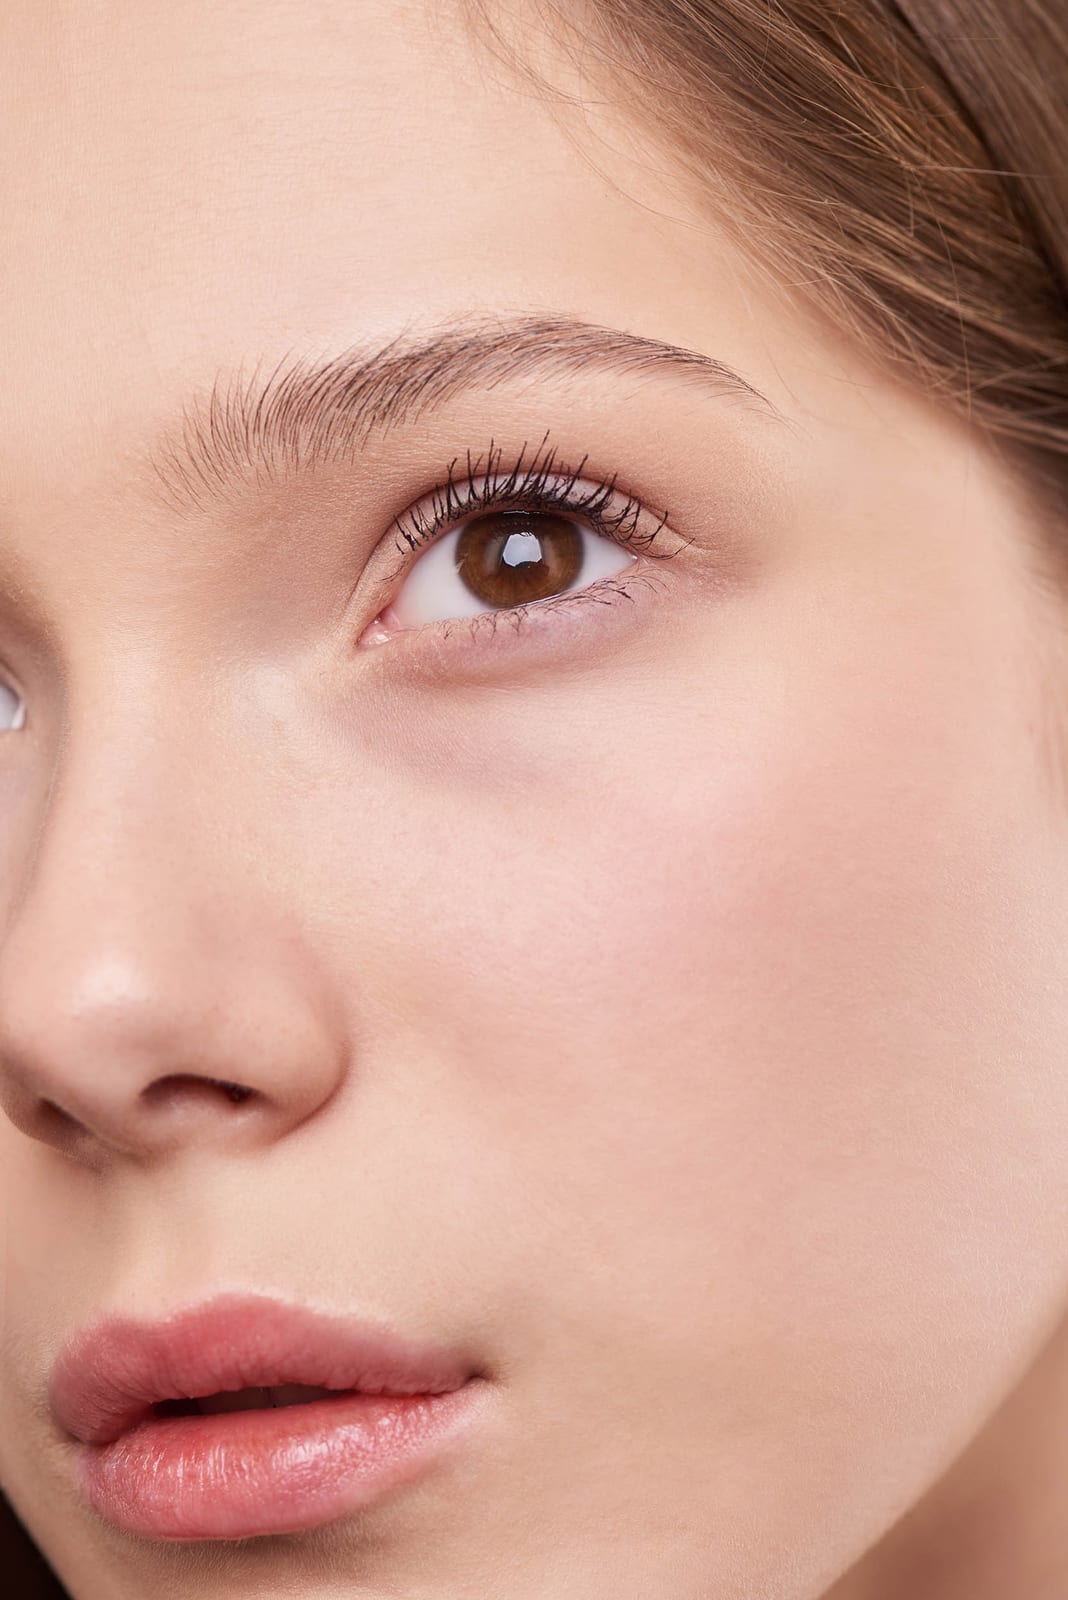
Portrait photos look best when the eyes are sharply in focus. This enhances eye contact between the model and the viewer, creating a powerful and engaging image.
Pay careful attention to setting your focus point, especially when shooting with a shallow depth of field. Select the central AF point on your camera and position it directly over one of the model’s eyes.
Half-press the shutter button to lock focus. Reframe your shot if necessary for the best composition, then press the shutter button down completely to capture the photo.
When recomposing, make sure not to change the distance between your camera and the subject, as this can cause the eyes to lose focus. Focus magnification in the viewfinder is invaluable for checking sharpness.
6. Pose your model like a pro

Now that your model is ready, relaxed, and comfortable, you need to keep the mood relaxed throughout the entire shoot. Work quickly, but with confidence and calm, giving clear instructions.
Do not overwhelm your model with complicated requests; instead, guide them with small, simple adjustments to find flattering angles: for example, "Lift your chin slightly," "Straighten your back," or "Look at me now."
Have their body and shoulders turned slightly away from the camera for a natural look. Alternatively, for a direct head-on shot, keep their shoulders aligned squarely with the camera.
Bring variety to your shots. Photograph from unusual perspectives, such as from low or high angles.
Need new pictures of your team?
Scope and price are fixed before anything is photographed or filmed. The inquiry commits you to nothing.