Real estate photography made easy – architecture & real estate tips
Published
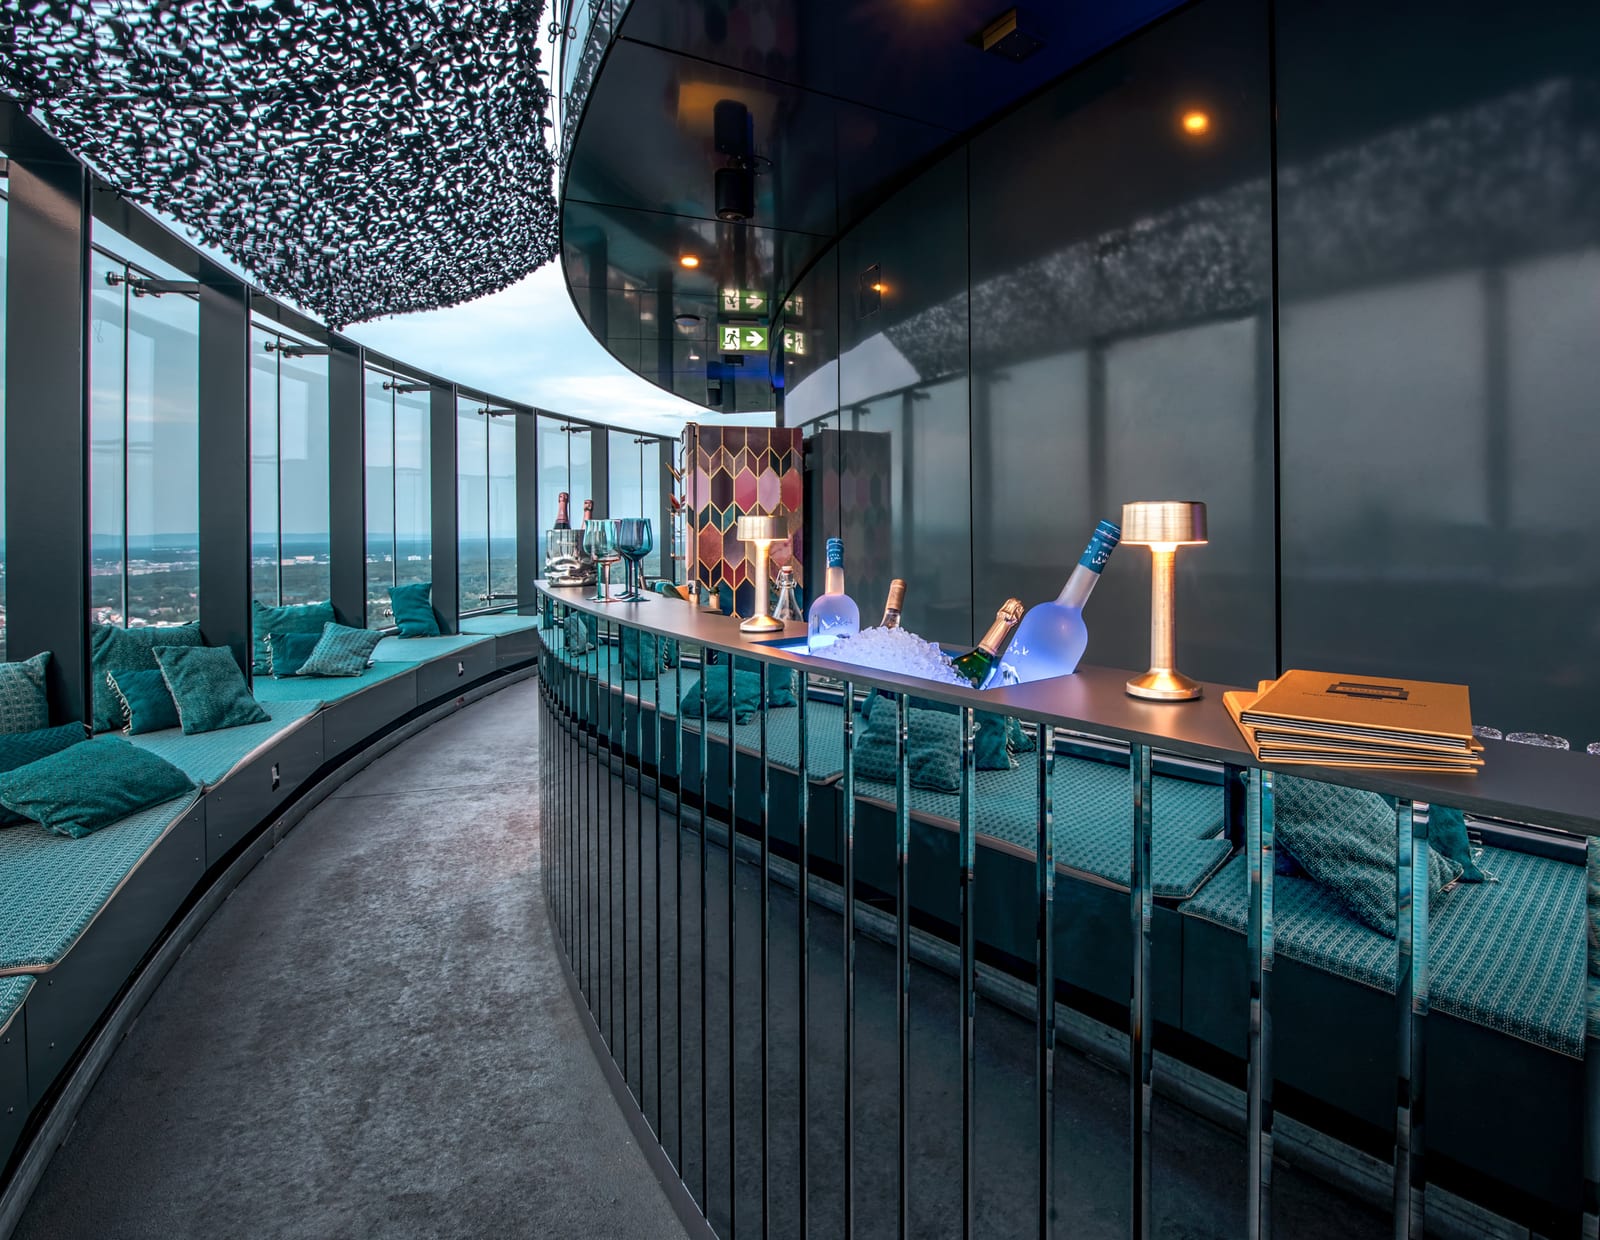
Through real estate photos, people who want to look at a potential property get their first and most important impression of the building. High-quality photographs can be decisive when it comes to shortlisting properties to view or recommending them to acquaintances. It is important to present images that provide a complete overview while highlighting its best features.
1. Preparation is key
Before the first picture is taken, the property must be tidied up and cleared of clutter that could ruin the shot, such as trash, bins, or newspapers.
Depending on the size of the room and property, this can require significant organization, so be sure to plan sufficient prep time in advance.
Create a list of special features you want to highlight in the photos; this will guide you smoothly throughout the entire shoot.
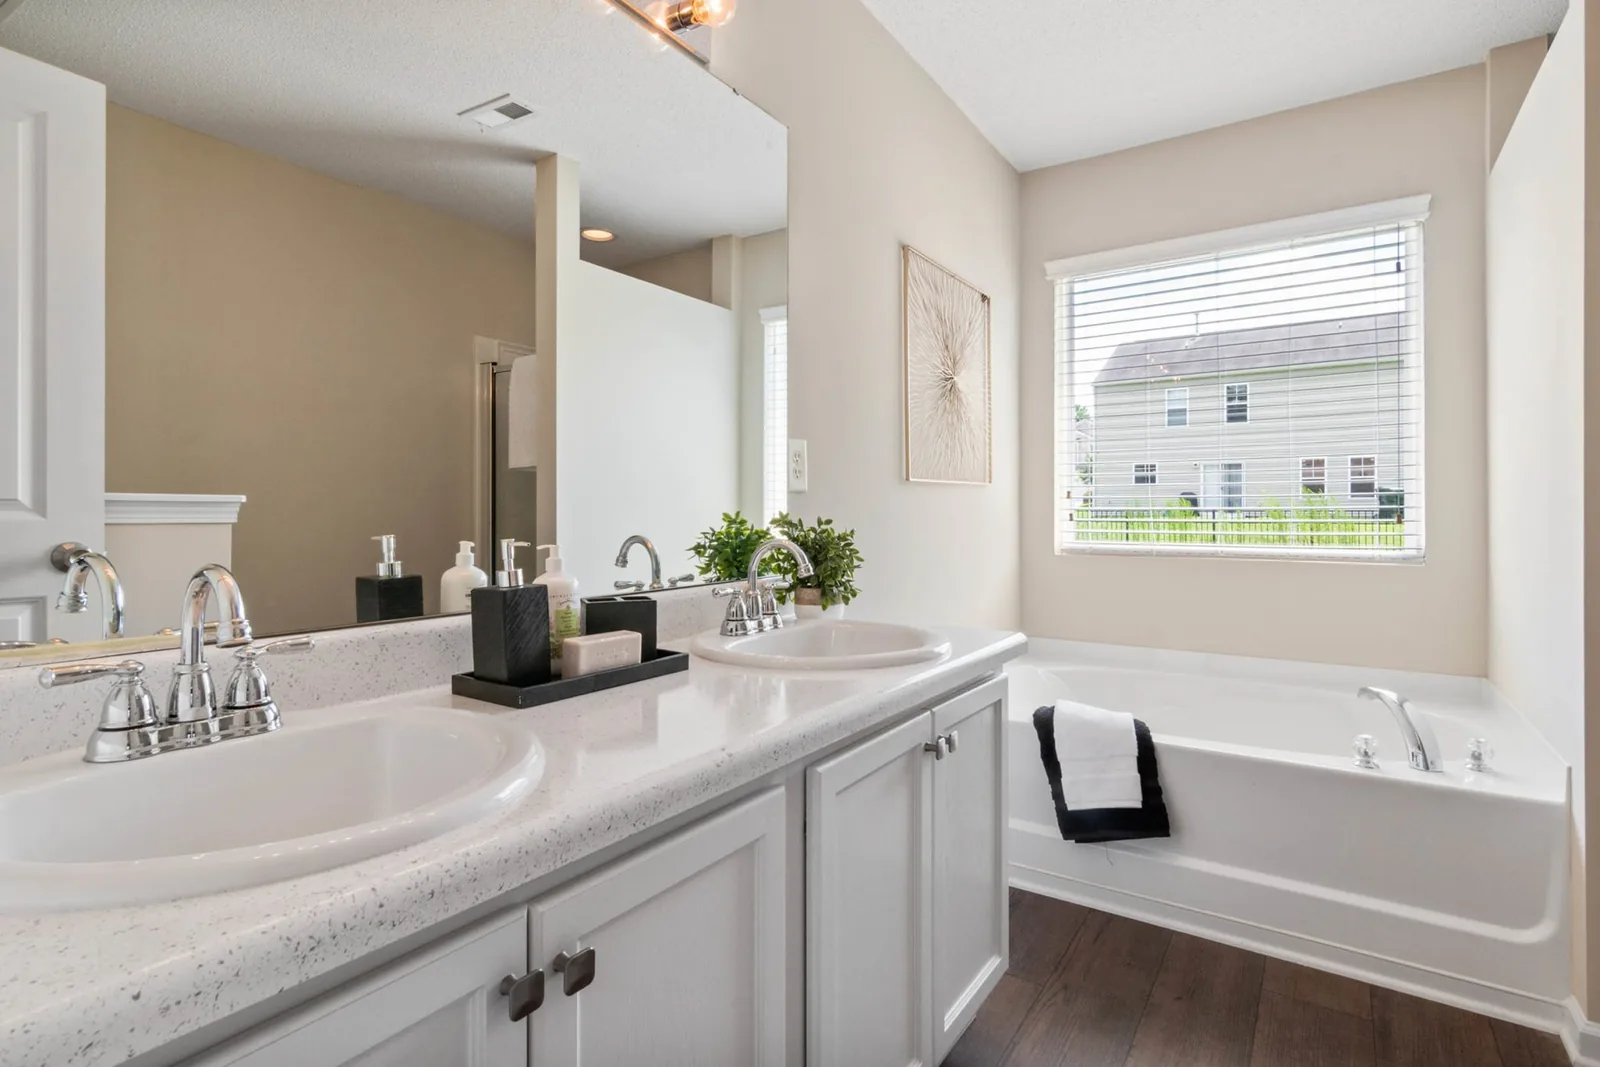
Potential buyers pay close attention to small details, so even bathrooms, basements, or storage rooms should be photographed from their best angle.
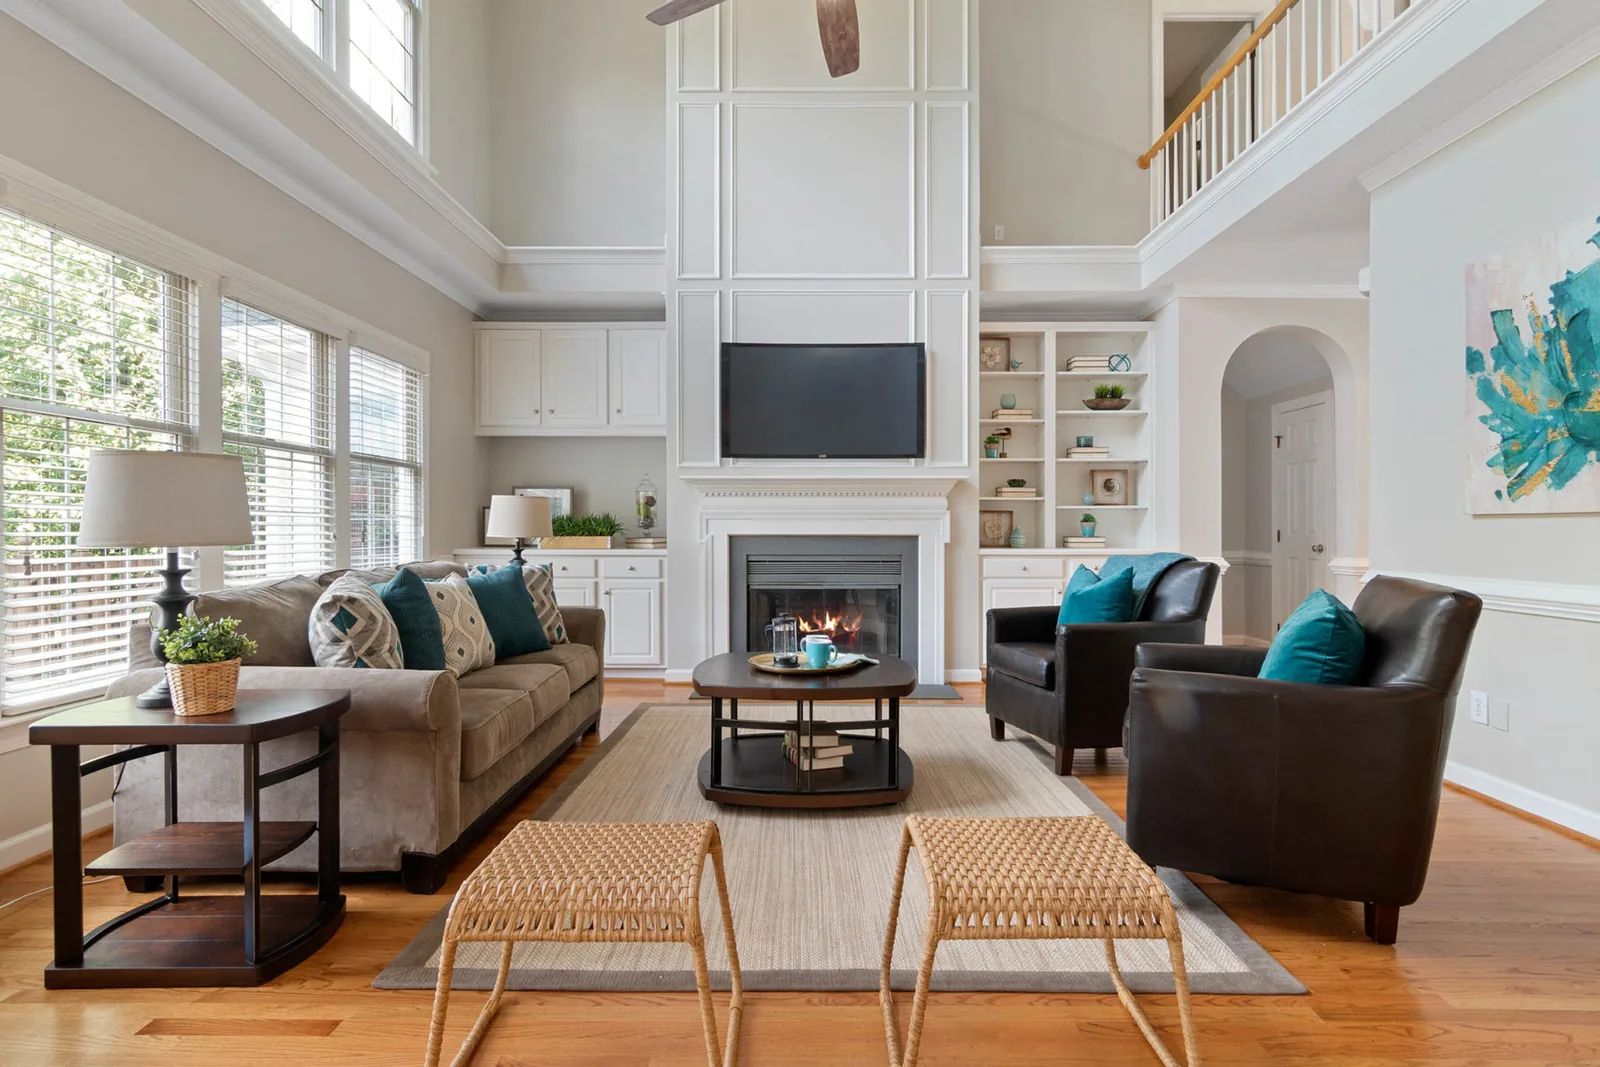
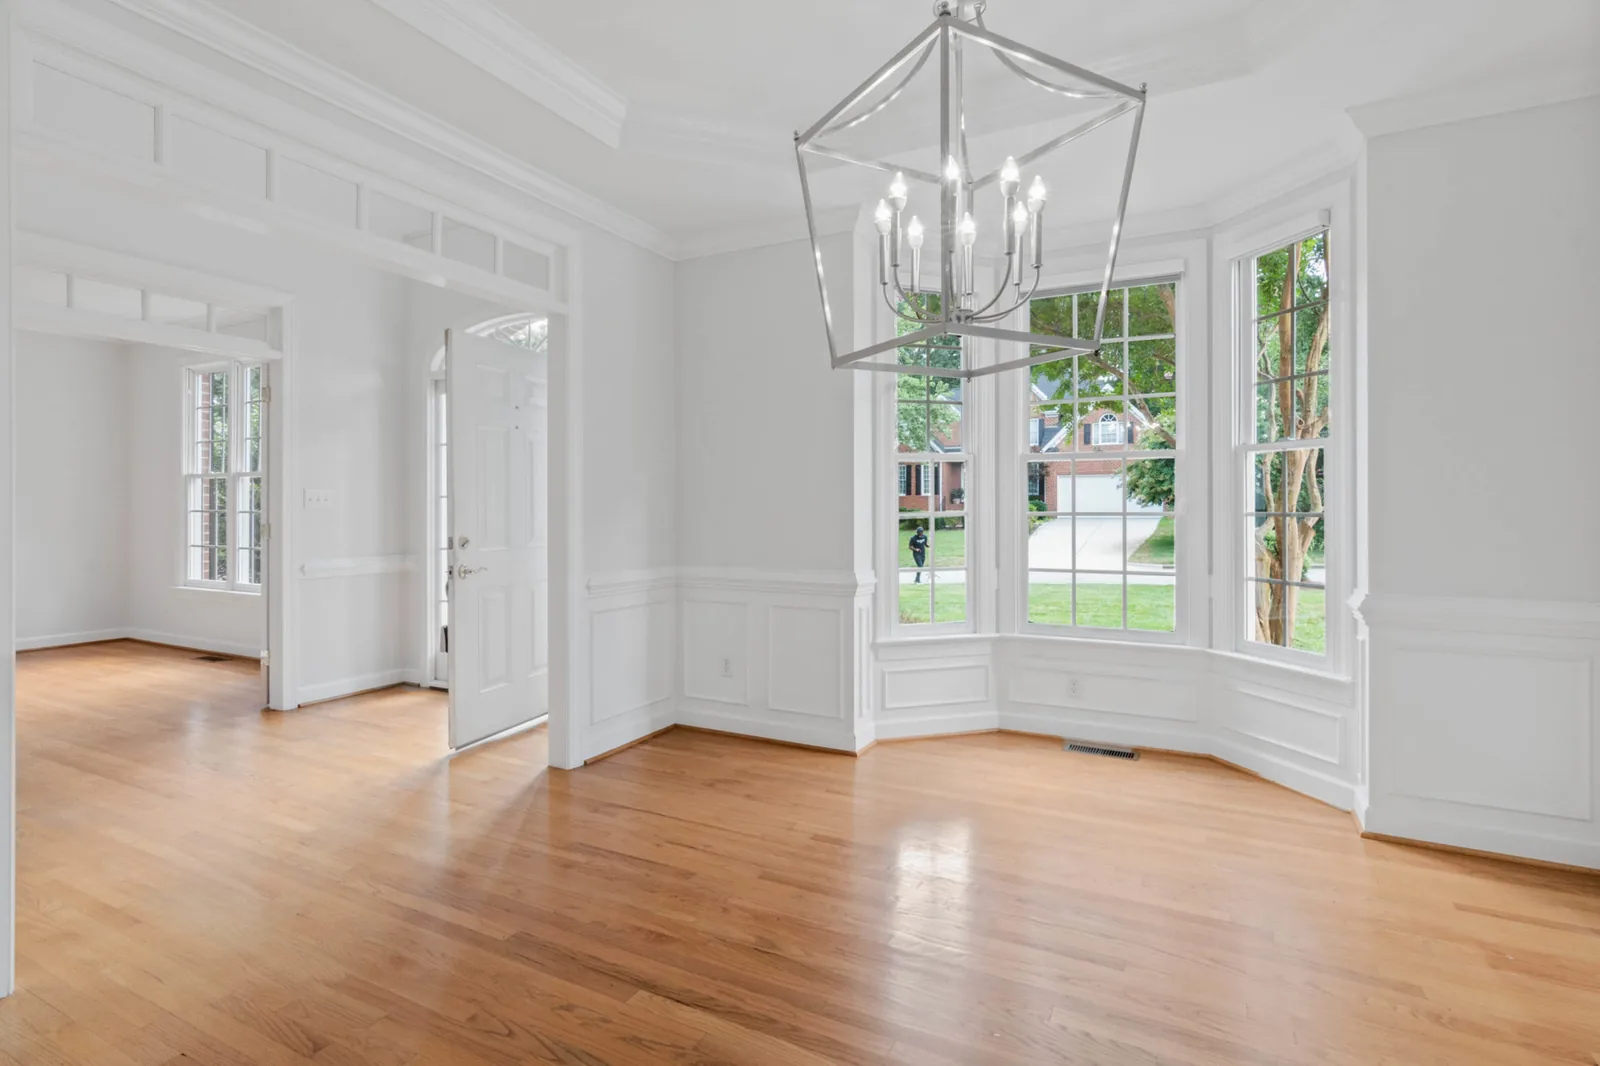
Proper staging makes a huge difference. If the interior decor looks dated or rooms are empty, consider renting furniture or staging decor.
For exterior shots, ensure windows are spotless, exterior lights work flawlessly, and garden plants look neatly maintained.

2. Timing is everything
Every building is unique. What time of day makes the property look its absolute best?
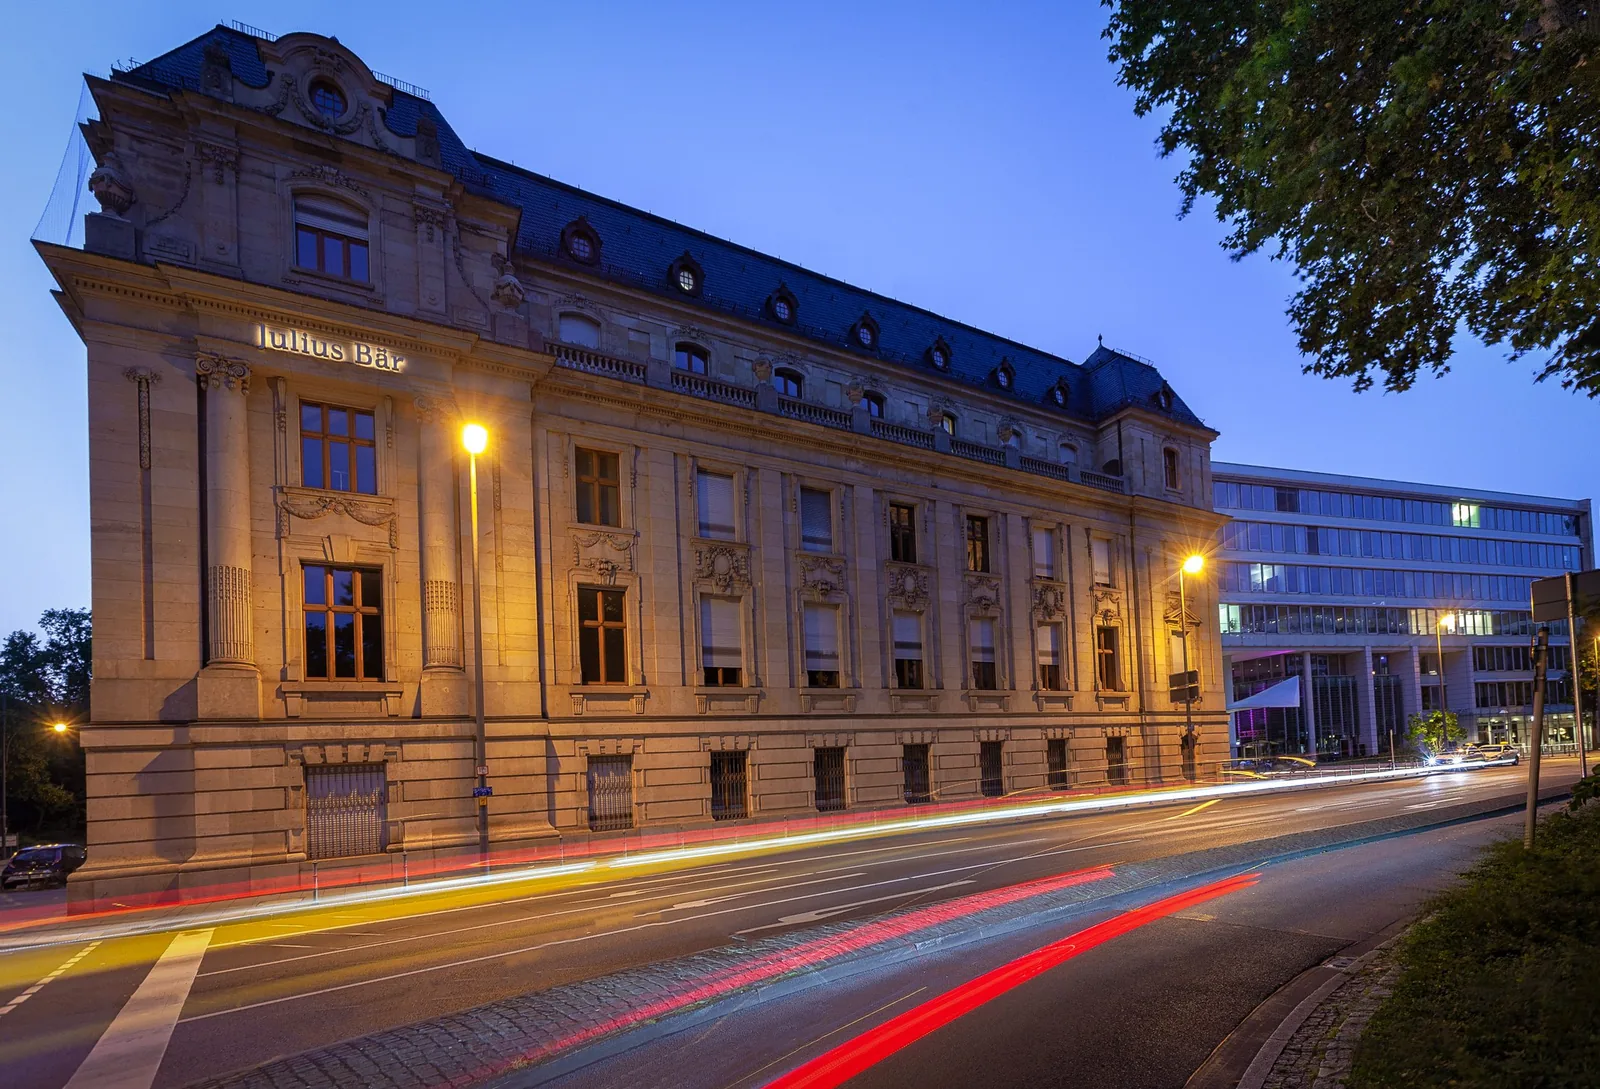
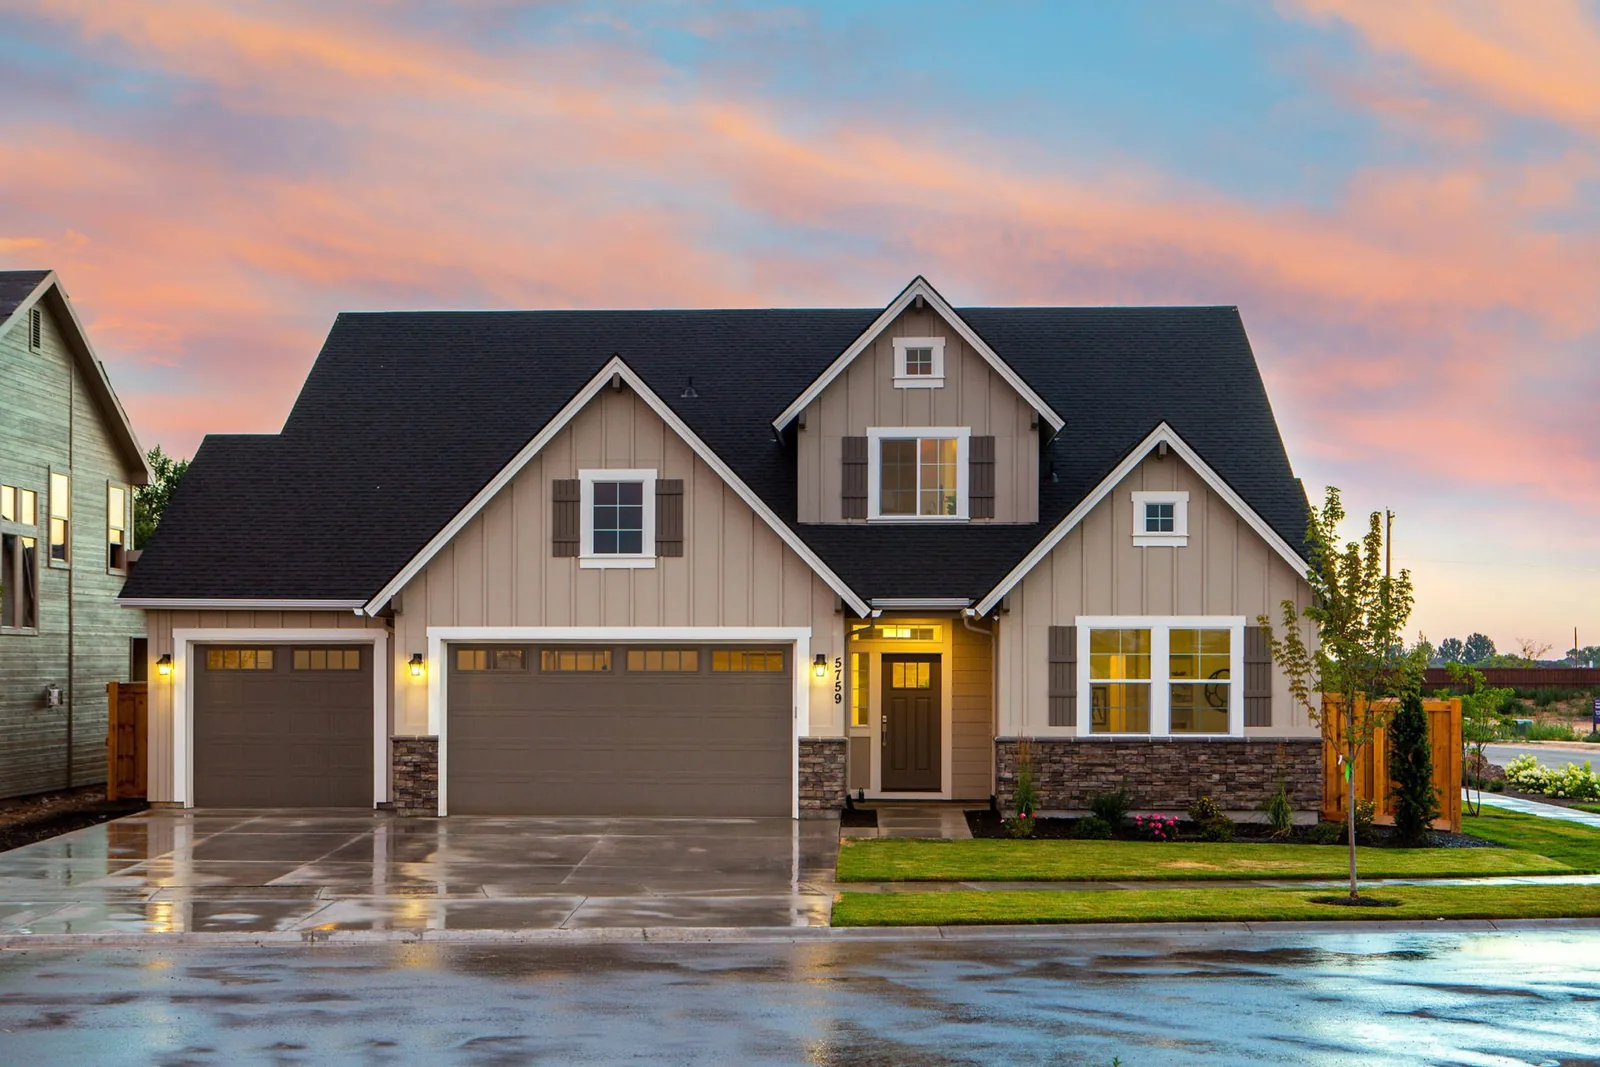
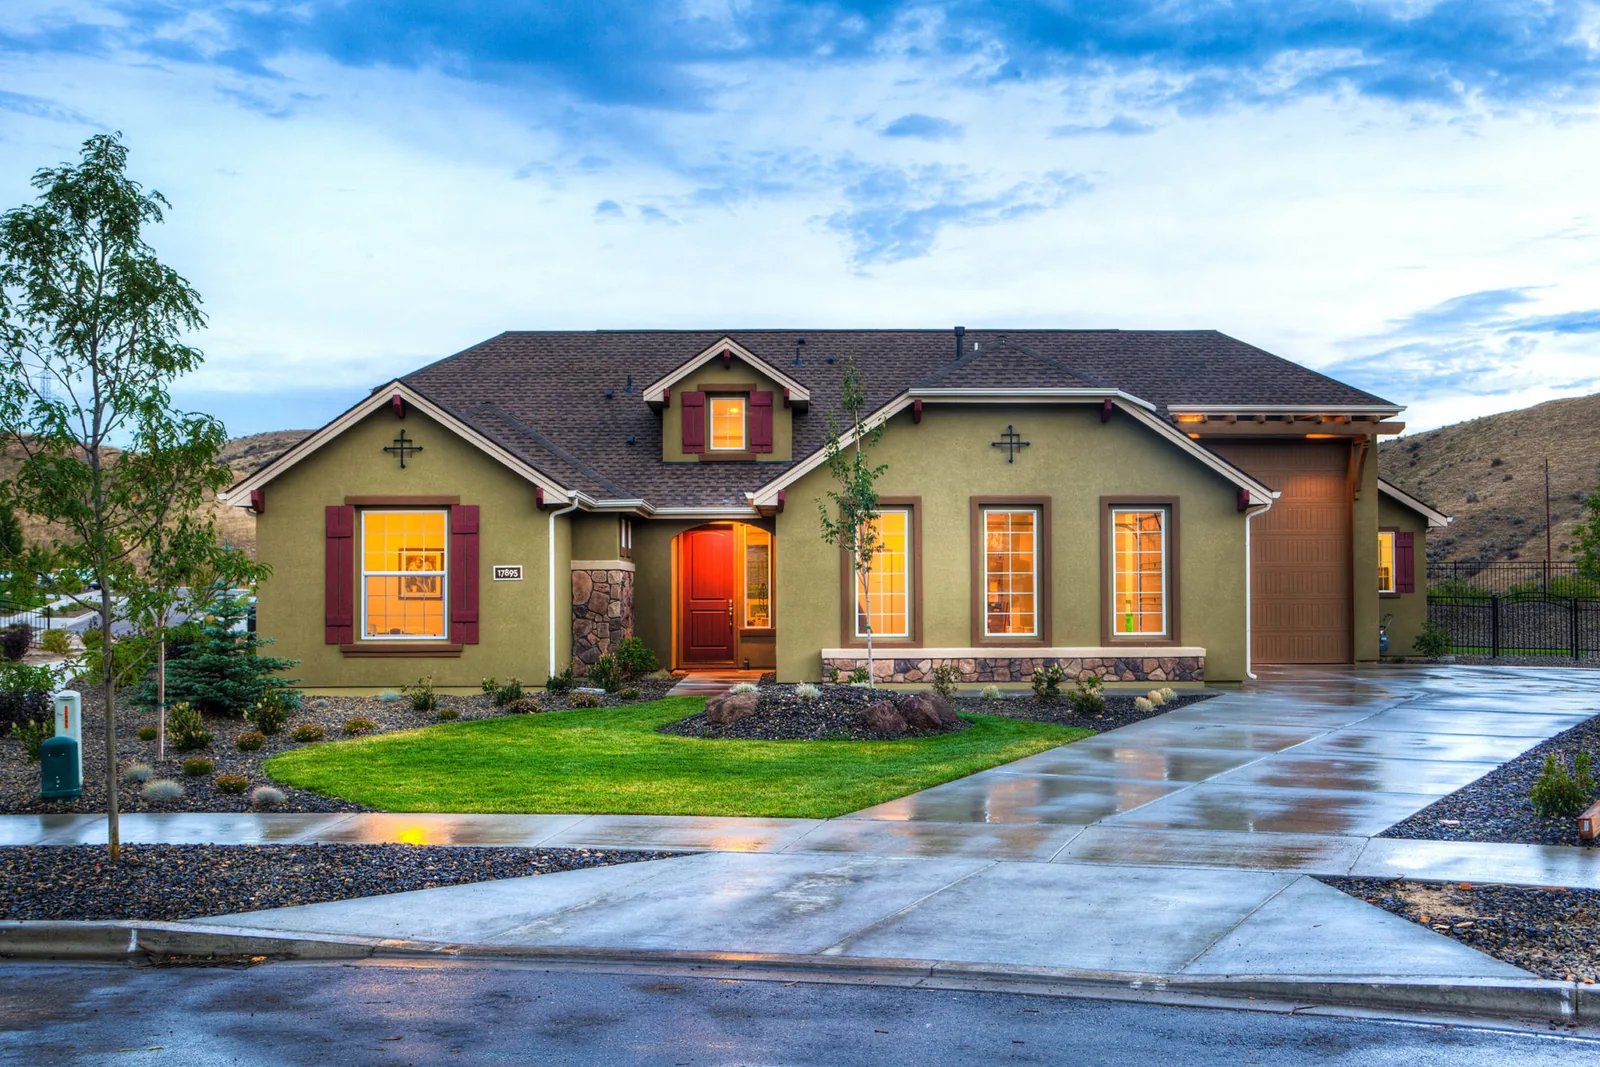
Before sunrise and after sunset are generally ideal times for exterior building shots. The benefit is dramatic twilight sky lighting—especially when combined with illuminated building facades.
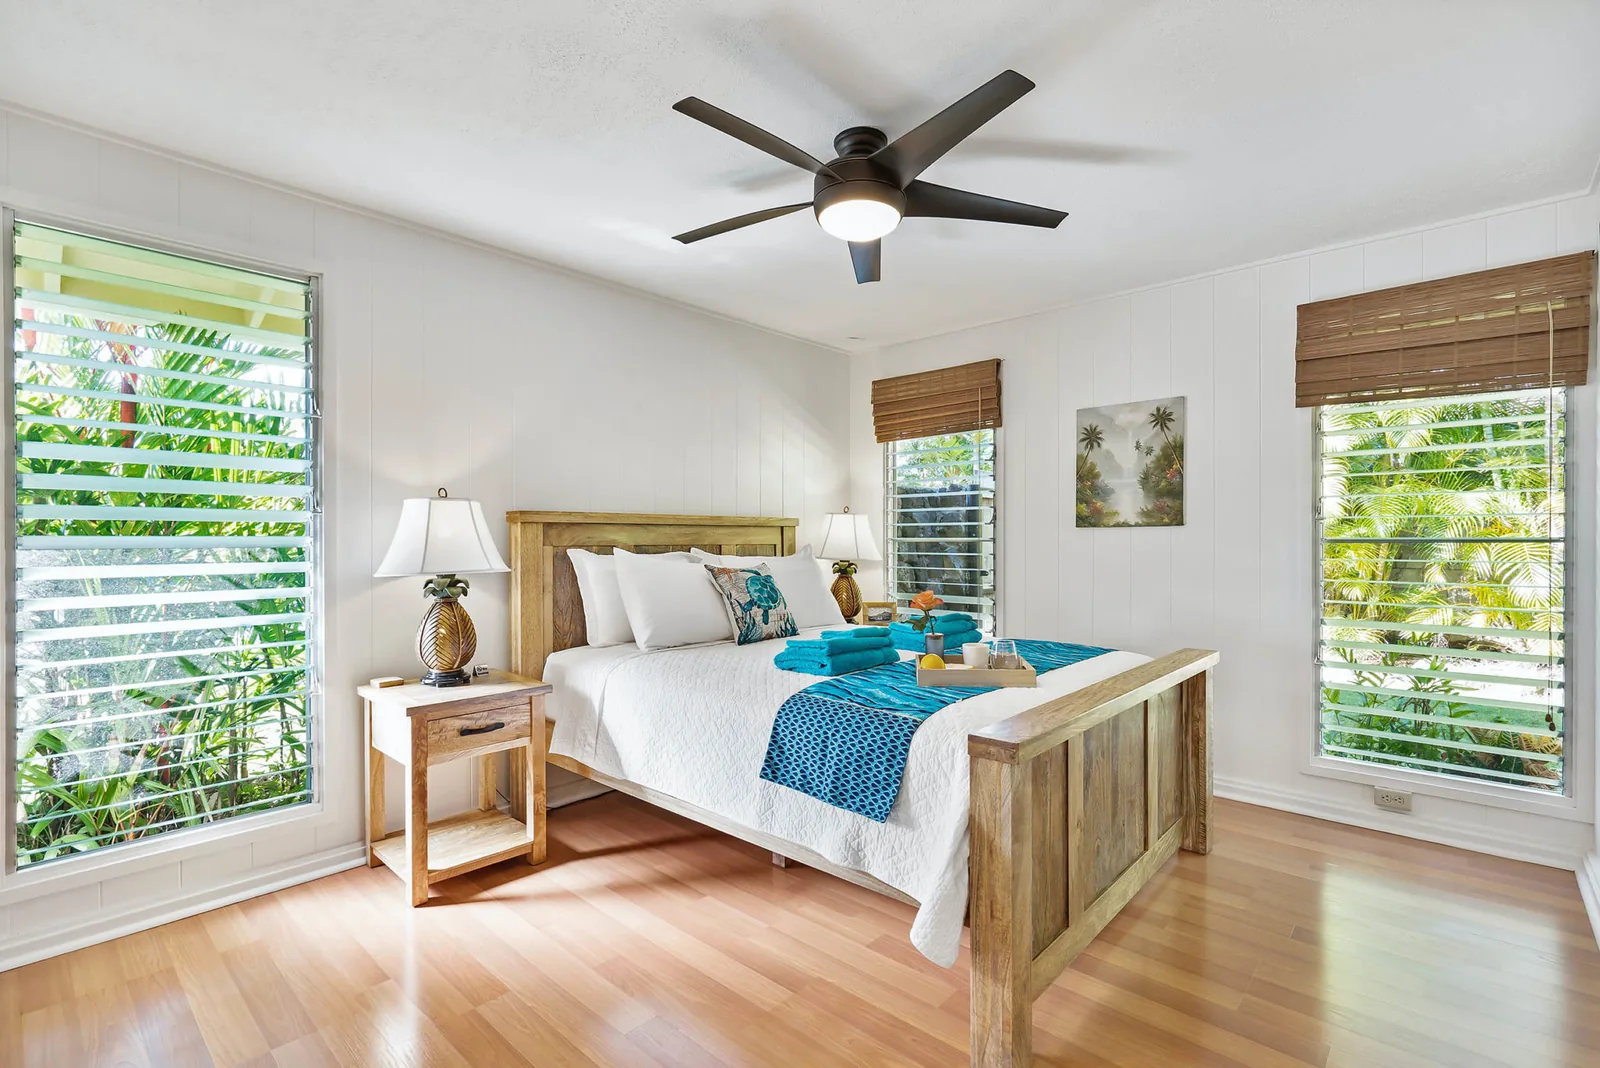
If you want to showcase the property in natural daylight, shoot during mid-day when sunlight illuminates the interiors, though be mindful of deeper shadows.
To highlight key luxury features like a rooftop terrace or harbor view, optimal weather is essential. Overcast skies won’t feel as inviting.
Always be prepared to schedule multiple shooting sessions or reschedule if weather conditions aren't ideal.
3. Pro tips and tricks
The golden rule of real estate photography is to ensure that vertical lines—such as door frames and window edges—always remain perfectly vertical.
Photos taken from low or tilted angles introduce "converging" vertical lines. To avoid this distortion, hold the camera perfectly level at eye or chest height.
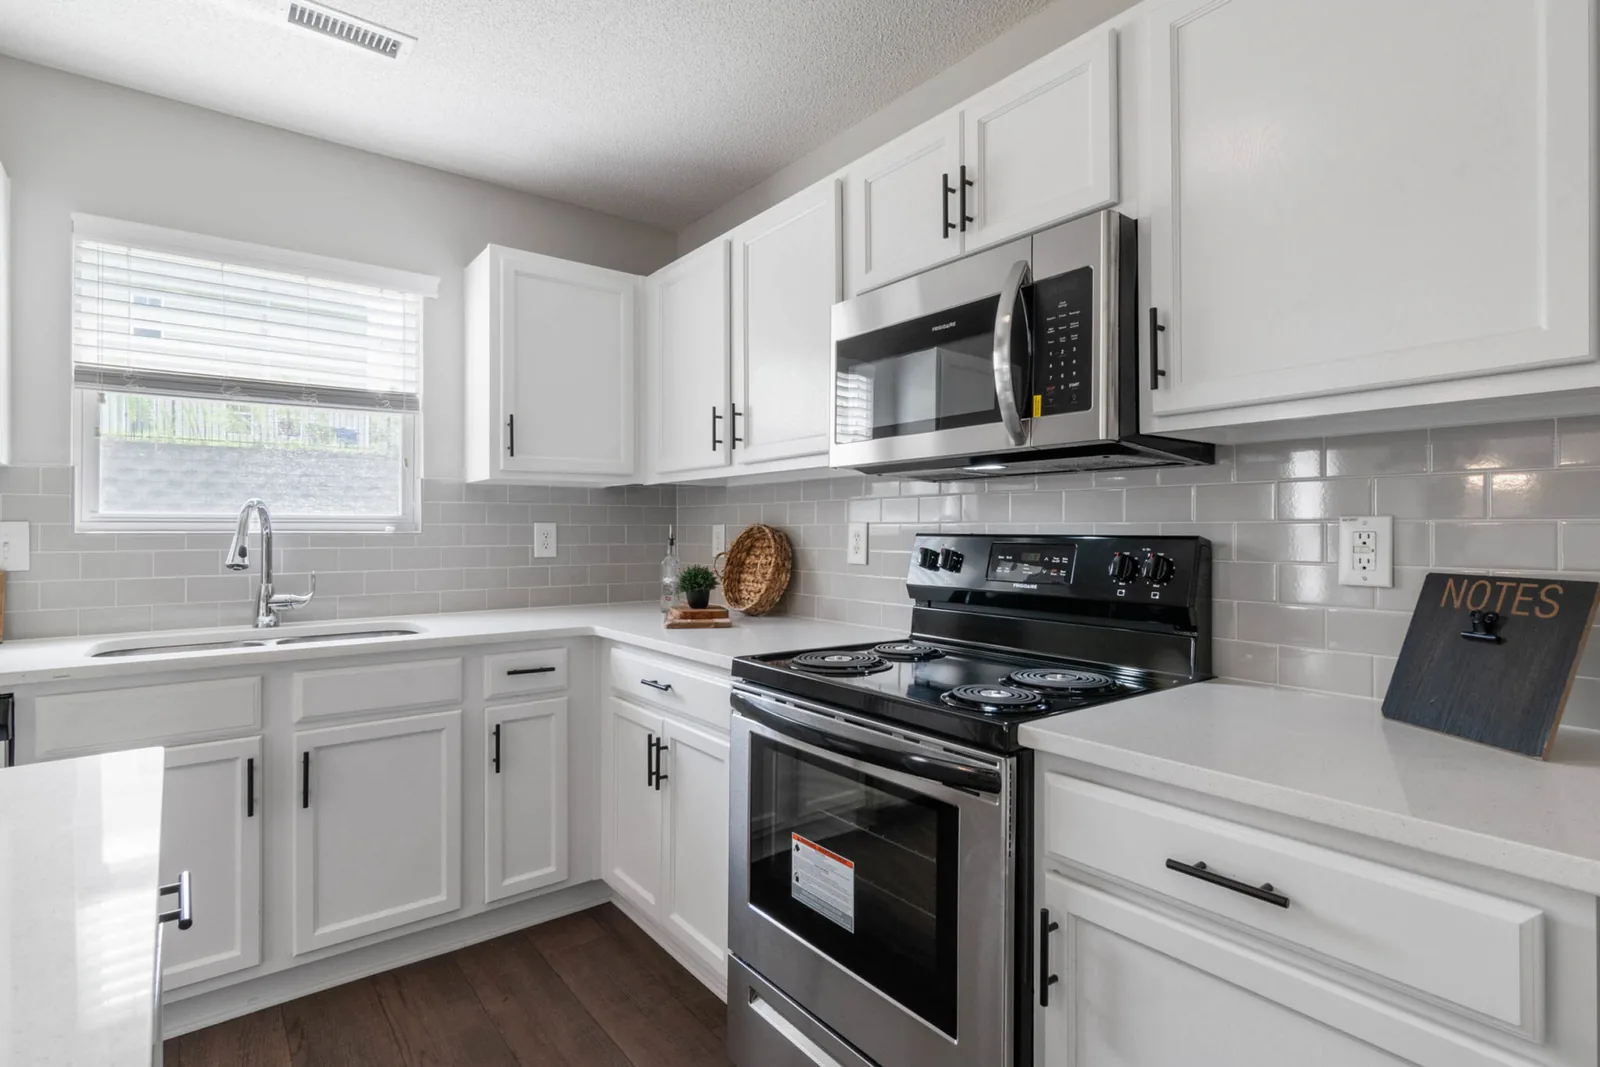
Ask yourself if each photo adds real value for a potential buyer. Avoid taking close-up shots of minor decorative items if they don’t provide value. Turn on all interior lights and avoid camera flash.
Pay extra attention to camera reflections in mirrors, glass, or glossy surfaces. Always double check reflections during post-processing.
4. Skip the special effects
Sure, photo editing software and smart devices nowadays feature amazing tools to modify photos after the shoot.
Lighting, color, and filter adjustments can tweak a photo in just a few quick steps.
However, the golden rule applies: just because you can doesn’t mean you should.
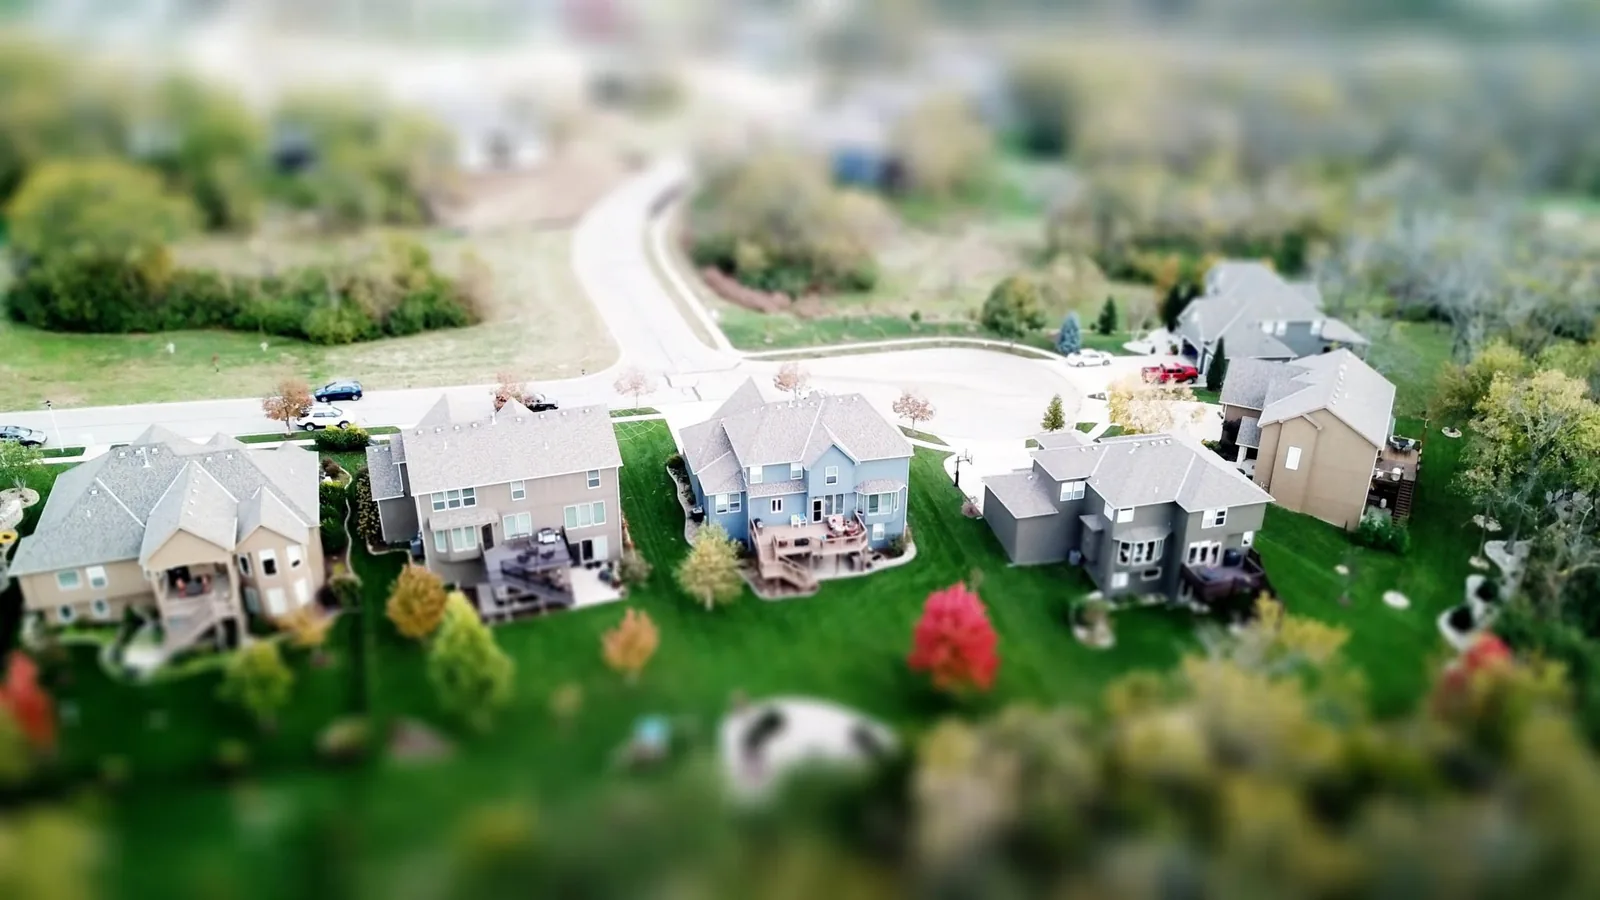
Using heavy special effects like tilt-shift blur can feel overwhelming and distort the photo in ways that look unnatural to prospective buyers.
Let a great photograph shine naturally without unnecessary enhancements.
5. Stay organized
Photos must be readily accessible and easy to retrieve for promotional and marketing purposes.
Maintain organized photo libraries for every single property photographed.
High-resolution images are required for brochures, print marketing, and media coverage.
Use cloud-based delivery services to share downloadable files with stakeholders—avoid emailing large attachments.
Ensure caption metadata and property attributes are accurate and attached to every image file.
Want your building photographed?
Scope and price are fixed before anything is photographed or filmed. The inquiry commits you to nothing.