Tips for shooting smartphone travel videos
Published
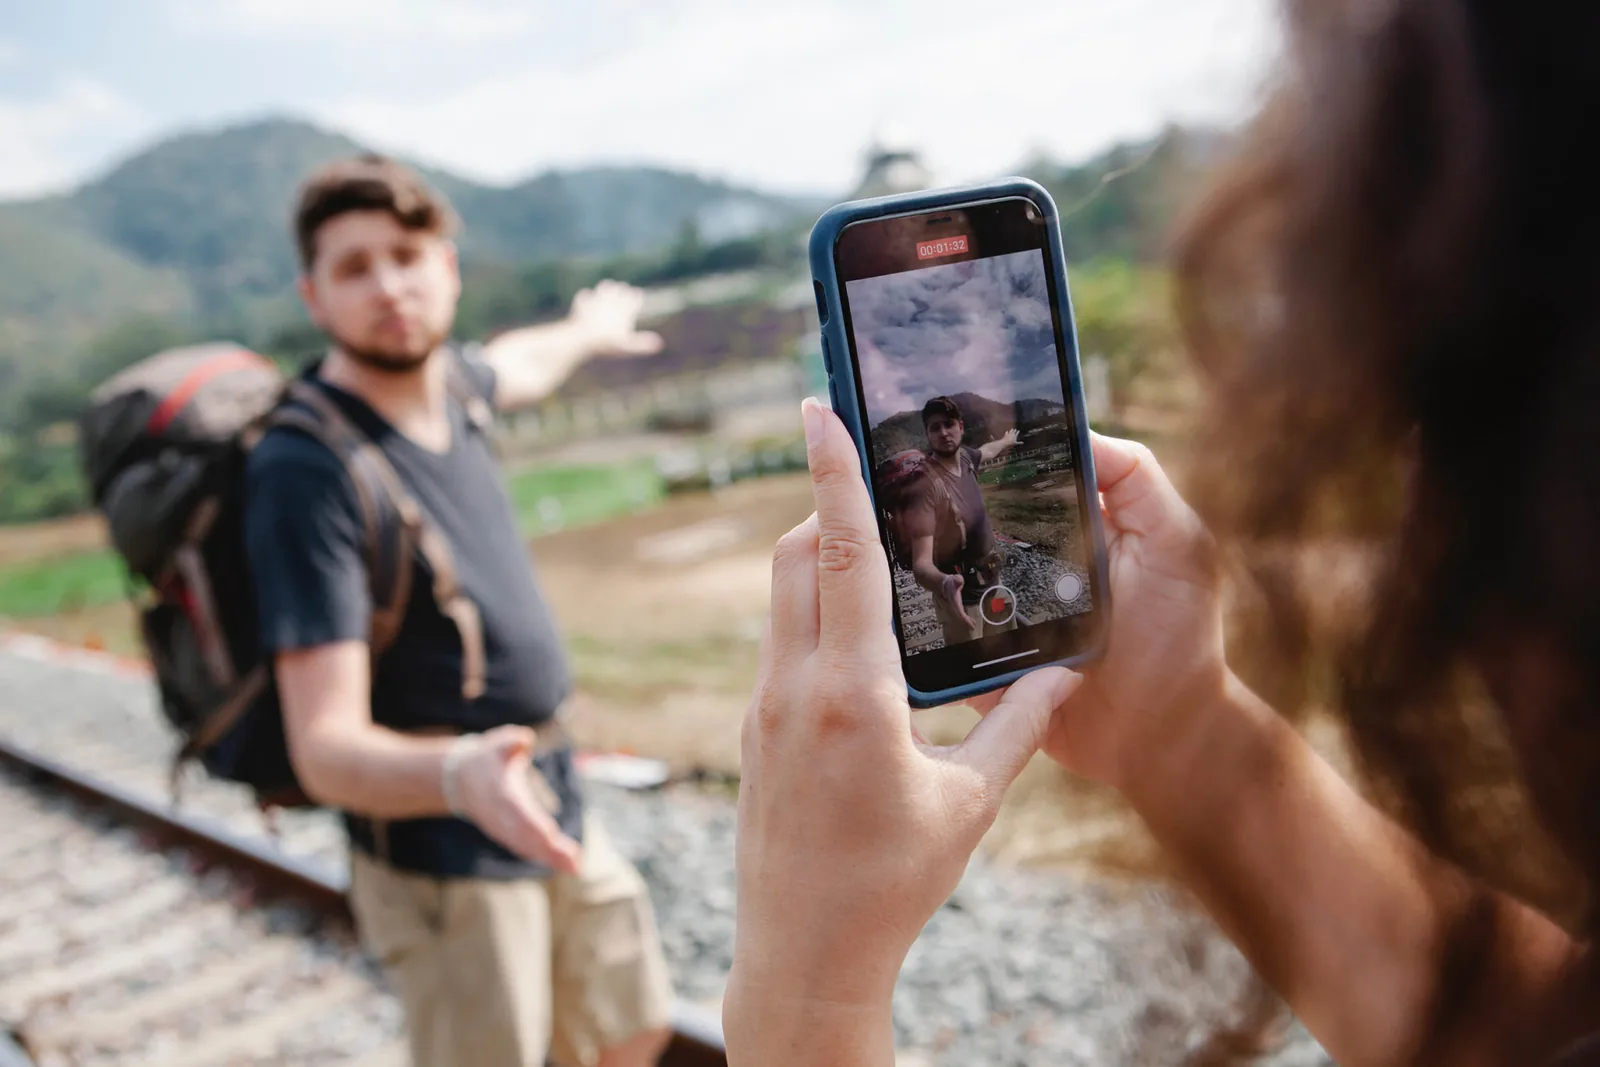
Never shoot in portrait mode.
Portrait mode may be okay for Instagram or social media, but for videos you want to watch on computers, tablets, smartphones, and maybe even TVs, you must hold your phone in landscape or horizontal mode.
Lock your focus and exposure.
Every new smartphone nowadays automatically focuses and chooses exposure for your shot. That works fine for a quick photo, but is not ideal for videos.
Why is that?
When you move or pan your smartphone, your video continuously readjusts exposure and focuses on different objects. This means your video will fluctuate between light and dark, and focus may hunt back and forth.
Set your focus to the furthest point you want to capture and adjust exposure for the most balanced amount of light. (Check your phone’s camera app to find out how to lock AF/AE).
Limit the length of your shots.
If you want more than just "home videos", plan your video and shoot according to plan. Try to think about what kind of story you want in a particular shot, and then take shots from different angles in intervals of at most 5 to 15 seconds – I prefer 10 seconds. This way you have enough footage for editing, but not so much that you have to wade through similar footage minute by minute to find what you want to use. There is indeed such a thing as too much footage!
Think in terms of transitions.
Depending on what type of travel video you want to create, you will likely have at least 10 and perhaps two or three times as many transitions in a two-to-three-minute video. That is where you switch or transition from one scene to the next. So again, it is about shooting according to your plan. Plan what shots you will make and how you want to switch from one to the next, and how you will do that during the editing process. When transitioning from one scene to the next, you want to guide your viewer smoothly through the story you are showing, rather than jumping from Boston to Budapest without knowing visually how and why.
Be steady while shooting.
If you do not want your video footage to come out distorted, blurry, or shaky, you must hold your phone as steady as possible during recording. That is why a smartphone rig or mount is so useful. The key is to hold your smartphone with both hands and keep your elbows as close to your body as possible while shooting. If you can, use a tripod or a selfie stick with a tripod base to stabilize your smartphone. If you do not have that option, use physical objects to rest your phone while recording – I have used walls, fences, tables, chairs, even a tree trunk or a large rock.
Never use digital zoom.
Unless smartphones add additional lenses that facilitate optical zoom, all digital zoom does is digitally enlarge the image you are currently seeing, i.e., pixelation (pixels are the dots that make up an image). To increase the size of the subject in the frame, either get closer or use an add-on telephoto lens that clips or screws onto your phone mount.
If you are worried about storage, do not shoot in 4k.
Yes, Apple, Samsung, and others advertise 4K as the best video available. And in terms of resolution, it is. But it also consumes massive amounts of storage space. Unless you are shooting 4K alongside a main DSLR camera—in which case you should definitely match resolution and frame rate for easier editing—I would recommend choosing 1080 HD at 50 fps. 1080 HD provides more than enough detail for playback on any smartphone, tablet, or computer. The 50 fps means you record at 50 frames per second. The standard is 25 fps, but 50 fps makes action shots and movement appear crisp, detailed, and smooth. Viewers will notice the difference, even if subconsciously. For the record: I personally always record on my iPhone in 4K at 50 fps because it often serves as my B-camera alongside my main Panasonic GH5S.
Move and pan slowly.
I cannot emphasize this enough. Nothing is worse than fast or jerky pans and sudden turns when watching a video. It can even make some people feel motion sick while watching. Focus on moving slowly and steadily when panning or rotating. This takes some practice.
Audio makes great travel videos.
If you plan to capture live ambient sounds—e.g. cars, crowd noise, music, birds, or rushing water—make sure your microphone is up to the task. Besides live sound, adding carefully selected background tracks can truly elevate a travel video. Music sets the mood and defines the flow when used right. You can download royalty-free music from various platforms by crediting the artist and source.
Planning a film?
Scope and price are fixed before anything is photographed or filmed. The inquiry commits you to nothing.