Wildlife photography is a very popular specialty, and for good reason.
It gives you a great excuse to spend long periods of time outdoors, keeps you fit, and allows you to develop a real appreciation for the outdoors.
But it can also be a very challenging area, especially because your subject often runs away from you! In addition, wild animals are usually active in poor lighting conditions at dusk or dawn.
If you are a beginner looking to capture beautiful wildlife photos, this is the place for you.
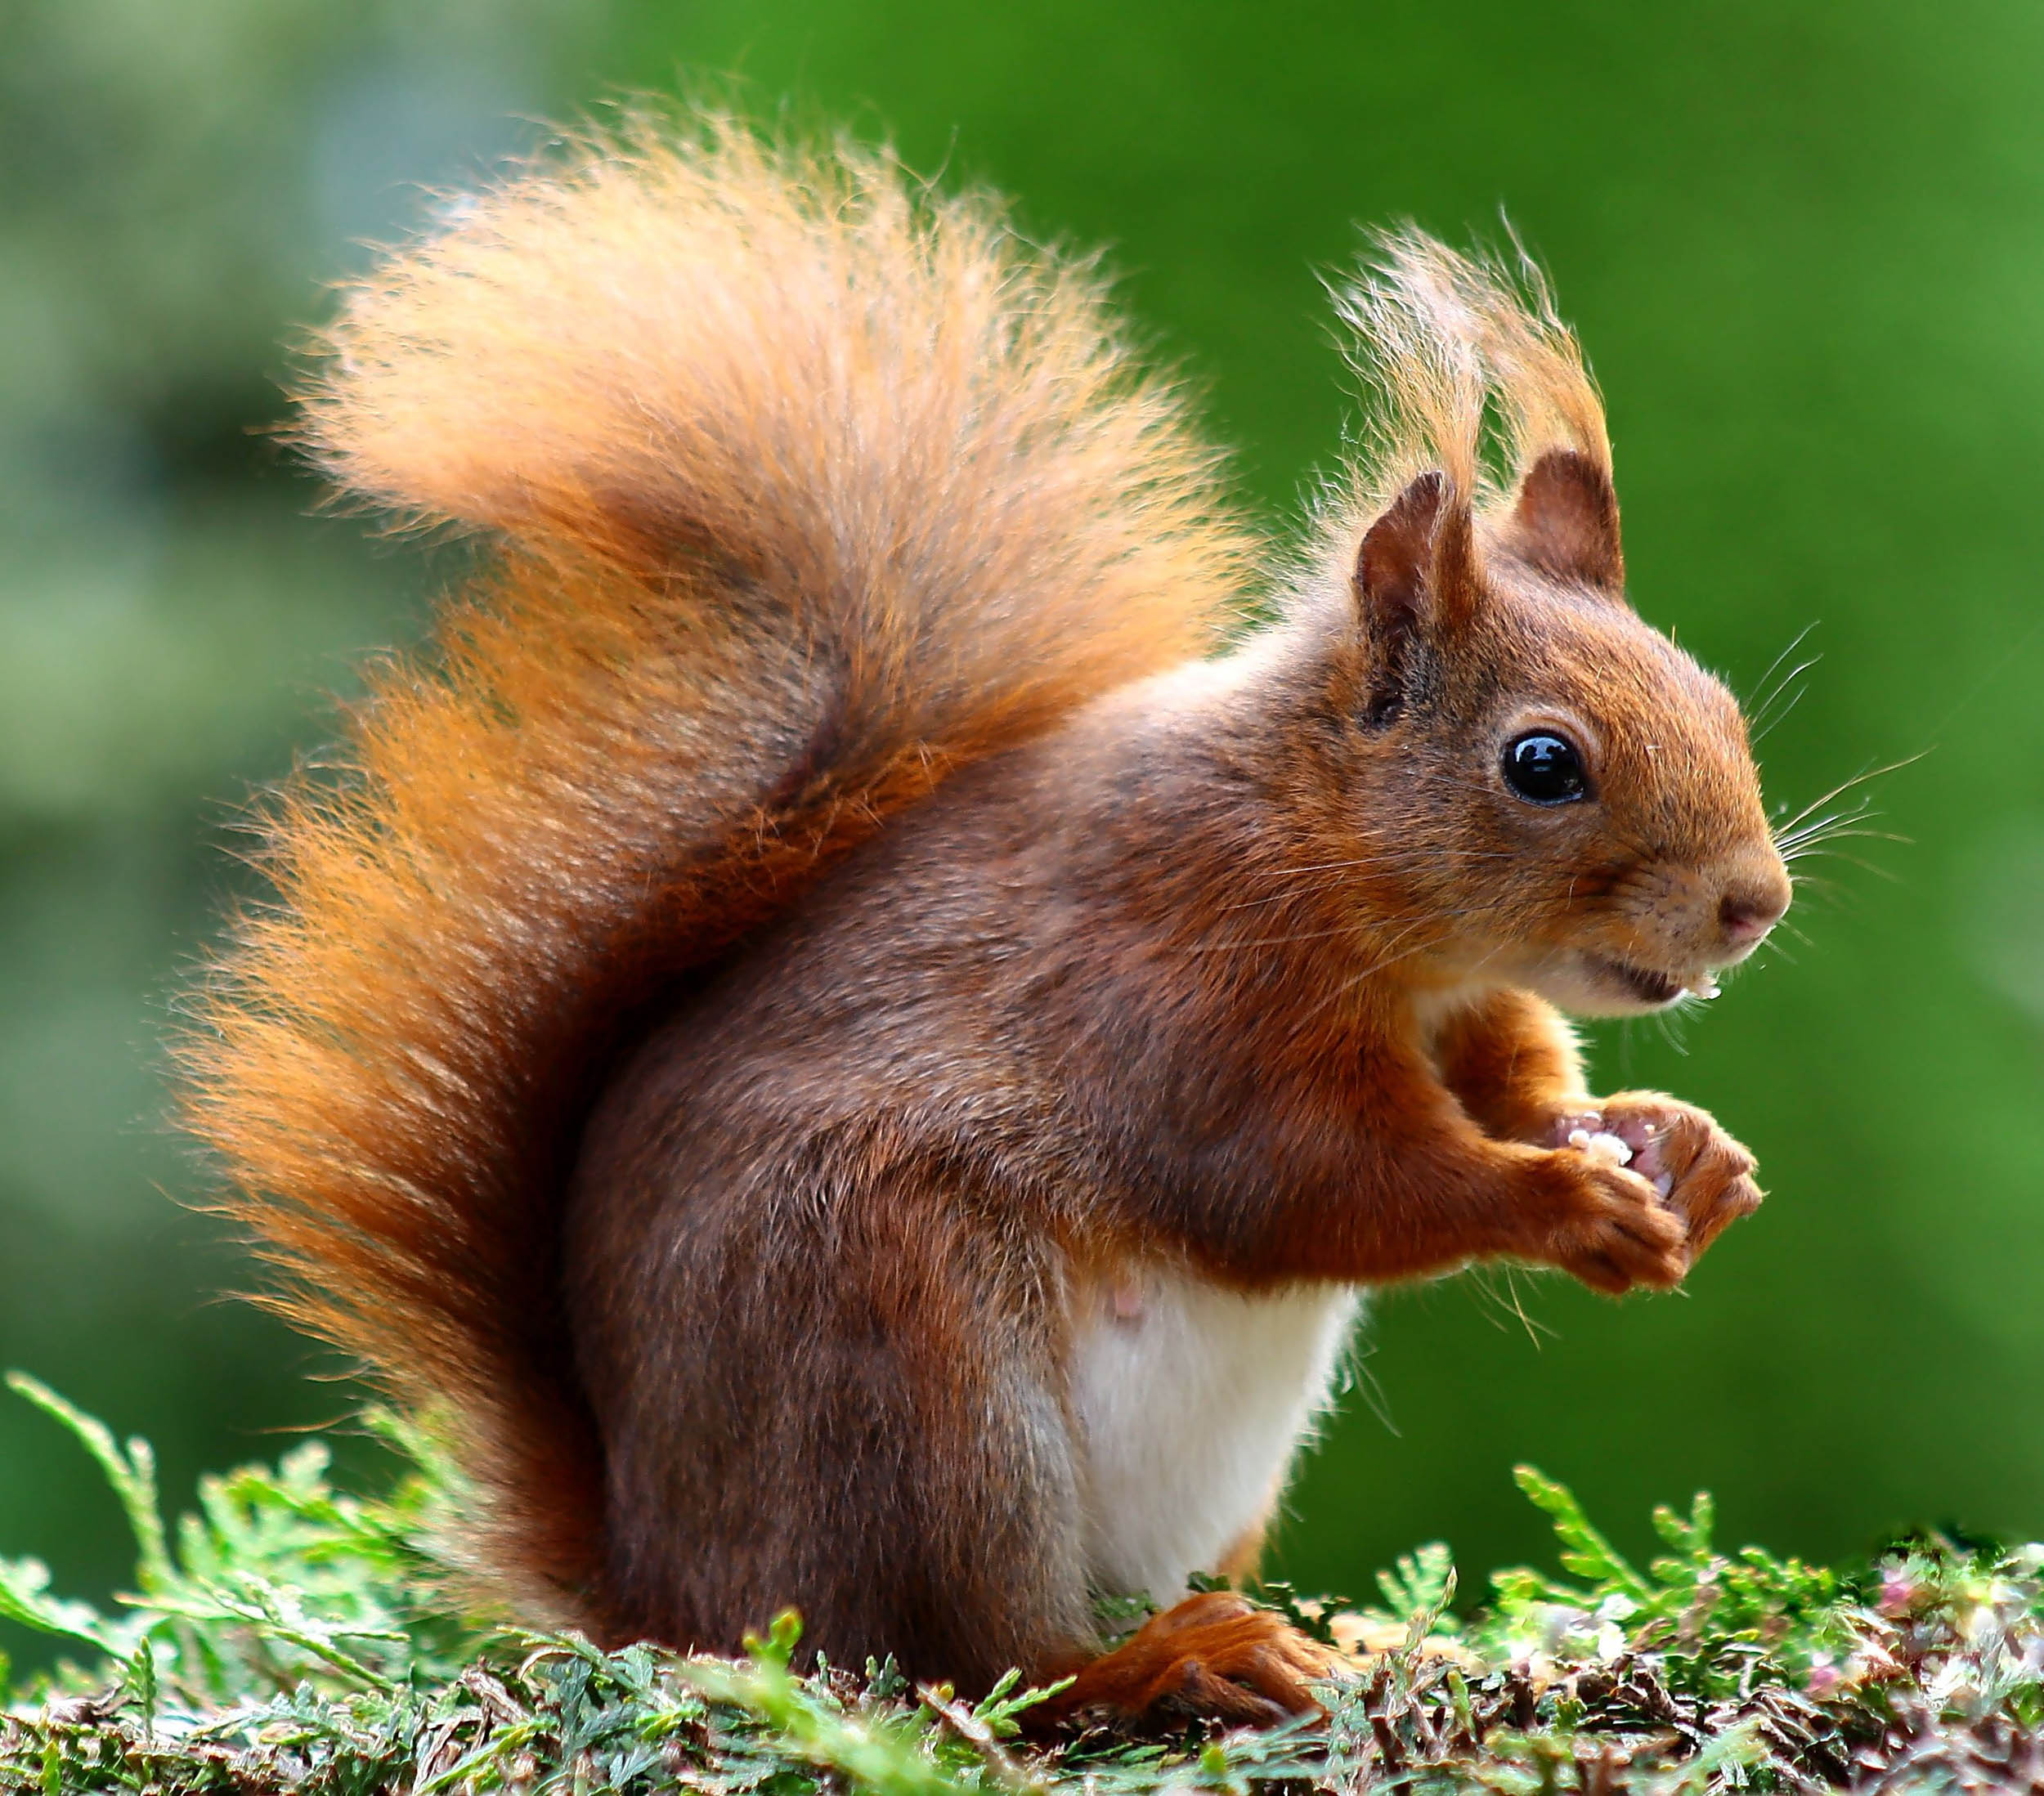
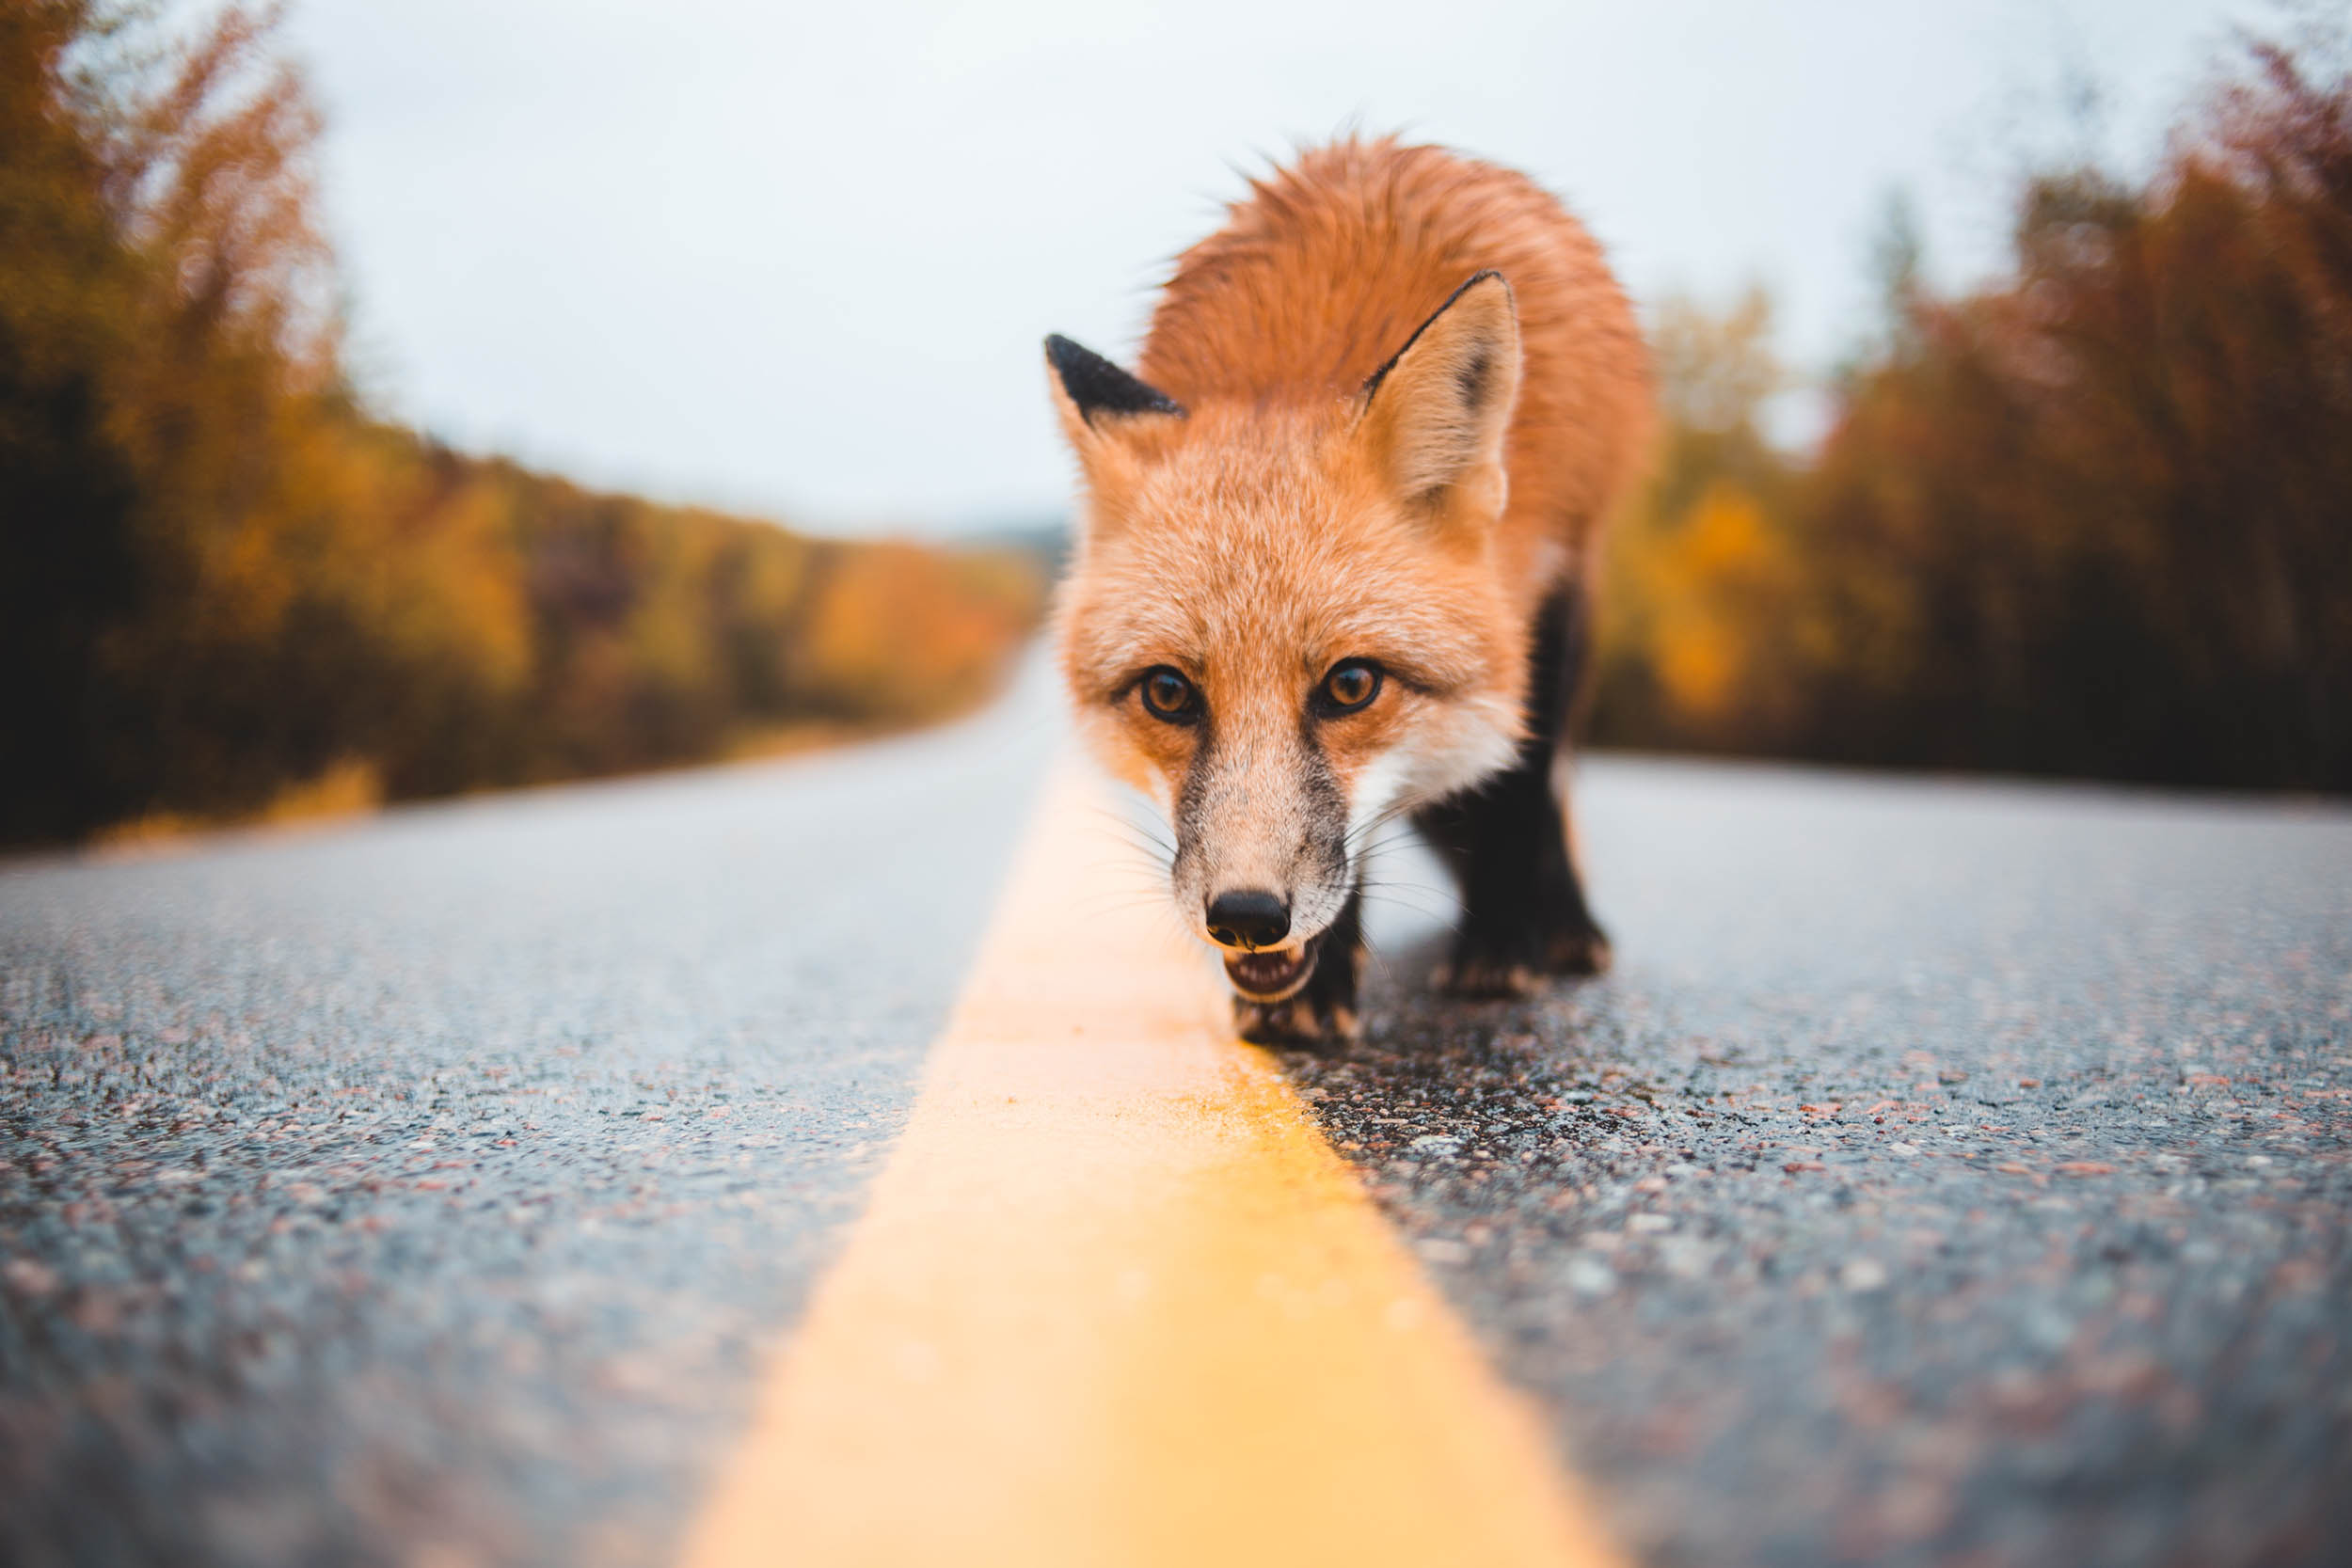
Photographing at eye level
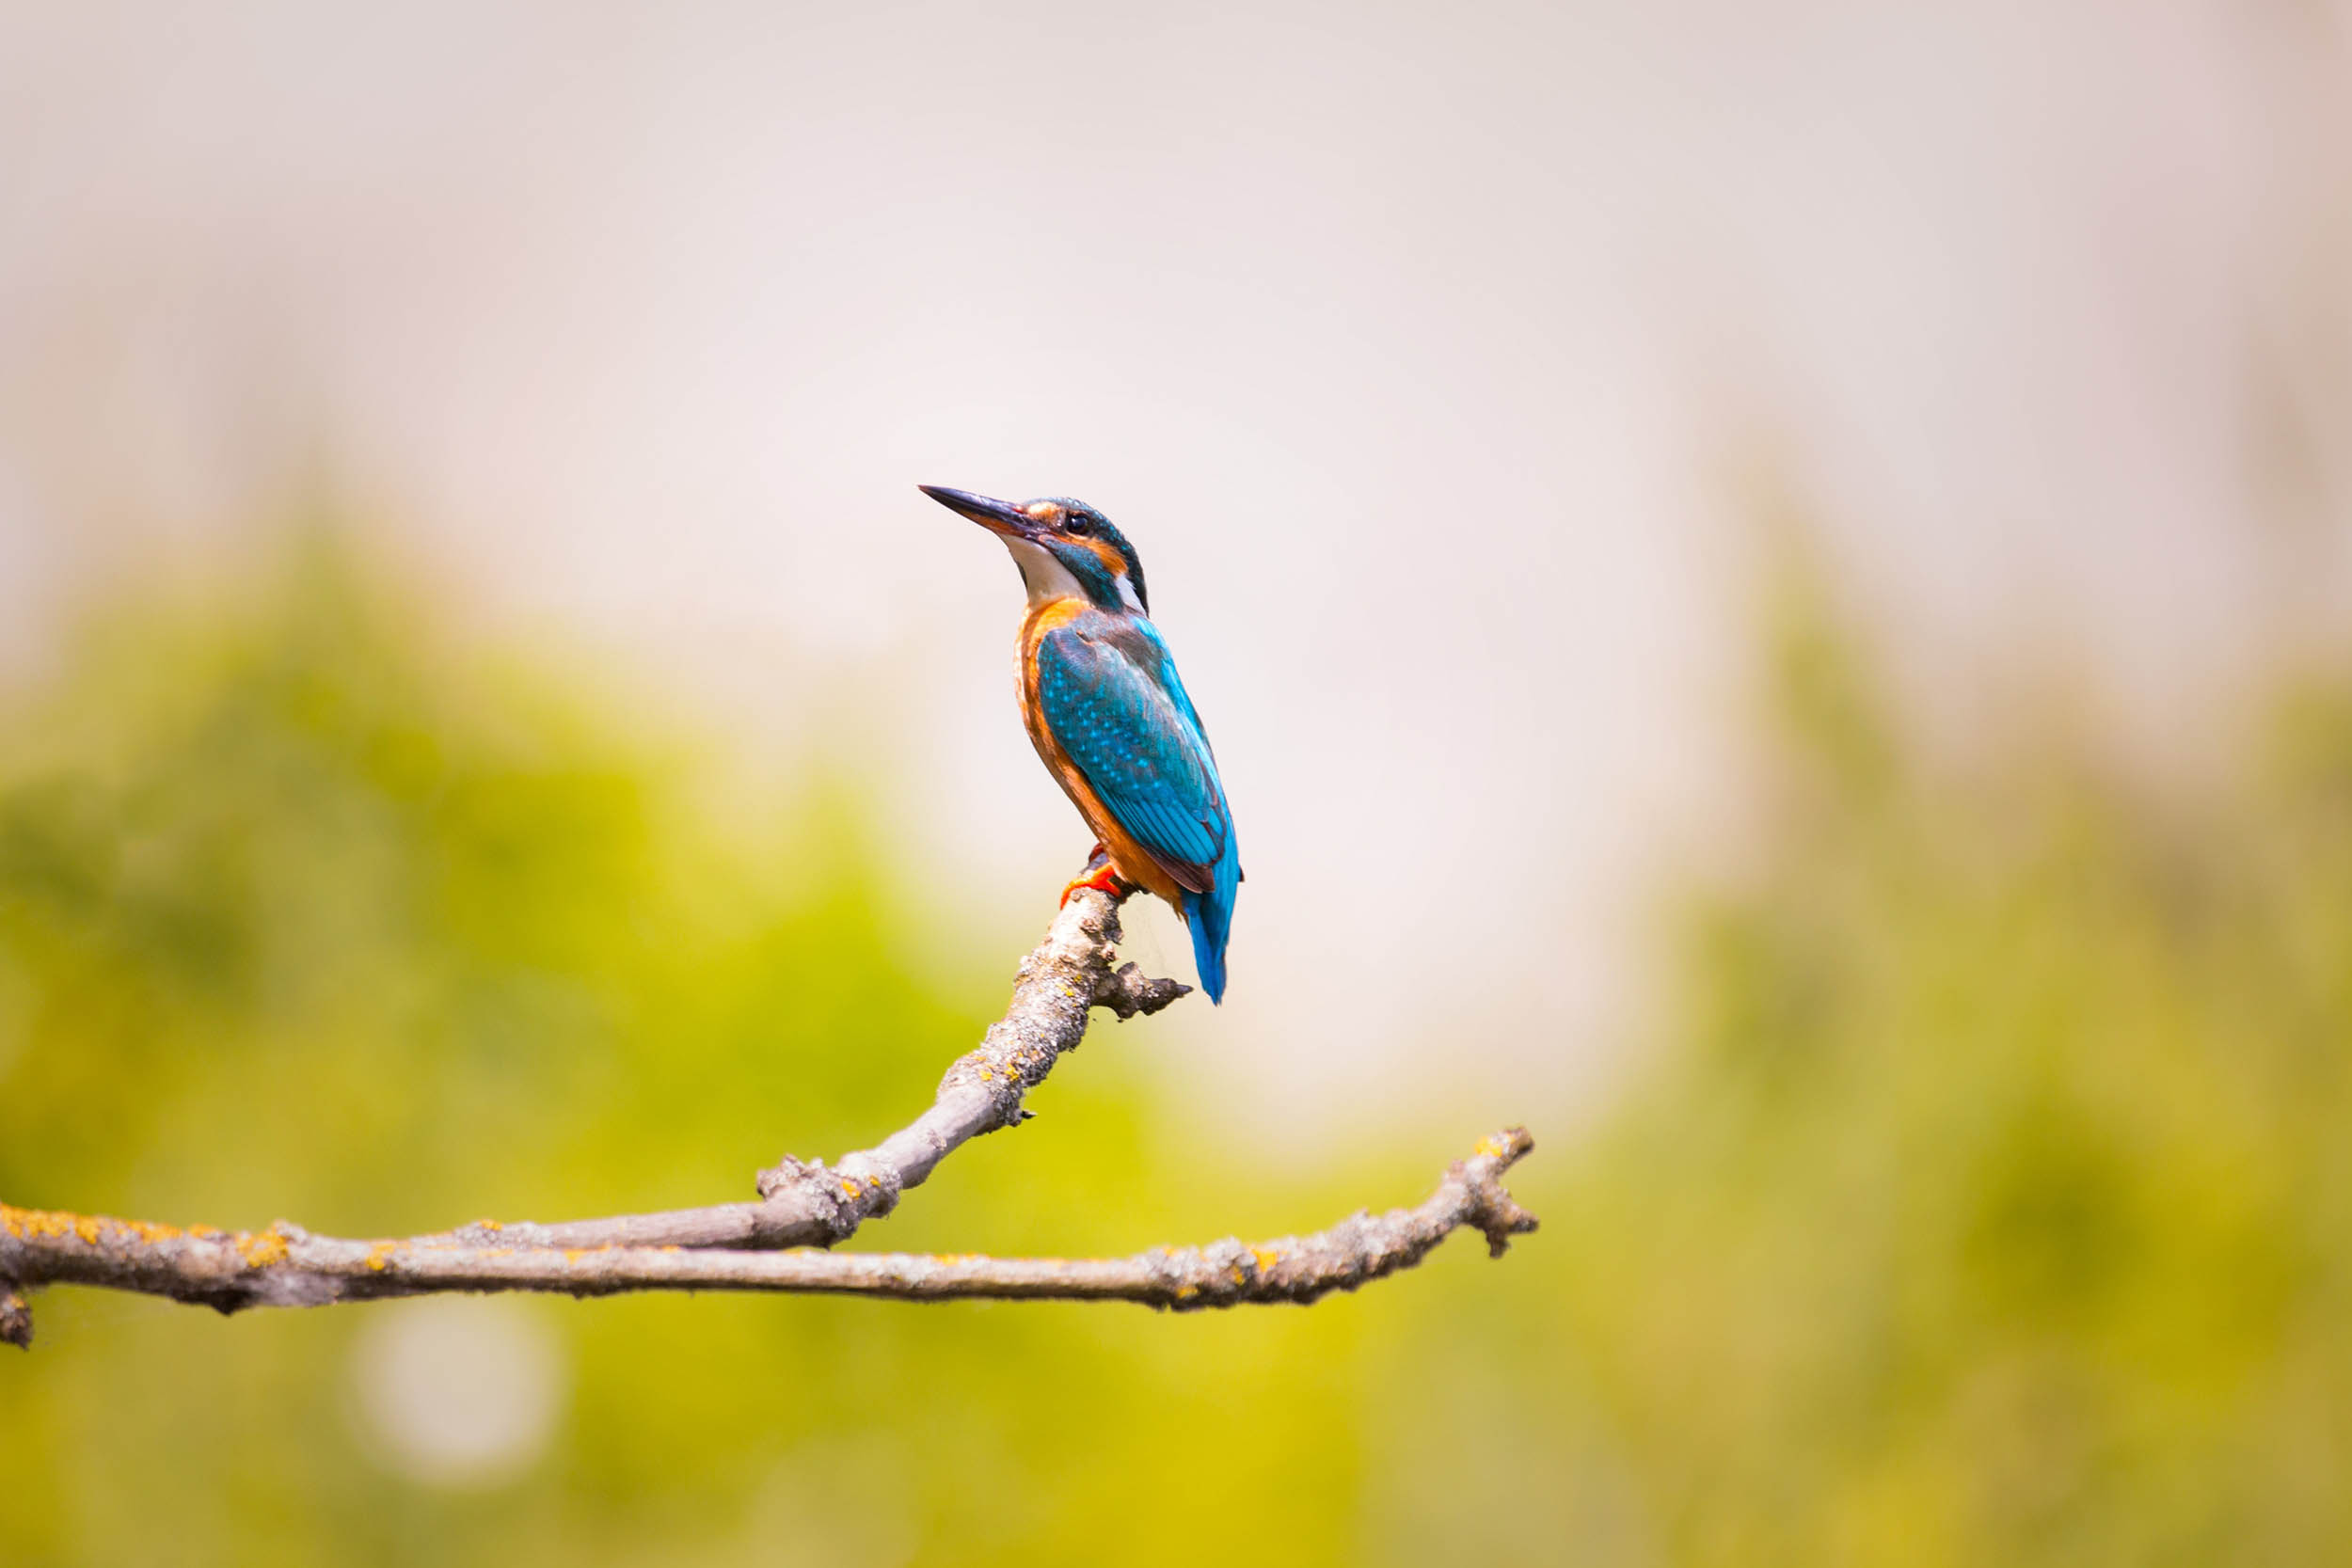
When you stand up and shoot an animal on the floor, your point of view is downward. This distracts from the photo and makes the perspective seem strange. It also reduces the distance between the subject and the background, which means you lose the chance of a nice, soft, creamy bokeh background.
Instead, be at eye level with your subject. This brings the viewer to the animal level, which creates a much more interesting perspective. It is likely to increase the distance between the subject and the background, removing distracting elements by blurring the background.
Study wildlife behavior
Getting to know the animal you are photographing can be a really helpful trick. Knowing about the typical behavioral traits of an animal can help you predict movements or certain things to focus on while taking photos.
Read online or in textbooks for a little background on the animal you want to photograph. In fact, you can do this quickly by watching videos on YouTube to study how different animals move, behave, and act.
For example, some animals are very territorial at certain times of the year. You may be photographing deer and you can expect the males to fight during the rutting season (October).
If you know about it beforehand and know the behaviors that may indicate an upcoming fight (in this case, parallel walking, yelling, paws on the ground, etc.), you have a better chance of catching it on camera.
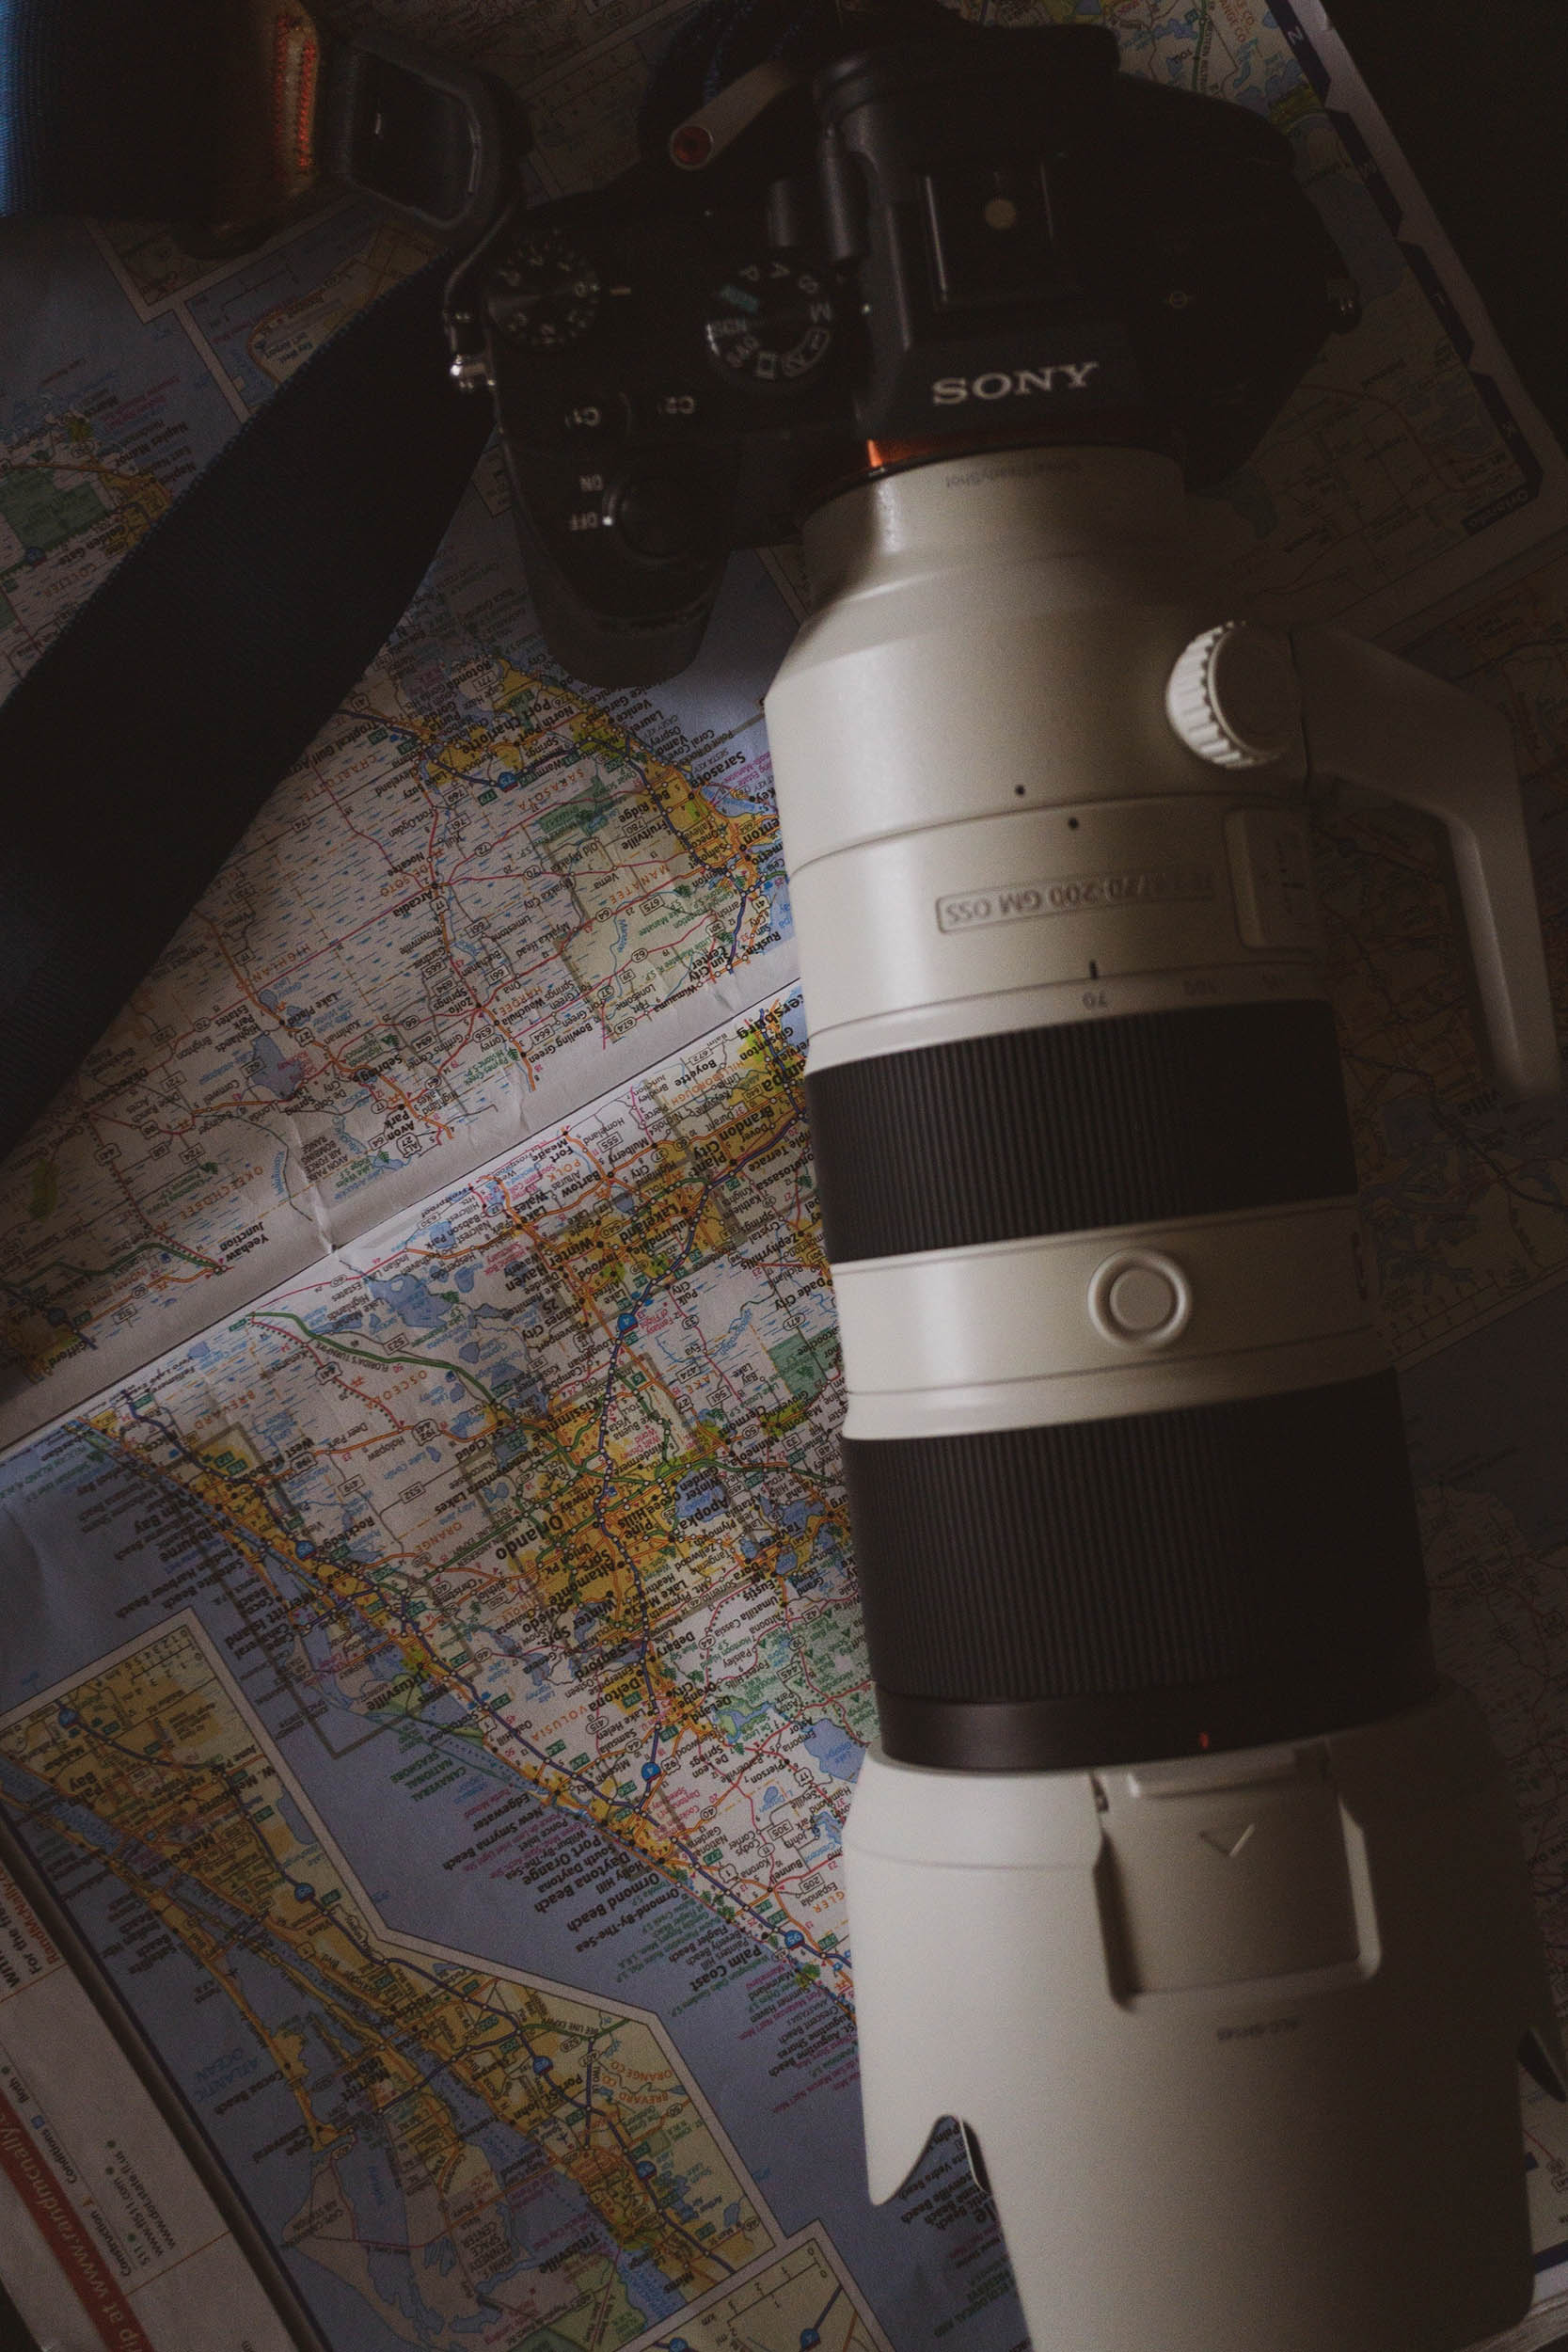
Lens hood
Many people ignore their lens hood, especially with short focal length lenses. I'm not sure why because they really help.
Lens hoods are great at preventing unwanted stray light, which is pretty obvious when shooting towards the sun.
They also eliminate stray light from the side, which improves the contrast and clarity of a photo.
Experiment with light
Light makes or breaks an image.
So you need to know how to use it to your advantage if you want to create something unique.
My favorite type of light when photographing wildlife is backlighting.
This is the case when the sun is behind a subject and you shoot at it. This is risky as it is sometimes difficult to expose the image.
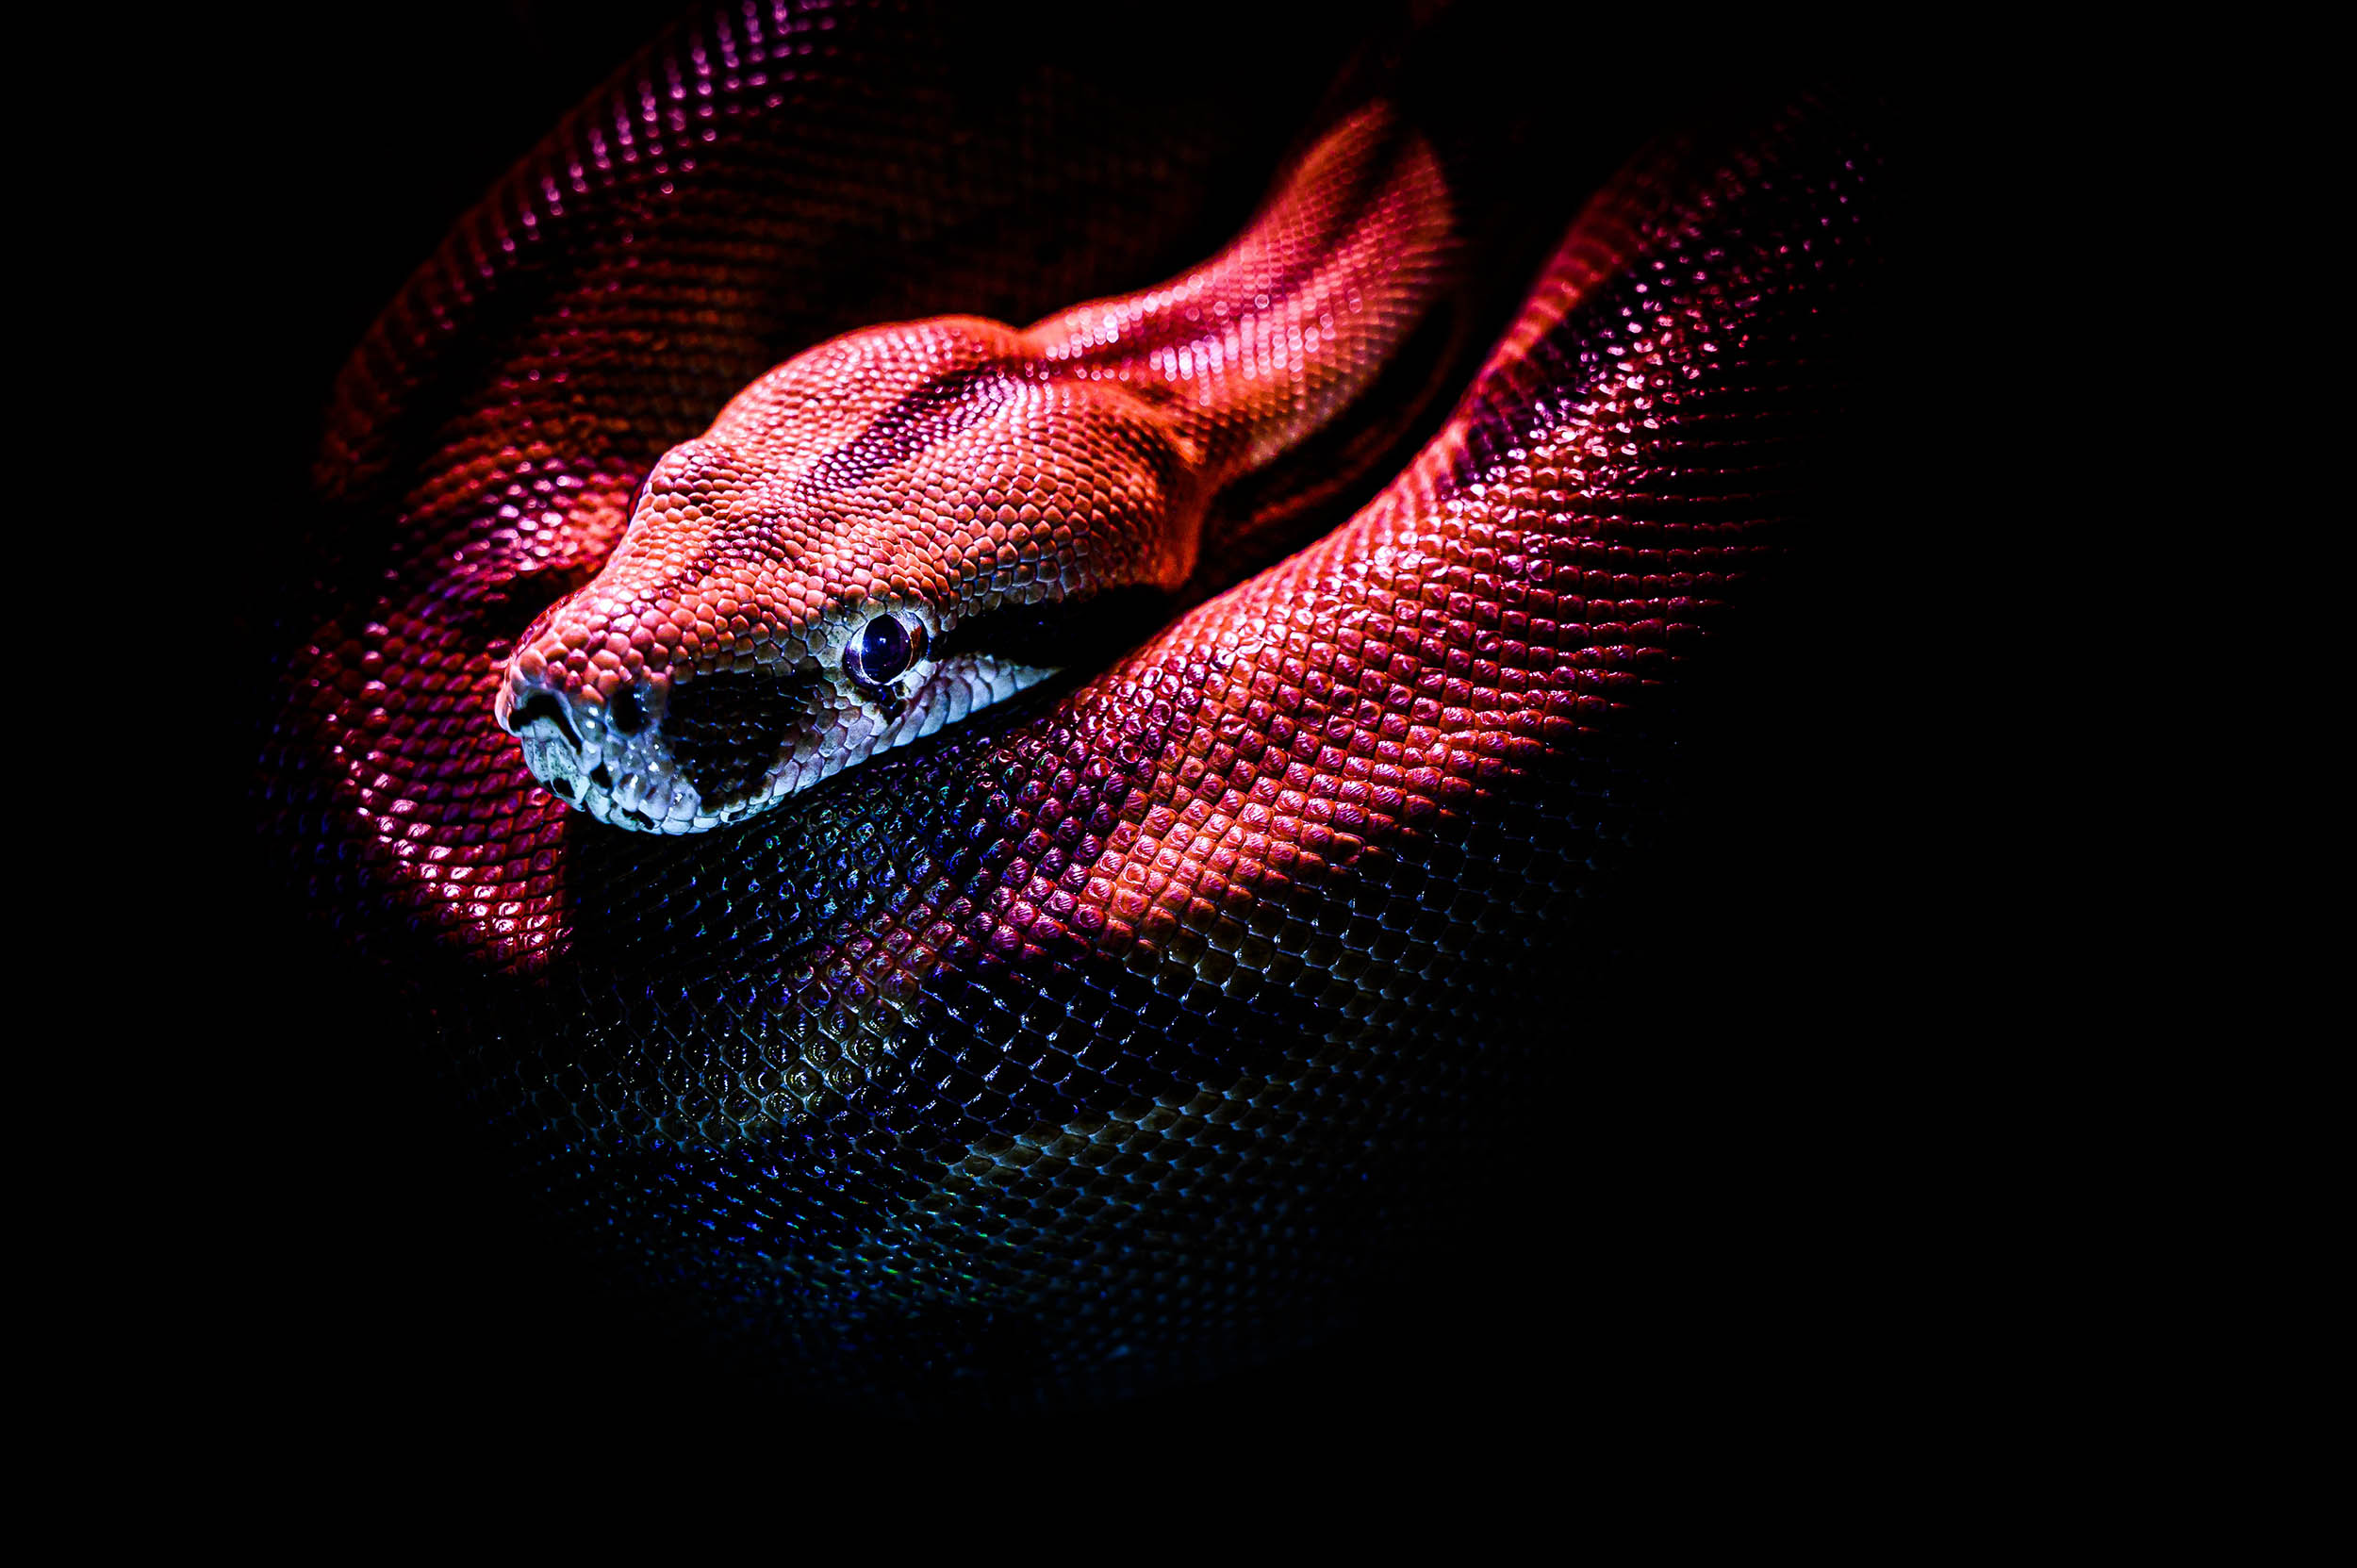
However, backlighting gives your subject a beautiful halo, which illuminates the edge and gives the scene a very “magical” impression. If the sun is particularly low, you can underexpose your photo to show only the golden outline of the animal.
The side lighting is a little different, where the light source comes from... you guessed it... the side. It has a different effect, pulling out contours and casting interesting shadows.
Experiment with the shutter speed
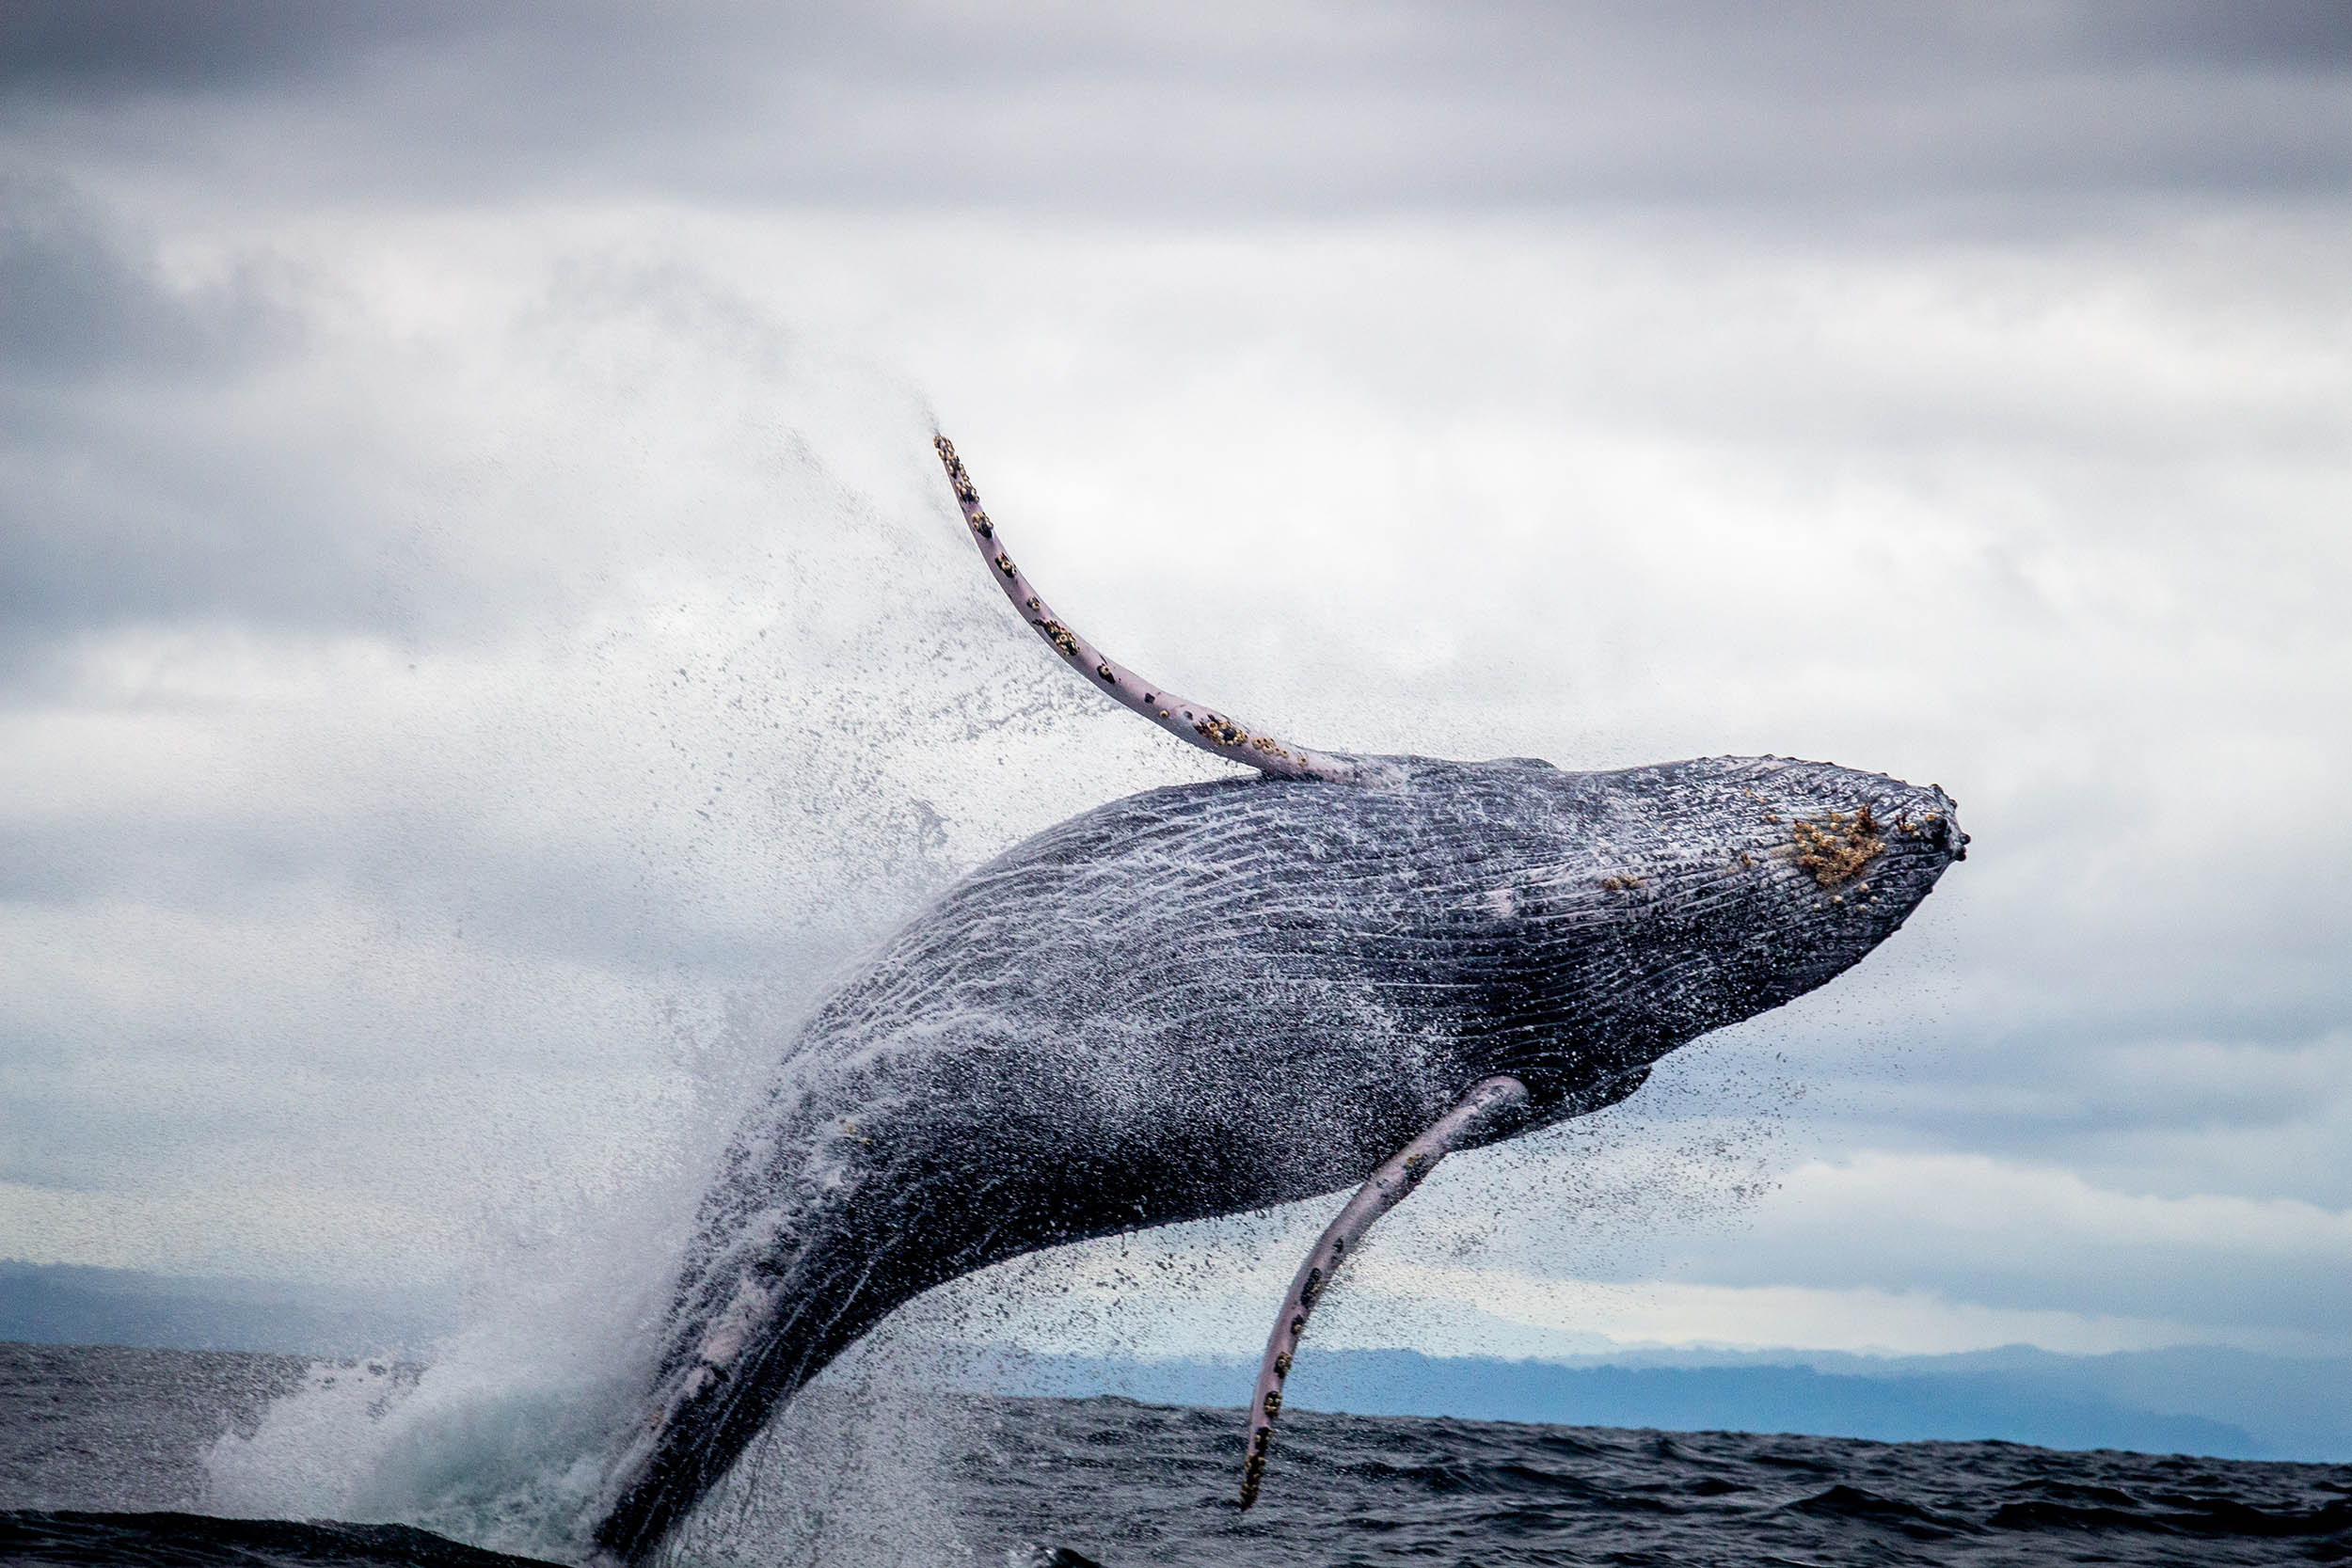
It is not always necessary to freeze the action with a fast shutter speed.
Instead, slow things down and try to introduce motion blur into your footage.
It's hit and miss, and you'll probably need quite a few frames to get it right.
But once it works, it can really enhance your photos and give you something unique.
Use burst mode
Burst mode theoretically increases the number of usable shots you can get away with. There are so many variables when it comes to photography that this will actually make a difference.
If you only fire one image, it might be blurry or look awkward.
So if you have multiple images, hopefully one of them will be a little better than the previous ones.
Increase ISO value
Make sure you know how your camera can really work at higher ISO. You will be pleasantly surprised.
I keep hearing from photographers who will absolutely refuse to set their ISO values above 400.
But even the cheapest DSLR cameras are able to go a little higher and still spit out usable footage.
It is better to get a sharp picture than a blurred one with no noise!
Even if the ISO speed introduces digital noise, you can still remove quite a bit of noise in Adobe Lightroom.
Tripods are essential
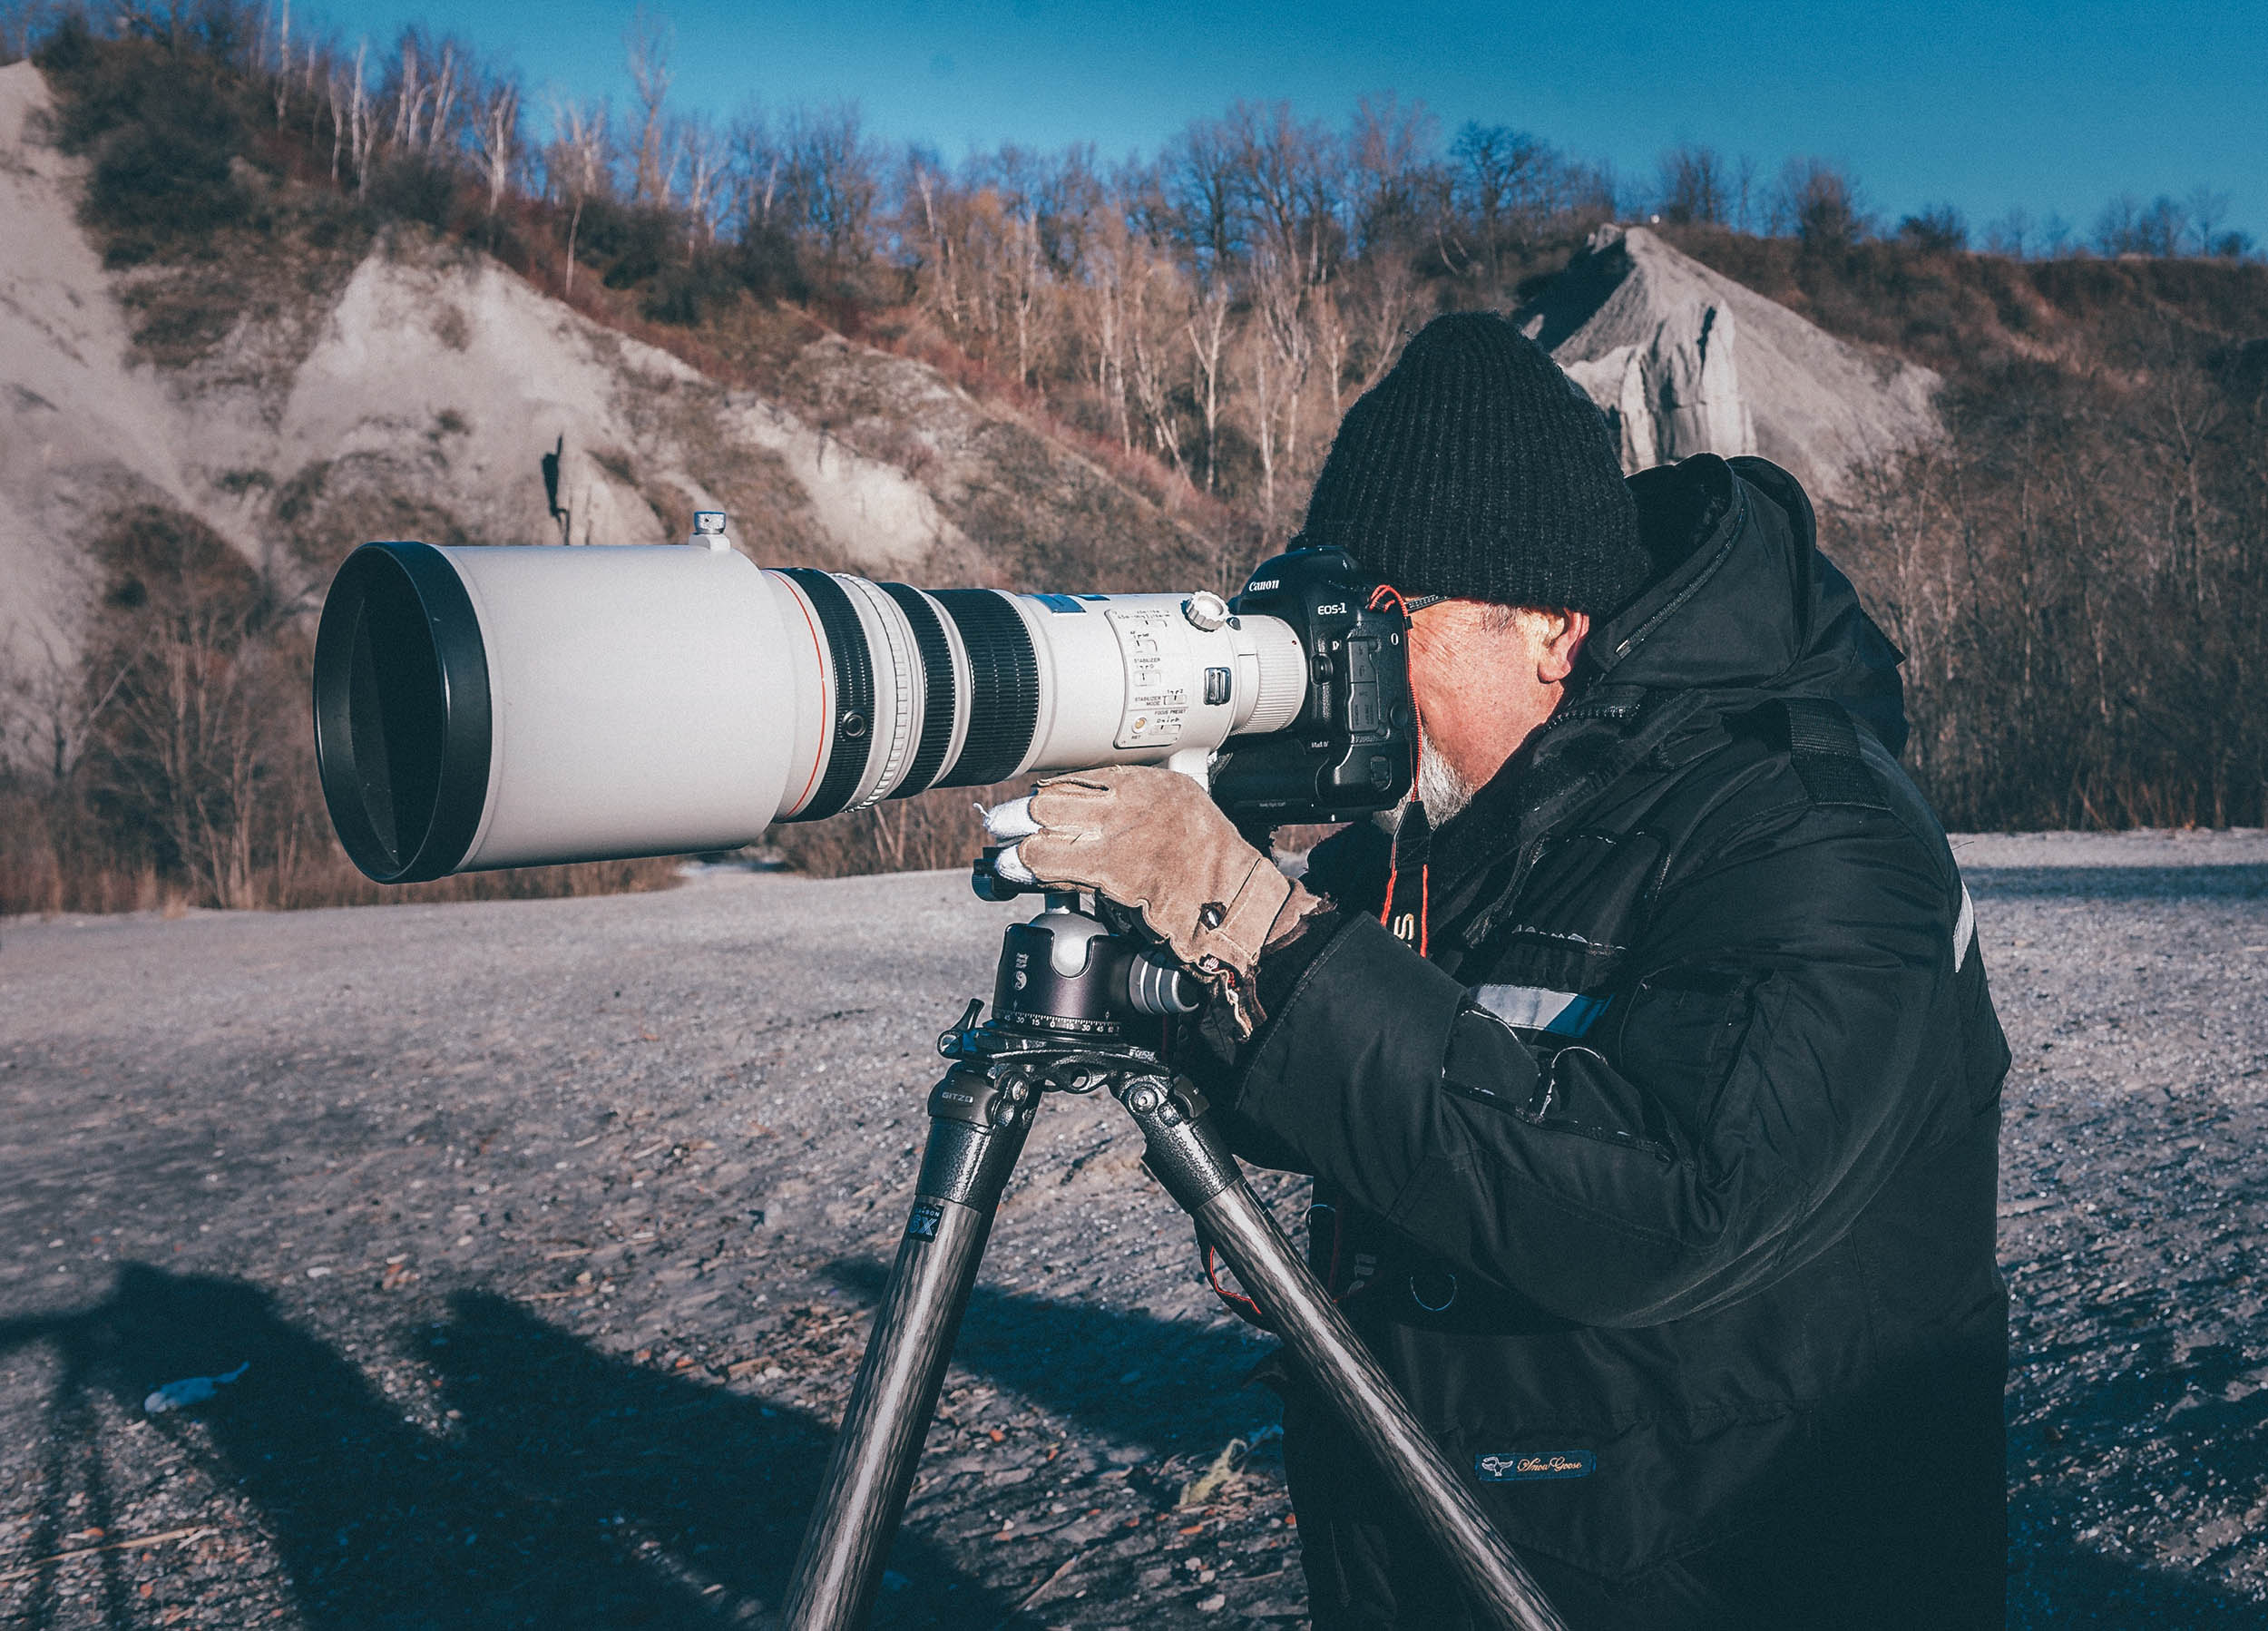
A tripod will simplify your life.
Camera shake, which is a real killer in poor lighting conditions, can be almost completely eliminated. All you have to do is deal with motion blur (the subject moves), but both at the same time are a recipe for disaster.
Make sure you have a good, sturdy tripod and head.
Adjust white balance
Use background to advantage
The background of your photo plays a huge role in bringing the scene together.
When it is full of distracting elements, such as sticks "sticking out" of an animal's head, it distracts from the picture. Typically, you want a soft, fuzzy background that isolates the subject from its surroundings.
However, this is definitely a rule that can be broken.
I like it when a second animal blurs in the background, but is still distinguishable. I think that gives the photo depth and a three-dimensional look.
Don't forget the foreground
Often ignored, the foreground can also be used to your advantage.
Sometimes I like to create a “muddy” foreground to blend the animal into the photo.
It's also a great technique for hiding "ugly" artifacts in the foreground. It makes everything look dreamy and quite artful.
Eye contact
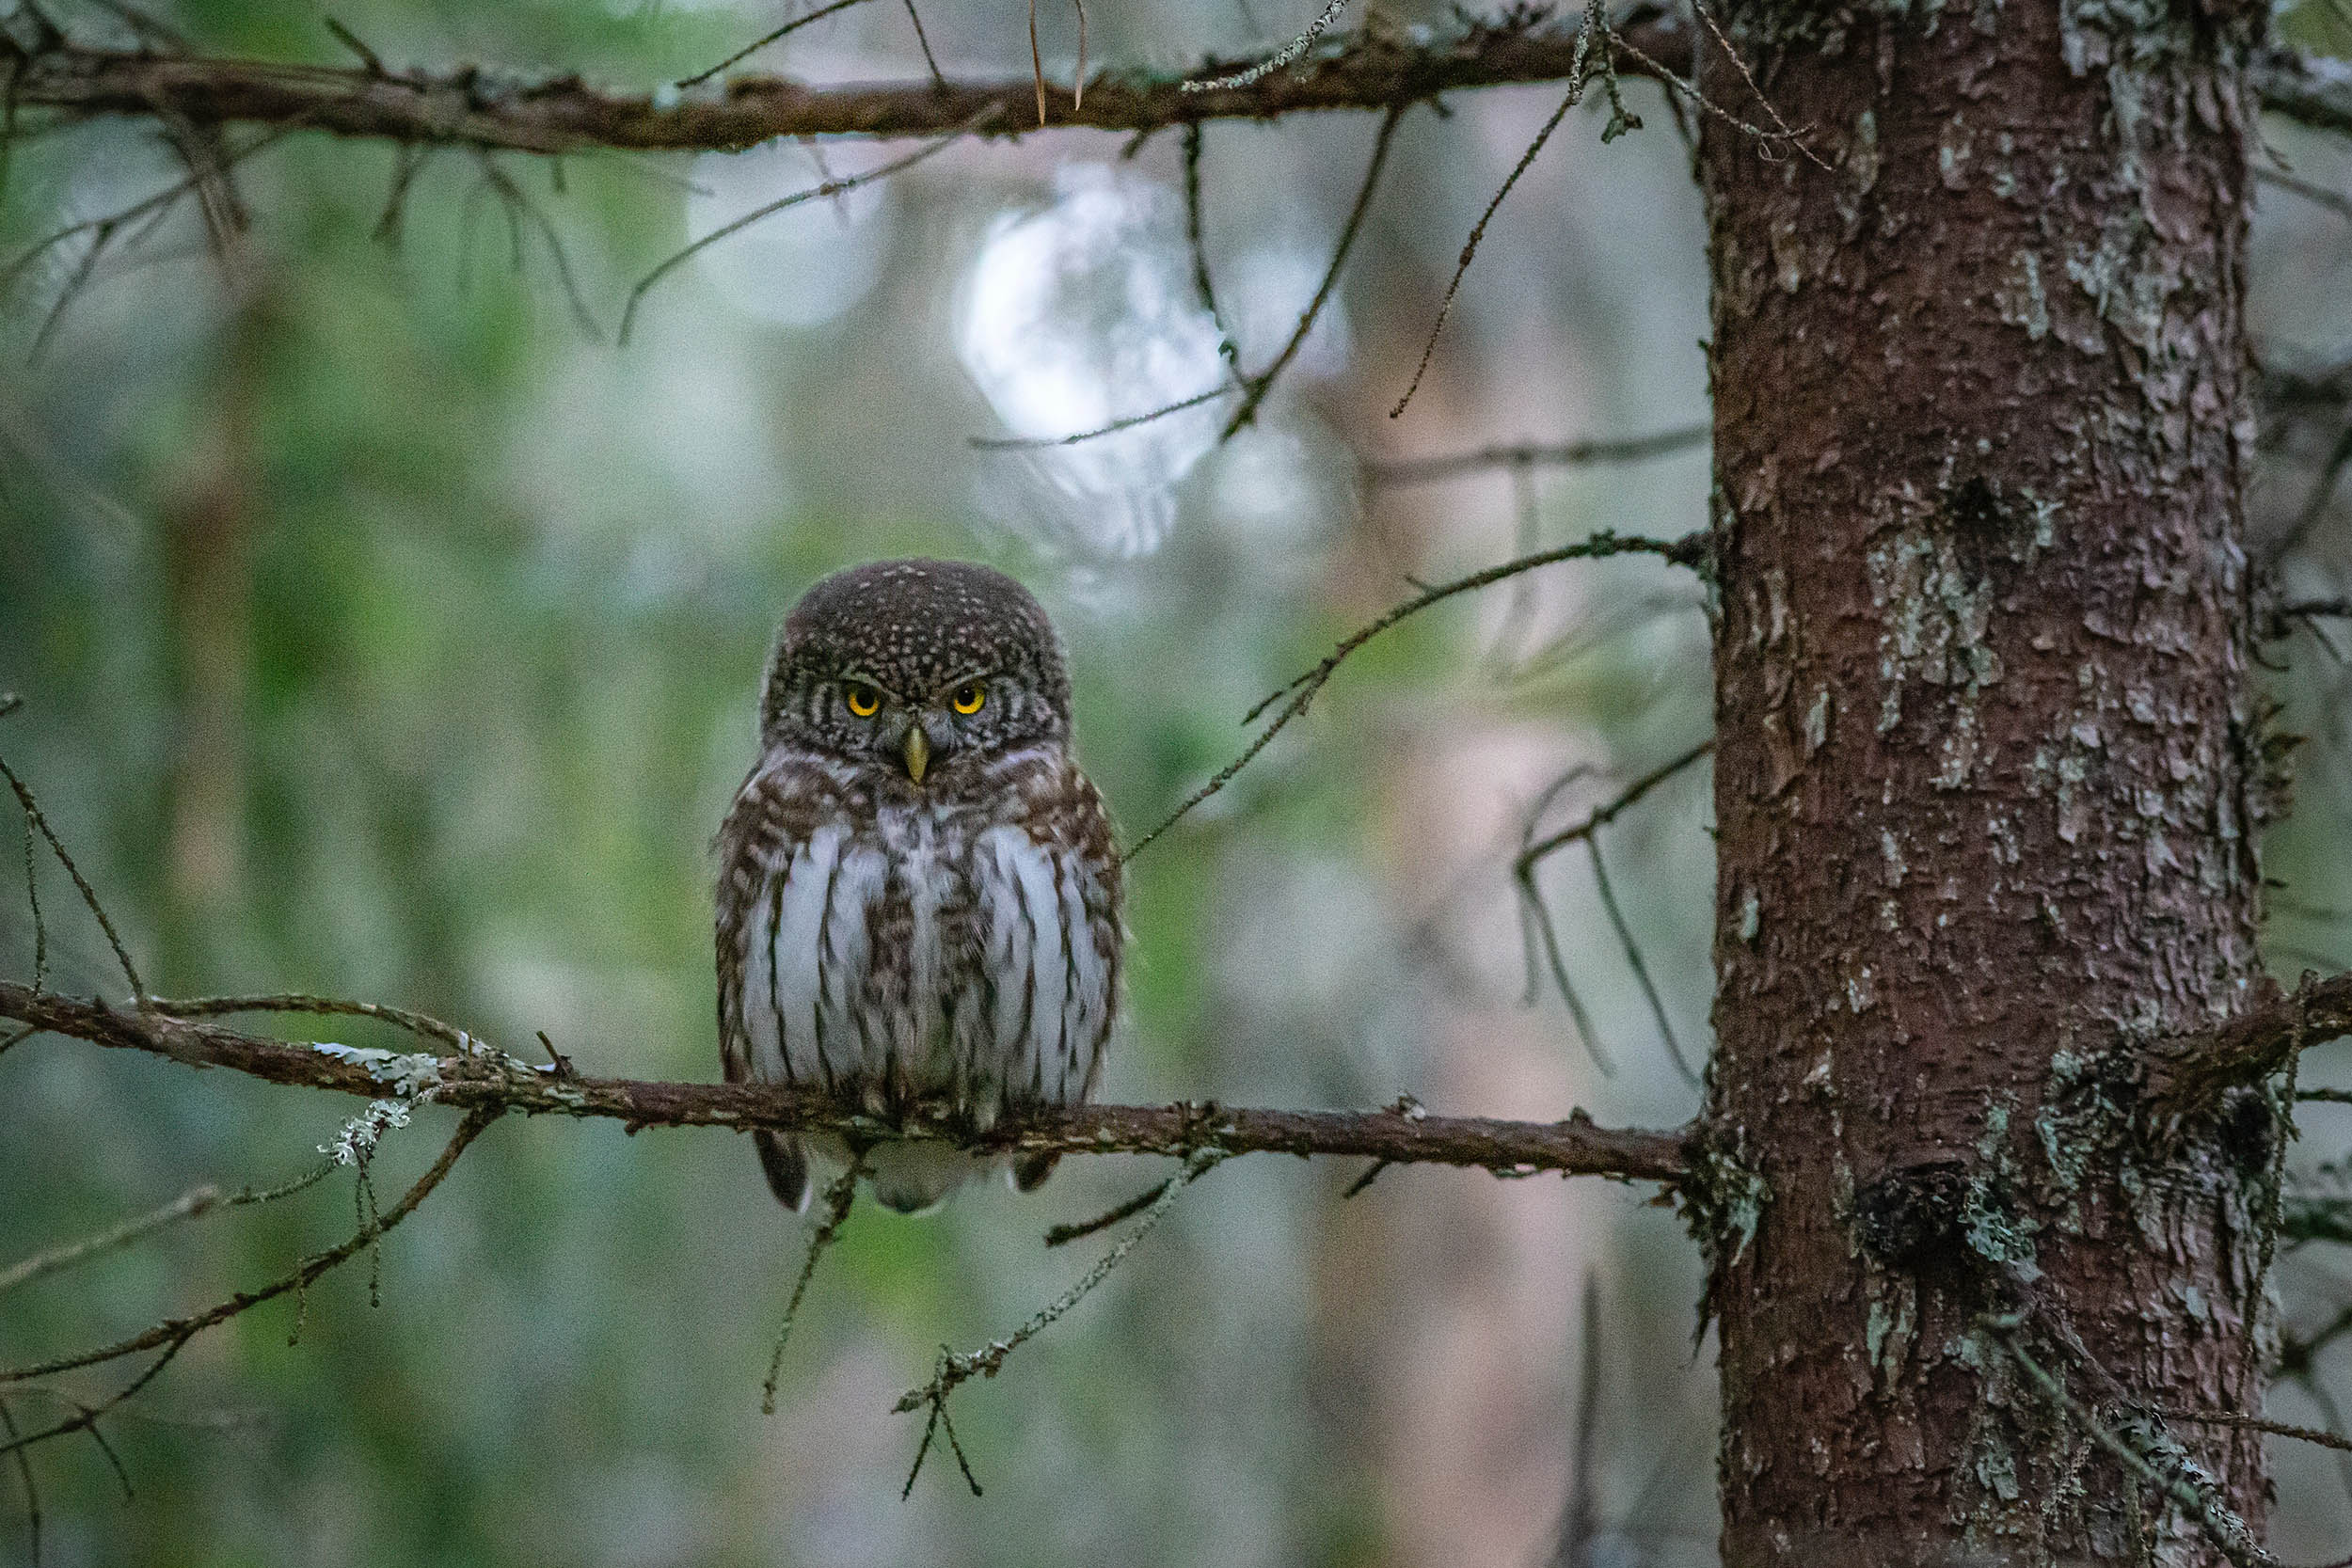
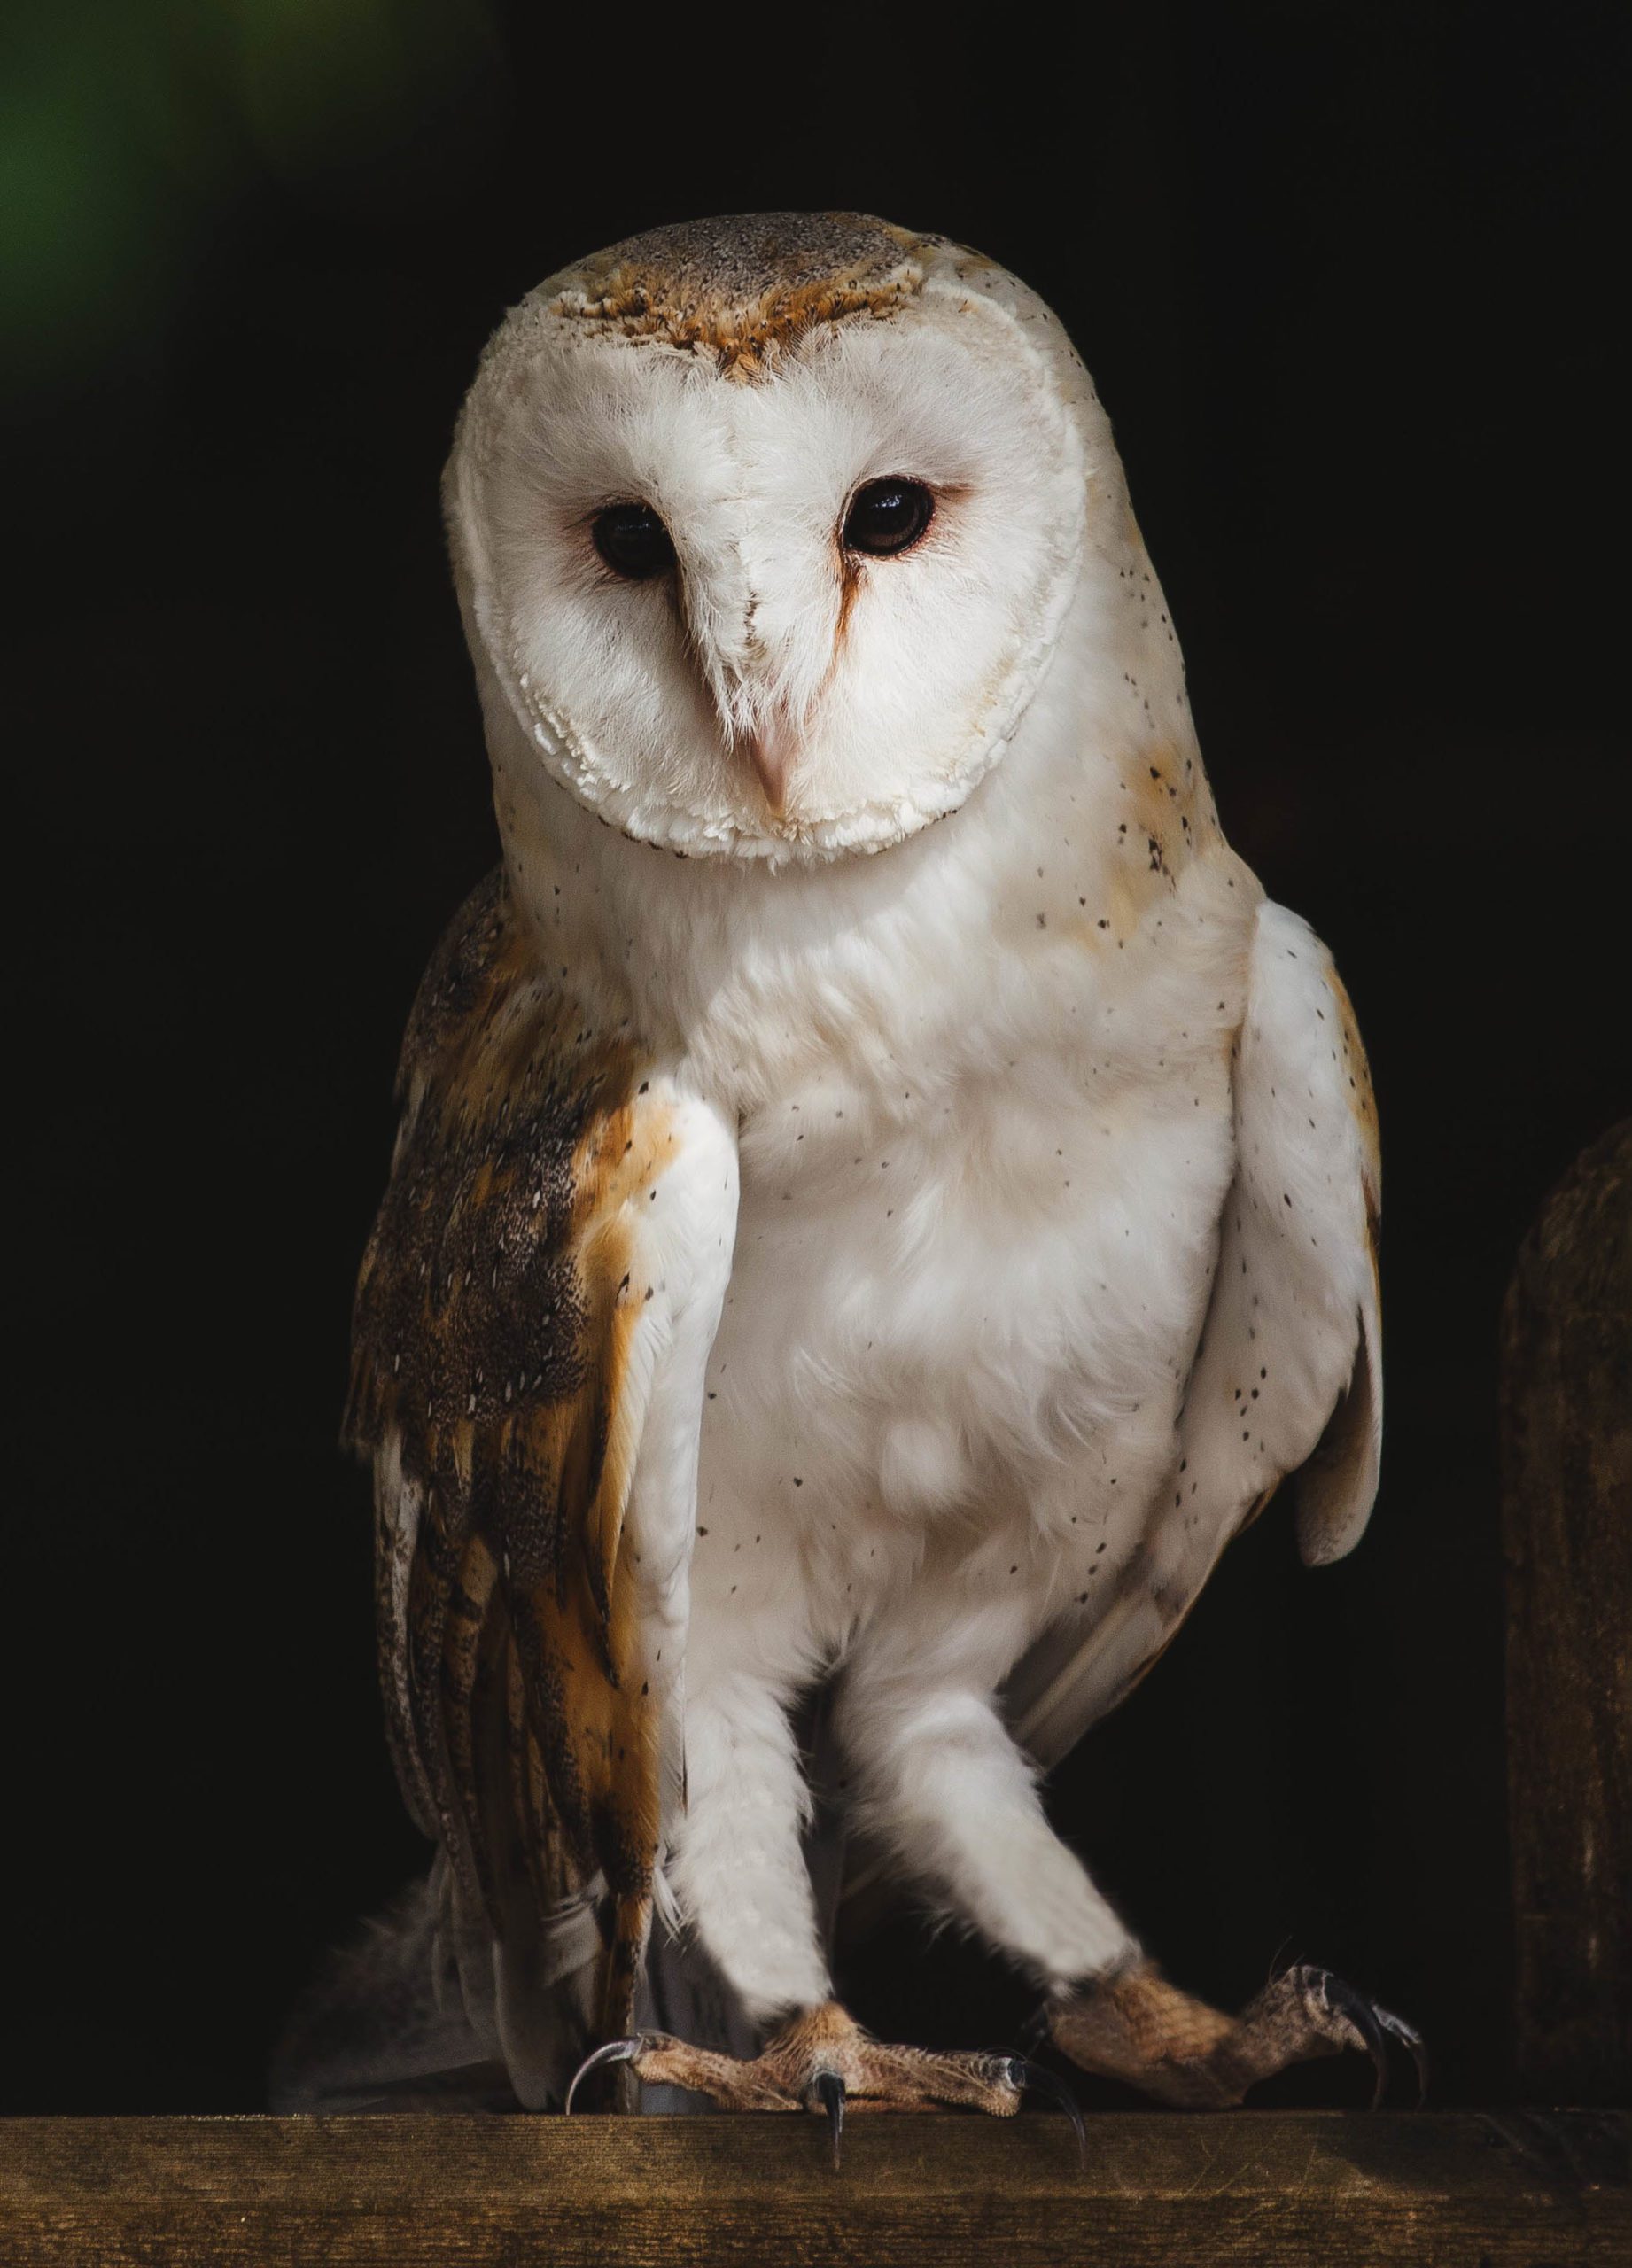
If an animal makes eye contact with your camera during a recording, the image is immediately jolted.
By combining eye-level perspective and eye contact, this photo makes it feel like the bear is measuring your height.
An easy way to get an animal to look at you is to make a soft squeaking sound. You'll likely look over to see what the sound was and then it's your chance to pull the trigger.
To be patient
The best wildlife photographers have Zen-like patience. As is well known, the cameraman Paul Stewart hid himself up to 9 hours a day for weeks in order to make recordings of the mating dance of a bird for the documentary film Planet Earth.
Most people will never try that hard, but you should still expect to wait a while for the right shot to come up.
Avoid midday sun
Dawn and dusk are ideal times for wildlife photography. Not only do they avoid the harsh midday sun, but many animals are also more active during these hours because the temperatures tend to be cooler. Whenever you are trying to photograph a particular species of animal, it is worth doing some research to determine the best time to start shooting.
keep distance
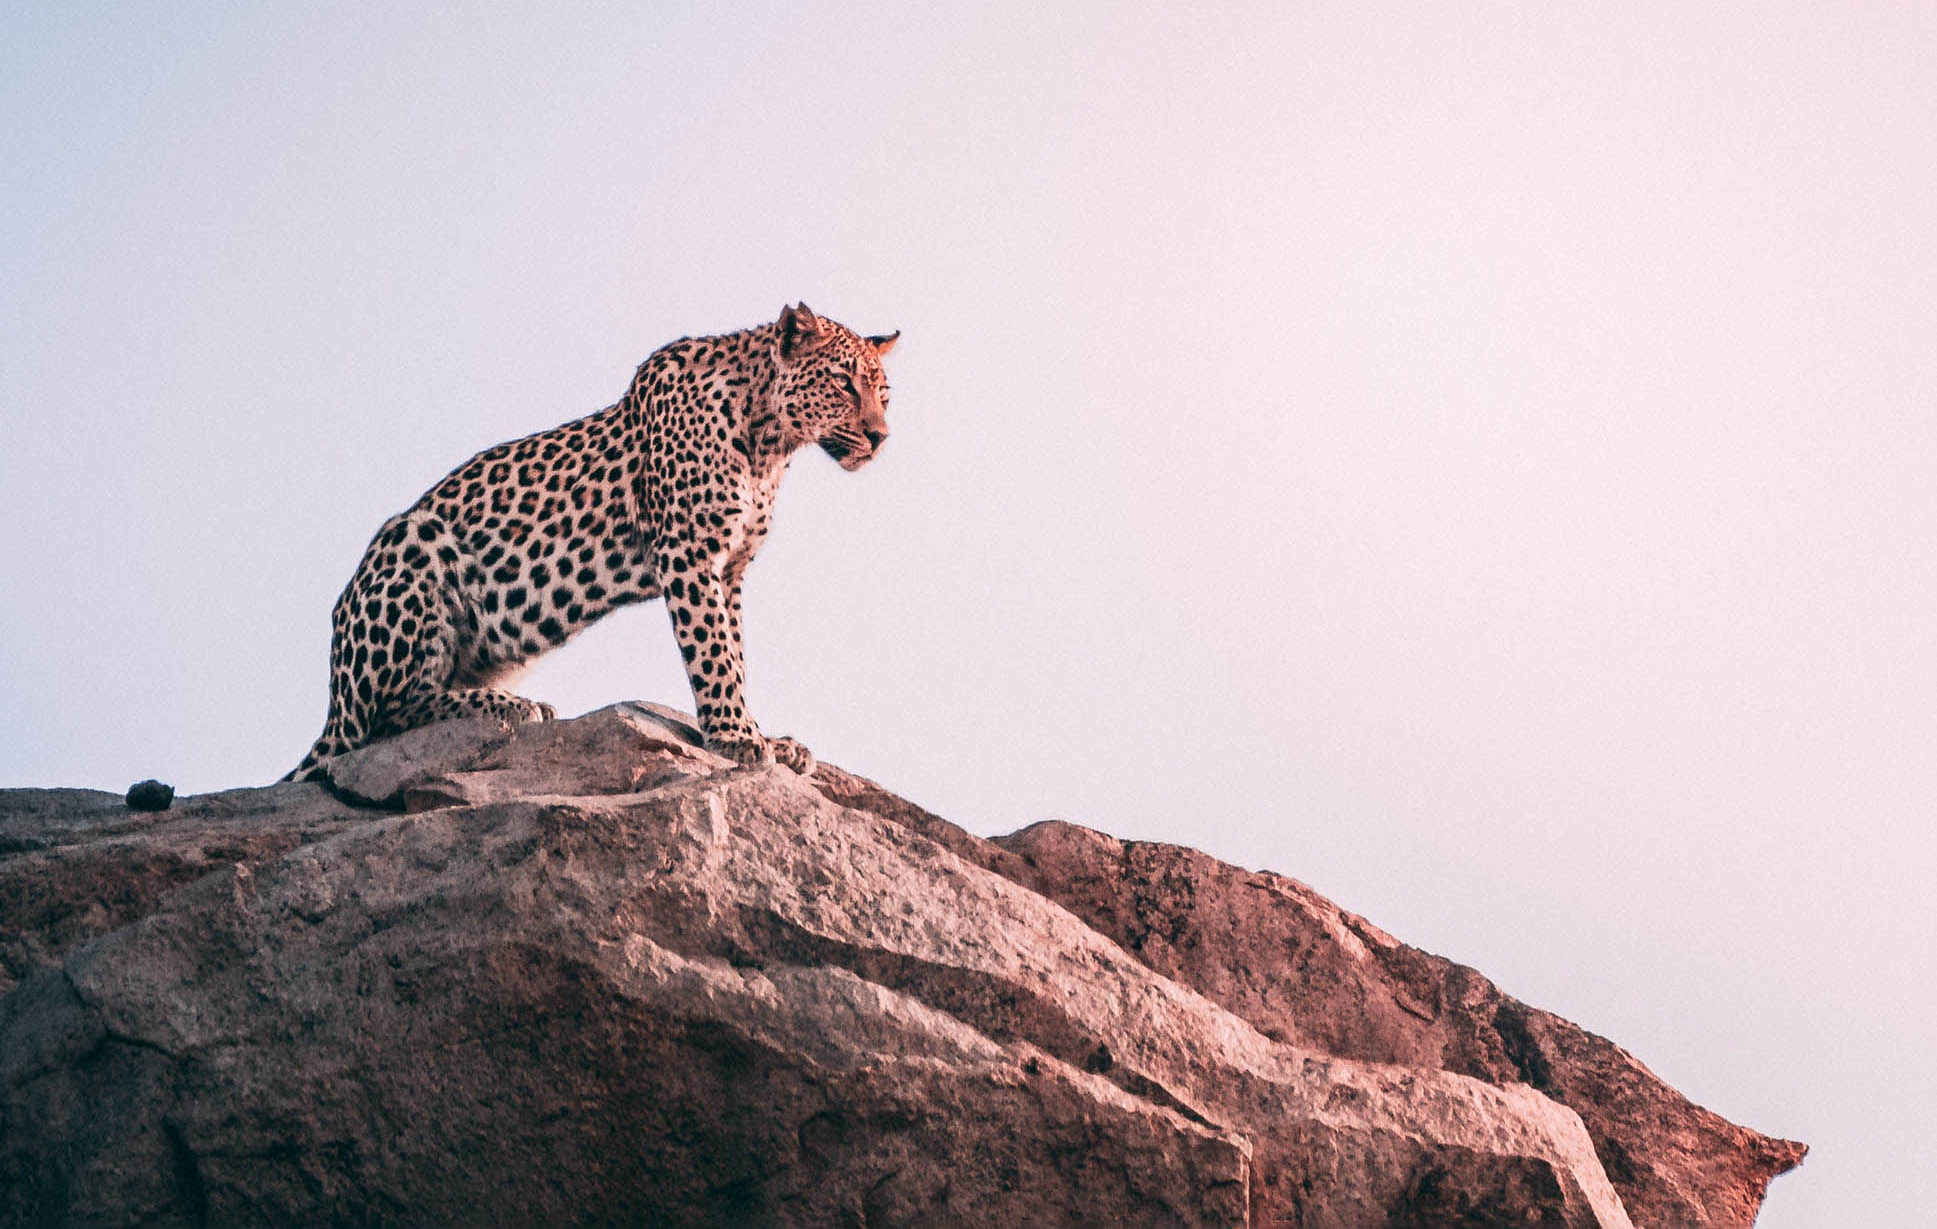
Remember not to put yourself in danger trying to get the perfect shot. The safest way to photograph large carnivores like grizzly bears or big cats is from a vehicle. If that's not possible, shoot with the longest lens you have and arm yourself with bear spray and bear pops just in case your subject gets aggressive.
No bait for wildlife
Wildlife baiting is considered an ethical no by most nature photography organizations as it can have harmful effects on animals. If ethics aren't enough to dissuade you, many states impose hefty fines if they catch photographers offering food to wild animals, and many photo contests won't accept baited shots.


